Introduction
Use this guide to replace the battery contact board.
Tools
Parts
-
-
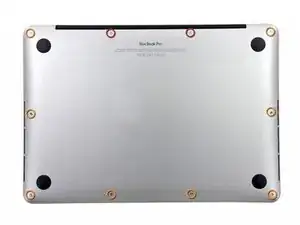
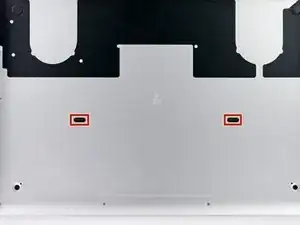
Remove the following ten screws securing the lower case to the upper case:
-
Two 2.3 mm P5 Pentalobe screws
-
Eight 3.0 mm P5 Pentalobe screws
-
-
-
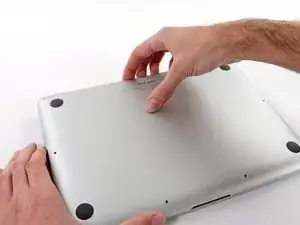
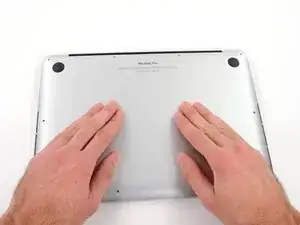
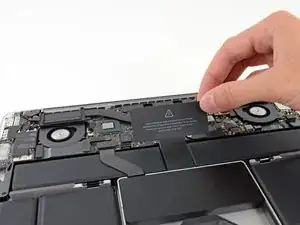
Wedge your fingers between the upper case and the lower case.
-
Gently pull the lower case away from the upper case.
-
Remove the lower case and set it aside.
-
-
-
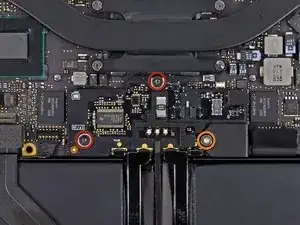
Remove the following screws securing the battery connector board to the logic board:
-
Two 2.8 mm T6 Torx screws
-
One 7.0 mm T6 Torx shouldered screw
-
-
-
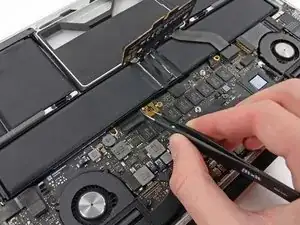
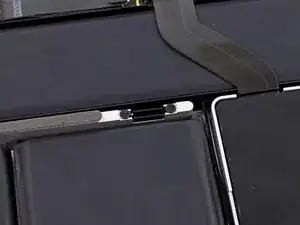
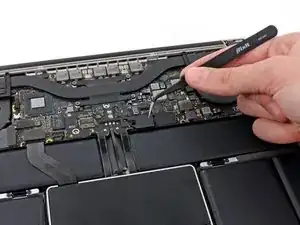
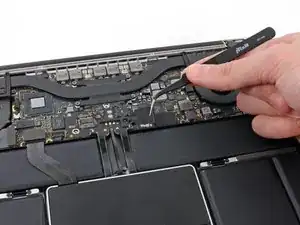
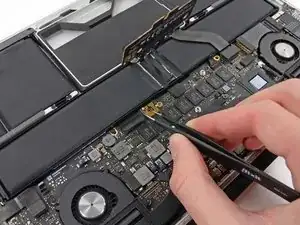
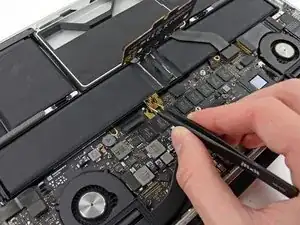
Use tweezers to remove the small plastic cover located near the bottom right of the battery connector board.
-
-
-
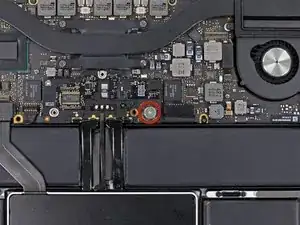
Remove the wide head 6.4 mm T6 Torx screw securing the battery connector to the logic board assembly.
-
-
-
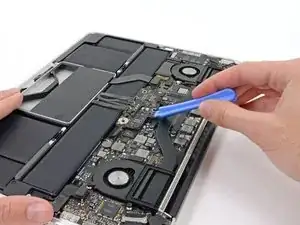
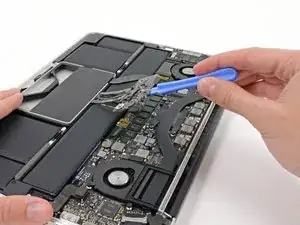
Carefully lift the battery connector board up off the logic board.
-
It is recommended to bend the battery cables just slightly, to keep the board suspended up above the logic board and out of the way.
-
To reassemble your device, follow these instructions in reverse order.

If don’t have one of those neat project mats, then you can use small pieces of flattened blu-tack to hold the screws. If you arrange them in the shape of your mac book cover, and put the screws down methodically, you can get a one-to-one mapping of the screws to the correct screw holes.
Toby Thurston -
Or you can use an ice tray where you put the screws and the parts in separate bays in the same order as they come in the instructions.
timofej.se -