Introduction
Use this guide to replace the gray plastic upper case clips that secure the upper case above the optical drive opening. The clips are captive to the lower case on Santa Rosa MacBooks and later and are thus not replaceable on these models.
Tools
Parts
-
-
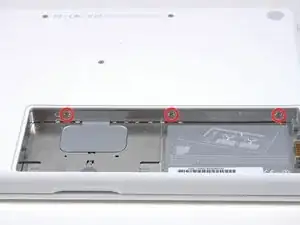
Unscrew the three evenly-spaced Phillips screws from along the rear wall of the battery compartment.
-
-
-
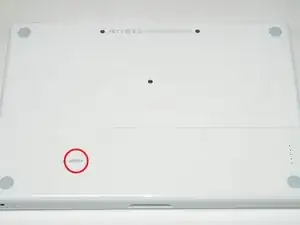
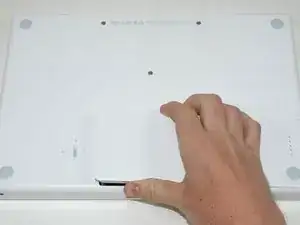
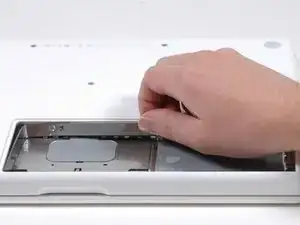
Grasp the right end of the L-shaped memory cover, then pull it towards you so it clears the battery compartment opening.
-
Lift the memory cover up and out of the computer.
-
-
-
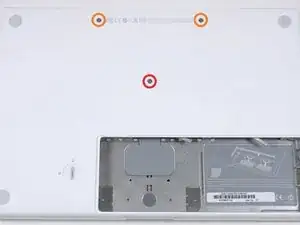
Remove the following 3 screws:
-
One 11 mm Phillips#00 in the middle of the lower case. (Head: 5mm dia. x .75mm thick)
-
Two 14.5 mm Phillips #00 (Head: 5mm dia. x .75mm thick)
-
-
-
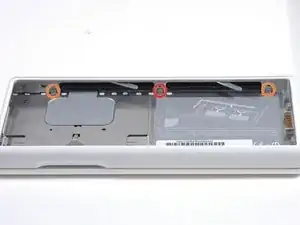
Remove the following 3 screws from the rear wall of the battery compartment:
-
One 3 mm Phillips #0. (Head: 2.75 mm. dia.)
-
Two 4 mm Phillips #0 on the either side. (Head: 2.75mm dia.)
-
-
-
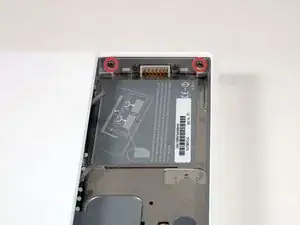
Remove the two Phillips screws from either side of the right wall of the battery compartment (not the ones closest to the battery connector).
-
Two 6.25 mm Phillips #000. (Head: 4 mm. dia. x .5mm thick)
-
-
-
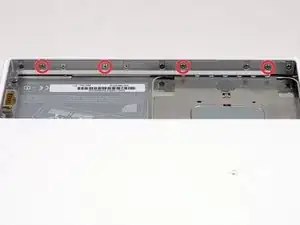
Remove the four indicated Phillips screws from the front wall of the battery compartment. When working from the left, remove the 2nd, 4th, 7th and 9th screws.
-
Four 3.25 mm Phillips #000. (Head: 4 mm. dia. x 4mm thick)
-
-
-
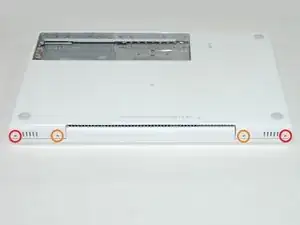
Remove the following 4 screws from the back of the computer:
-
Two 11 mm Phillips #00, with Shank (2.2mm dia. x 2 mm len.) (Head: 3.2 mm. dia. x .5mm thick)
-
Two 7.25 mm Phillips #00, with Shank (2mm dia. x 3.75 mm len.) (Head: 3.2 mm. dia. x .5mm thick)
-
-
-
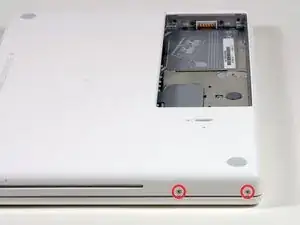
Remove the two Phillips screws from the optical drive (right) side of the computer:
-
Two 5.2 mm Phillips #00, with shank (2.3mm dia. x 3.25 mm len.) (Head: 3.2 mm. dia. x .5mm thick)
-
-
-
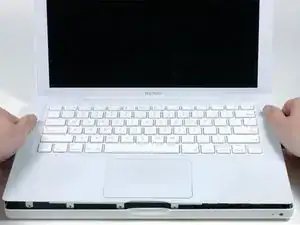
Use a plastic opening tool, an expired plastic credit, or a similarly-thick card to pry up on the upper case, starting in the upper-left corner and working around to the front of the computer.
-
-
-
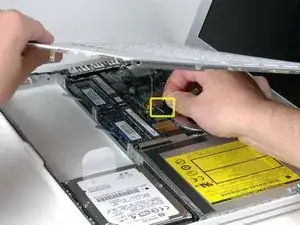
While holding up the upper case, pull up the black tab on the connector end of the silver ribbon cable away from the connector's socket on the logic board.
-
-
-
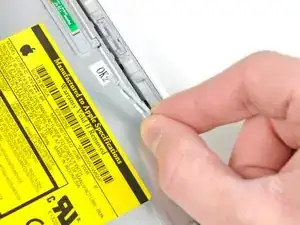
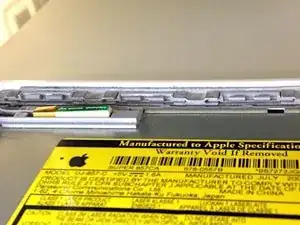
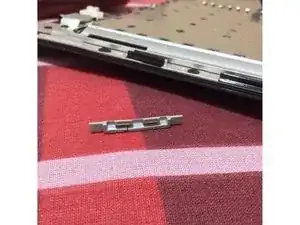
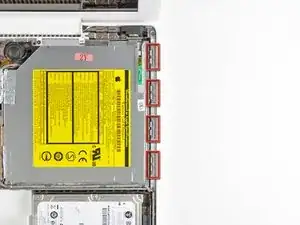
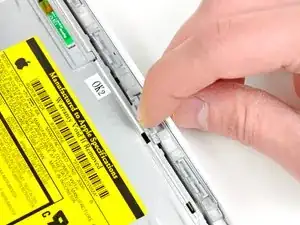
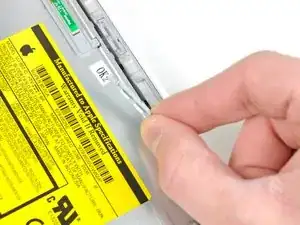
To remove the clips, simply slide them out of the aluminum framework away from the side of the lower case.
-
To reassemble your device, follow these instructions in reverse order.
4 comments
Thanks for the help, I was able to complete the task. It's just that I had a glitch hiccup on the fifth step, but it all worked out in the end. io games
Thank you one more.
Thank you for your guide, I followed it and it worked. helix jump
Thank you weaver game for giving this world a new color. It also helps me a lot to teach me how to love life, love people and appreciate everything around.

I used this guide plus the Thermal Paste guide to resolve my MacBook RRS (Random Restart Syndrome) issue. My MacBook would randomly restart after the fan kicked into high speed. When I removed the heatsink I discovered an an irregular patch completely free of thermal compound of about 15-20% of the area on one of the processors. I removed and re-applied the thermal paste. I ran a memory test utility overnight that previously caused a restart after a couple of hours, and the probelm seems to be solved. TIme will tell.
ServiceDocs -