Introduction
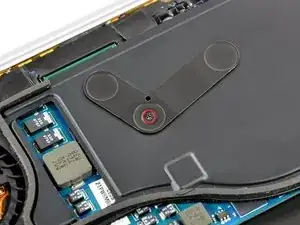
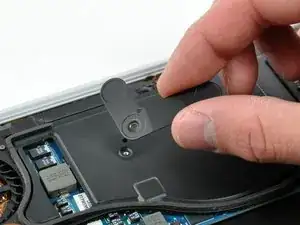
The processor clamp helps keep the heat sink close to the processors.
Tools
Parts
-
-
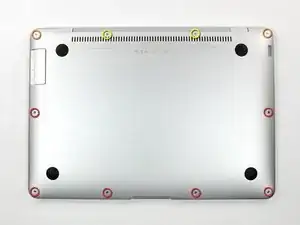
Remove ten Phillips screws securing the lower case to the MacBook Air:
-
Six 2.8 mm screws
-
Two 3.8 mm screws
-
Two 5.4 mm screws
-
-
-
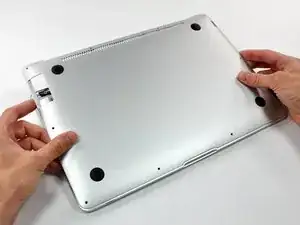
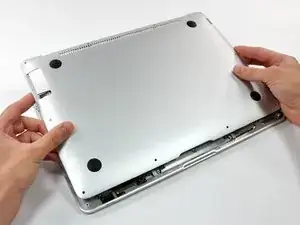
Slightly lift the lower case near the vents and push it toward the rear of the computer to free the mounting tabs.
-
-
-
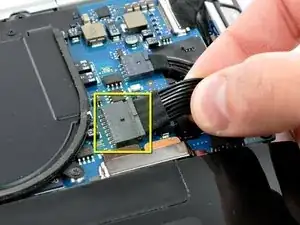
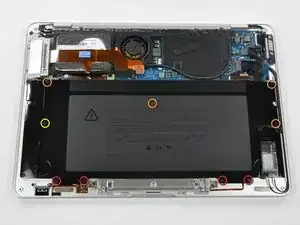
Remove the following nine screws securing the battery to the Air:
-
Four 2.9 mm Phillips.
-
Four 3.8 mm Phillips.
-
One 7.2 mm Phillips.
-
-
-
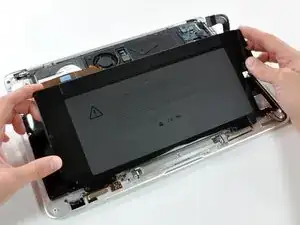
Lift the battery out of the Air.
-
Charge it to 100%, and then keep charging it for at least 2 more hours. Then, unplug and use it normally to drain the battery. When you see the low battery warning, save your work, and keep your laptop on until it goes to sleep due to low battery. Wait at least 5 hours, then charge your laptop uninterrupted to 100%.
-
If you notice any unusual behavior or problems after installing your new battery, you may need to reset your MacBook's SMC.
-
To reassemble your device, follow these instructions in reverse order.

