Introduction
This is a member-submitted teardown. iFixit’s teardown of the Mac mini Late 2018 can be found here, and the RAM replacement guide can be found here.
-
-
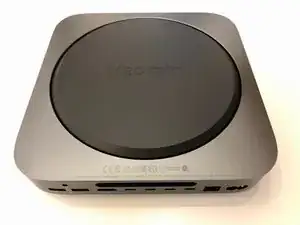
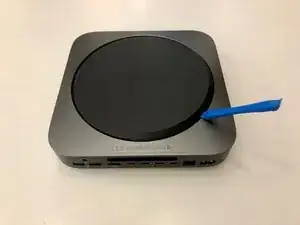
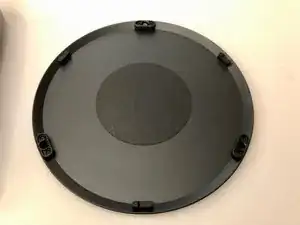
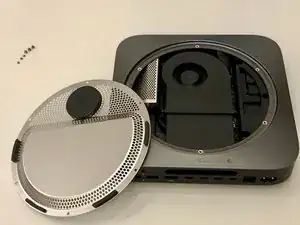
Once flipped over, a familiar black cover is revealed.
-
Pry open the lid to release it from the three large screws
-
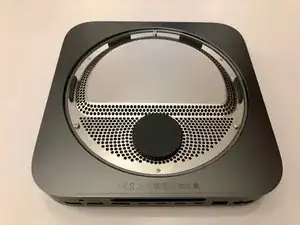
The lid had a soft foam inside to dampen the vibrations of the beefed up fan
-
-
-
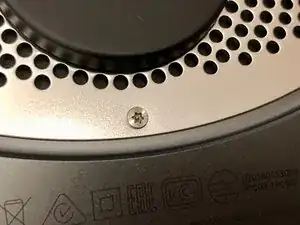
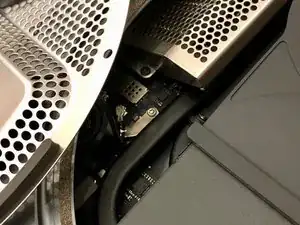
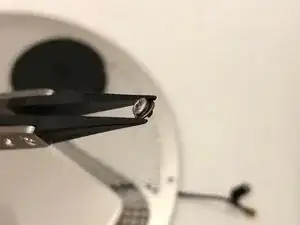
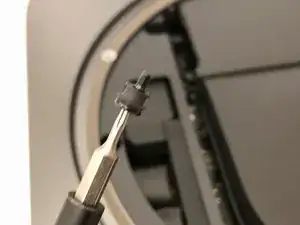
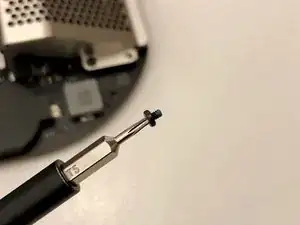
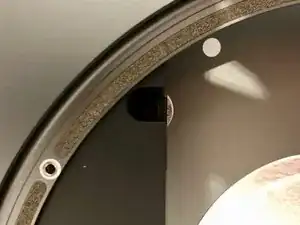
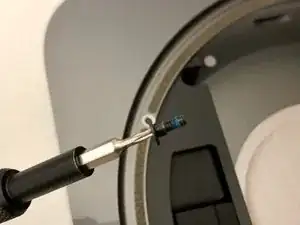
The antenna cable is held down with a little TX6 screw
-
It has a tiny washer to make sure no stress is applied to the cable
-
-
-
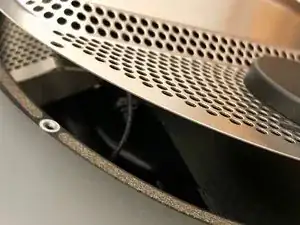
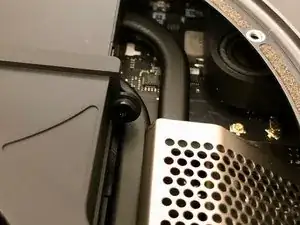
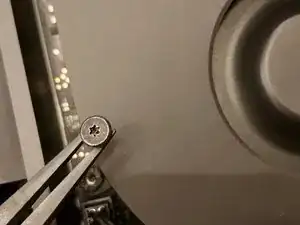
The fan has four identical TX6 screws holding it down
-
The screws go trough a rubber tube to reduce vibration
-
-
-
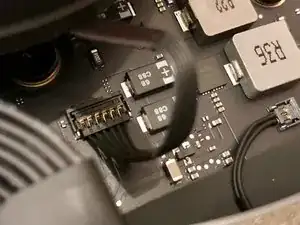
Underneath the fan the connector pops off easilly
-
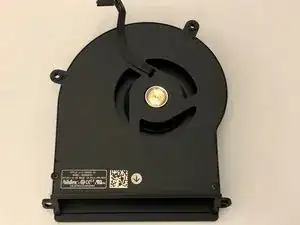
The fan feels solid. Much better than previous models
-
-
-
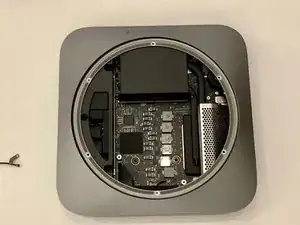
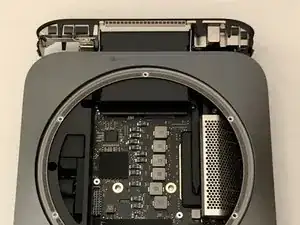
Now, lets take out the motherboard
-
Massive (for the mini) TX10 screws secure the motherboard to the chassis
-
-
-
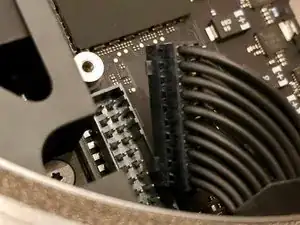
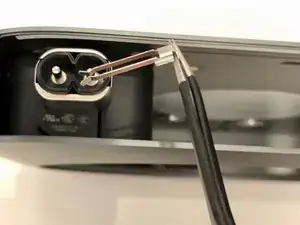
The power supply can be unplugged by as many wires as possible between your iFixit tweezers and pull upwards
-
Also take off the tiny power led connector
-
-
-
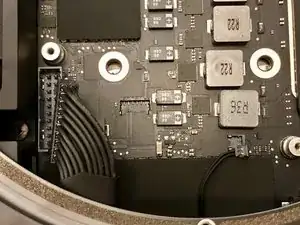
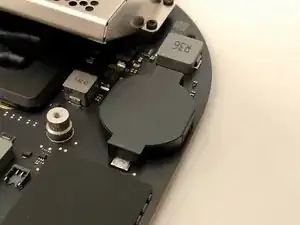
Some interesting design choices made here. A full size CMOS battery
-
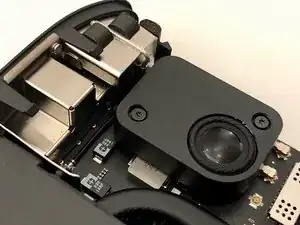
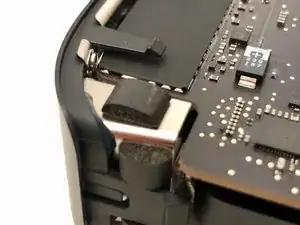
The wifi wiring runs underneath the large speaker
-
The power button is attached to a ultra flat cable that runs in an arc along the heatsink
-
-
-
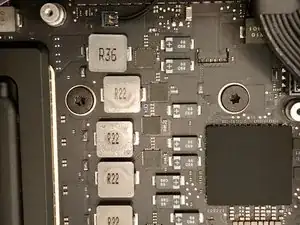
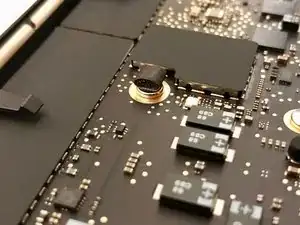
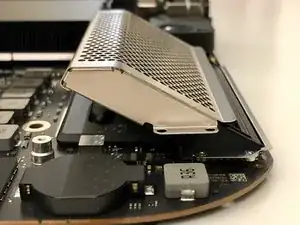
We flip over the motherboard to see a massive amount of tiny components
-
Also some familiar pieces of foam all over the place
-
-
-
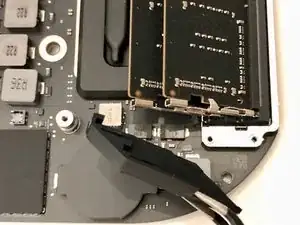
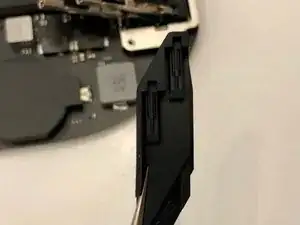
These rubber parts will be a pain to put back on later.
-
There are tiny pieces of rubber in it that need to slide into the metal clips holding the memory in place
-
-
-
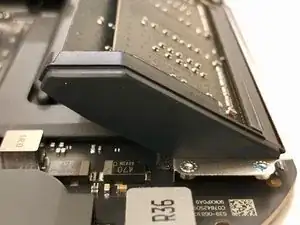
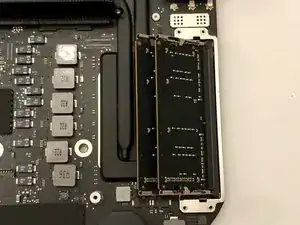
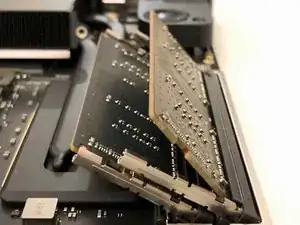
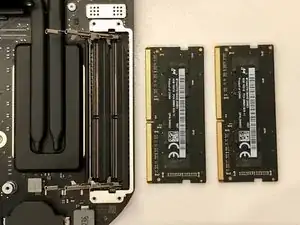
The memory itself sits upside down in its sockets
-
The springs are very strong and will shoot the memory in your face if you're not careful!
-
-
-
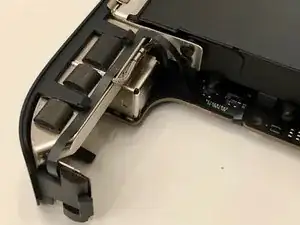
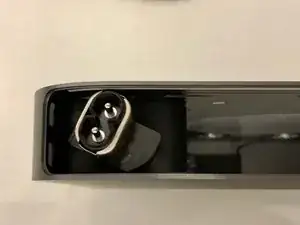
The power supply is secured in a similar way as with the previous models
-
A little clip has to be removed, and the connector can be rotated
-
-
-
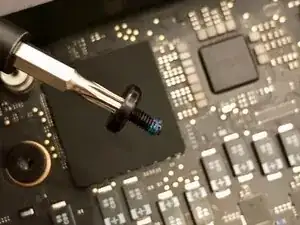
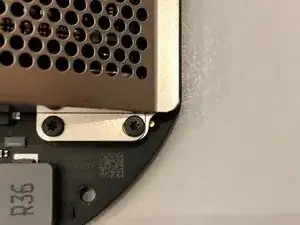
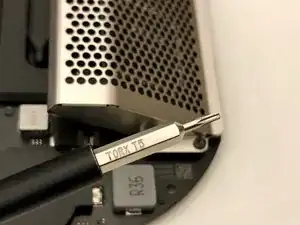
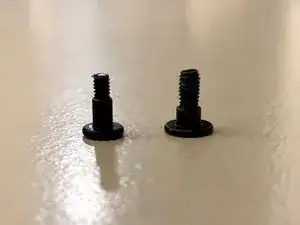
The power supply is held down with three TX6 screws
-
They look just like the fan screws, but they appear just a little bit thicker and with longer thread
-
-
-
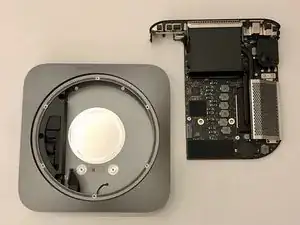
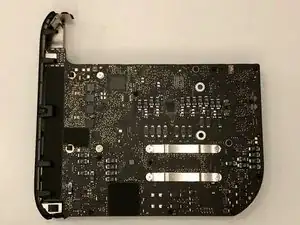
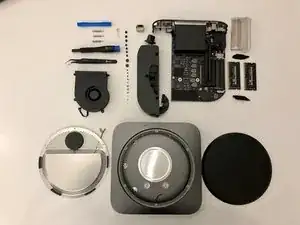
After taking out the power supply we are left with an empty shell
-
I really enjoyed taking this mini apart. My verdict is it's much easier than the 2014 model as cables are in a more logical place
-


To reassemble your device, follow these instructions in reverse order.
6 comments
What happens to the machine if the SSD fails? Will the entire logic board need to be replaced? I have a feeling that the chances of SSD failing would be significantly higher than Ram… So shouldn’t apple make SSD removable as well?
Sam -
Failing SSD means a failing motherboard. In my experience, apple ssd-s are very reliable. Upgradable memory allows you to use a device longer. If you configure it with 16GB today, you might want to max out the memory in the future, once prices go down.
What about the CPU, is it in a socket or soldered in?
I didn’t have the courage to take the heatsink off. So we’ll have to wait for someone who does.
Mich würde interessieren, wie die CMOS Batterie getauscht wird, bzw. welcher Typ es ist.
I had to use a T7 torx for all 6 of these. All other screws were the size specified in this guide.
max -