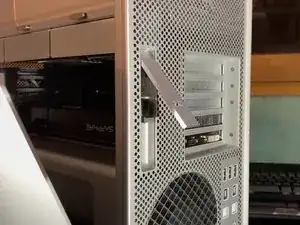
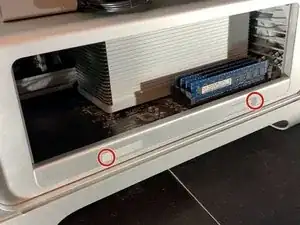
Introduction
Replaceing the CPU in your 2009-2012 Mac Pro is an excellent way to add both performance and to get more life out of your Mac Pro. If you have a 2009 model as I do in the guide, you'll need to make sure you update the firmware first so you can use a wider variety of CPU upgrades, which are not only faster but also more efficient and can allow your RAM to work more quickly as well.
A list of compatible CPU upgrades can be found in this MacRumors thread.
PLEASE NOTE: DUAL PROCESSOR 2009 model, upgrading the CPUs is not as simple as you might think. Due to thermal design back in 2009, Apple opted to use delidded CPUs instead of the standard retail versions. These delidded CPUs are not available for purchase anywhere else, though you can find updated versions on eBay, usually at a fairly large markup. This guide does not cover that process and you should look for more information elsewhere if you are looking to upgrade that model. The 2010 and 2012 updates switched back to standard Xeon chips so you will not need to worry about delidding your replacements. https://forums.macrumors.com/threads/mac...
To reassemble your device, follow these instructions in reverse order.
