Introduction
Prerequisite only
Tools
-
-
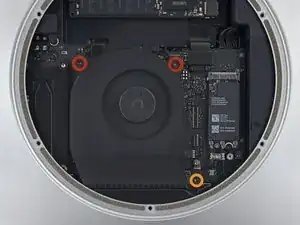
Remove the two 12 mm T6 screws from the fan.
-
Loosen the 27 mm T6 captive screw–it will get removed with the fan assembly.
-
-
-
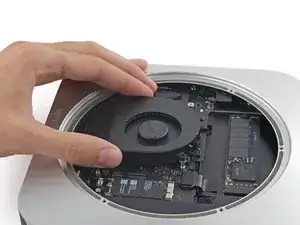
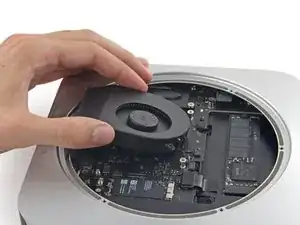
Lift the fan straight up to free the captive screw from its hole in the logic board.
-
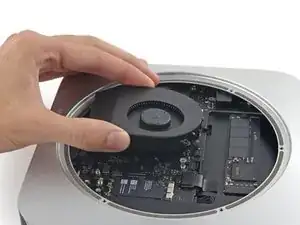
Pull the fan away from the SSD until you can easily access the fan connector.
-
-
-
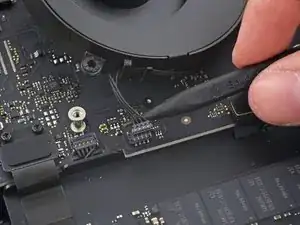
Use the point of a spudger to lift the fan connector straight up out of its socket on the logic board.
-


Conclusion
To reassemble your device, follow these instructions in reverse order.

That 27mm screw should be very loose, since it attaches the motherboard to the case. When you’re trying to remove the motherboard, if the AC connection side of the board is not moving back easily, you need to make sure this screw is fully backed out from the case.
There’s no danger in removing it completely.
marklfarley -
I suggest removing the 27 mm tool, otherwise Step 23 will not work.
Arvin Bhatnagar -
Actually you don’t need to remove 27mm from the fan. I was able to tilt a little when I take the logic board out in Step 23. I also didn’t take the fan cable too. When you pull the logic board out, put the fan on the back of logic board as you pull it out.
Kenneth Z -