Introduction

This guide will show you how to replace the RAM in your MSI Modern 15 A10M-242 15.6 laptop if your RAM is corrupted. Some laptops come equipped with RAM that is not fast enough or becomes corrupt. Following these steps will make your MSI Modern 15 faster than out of the box. As a caution, this involves electronic hardware with a potential for hardware damage or injury.

  1. NiifIgegxLapUGWw
    NiifIgegxLapUGWw
    FEefHbSXeXoSyLJ3
    uWBrTkETkVF4QPU2
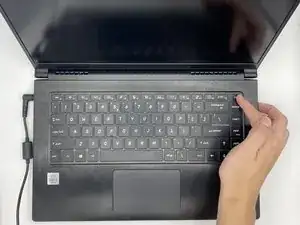
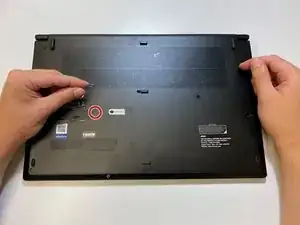
    • Turn off your laptop.

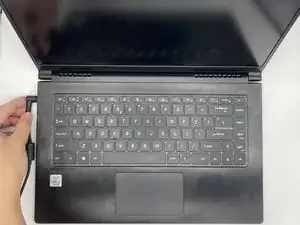
    • Unplug your power adapter.

    • Remove any USB devices that you have connected to your laptop.

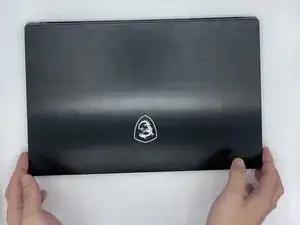
    • Close your laptop.

  2. 4hGBJhFTZ2MihKWJ
    4hGBJhFTZ2MihKWJ
    VHjRRB1eQnnB6vq1
    cWUbiQ1bcxkOEMhO
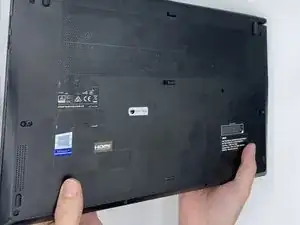
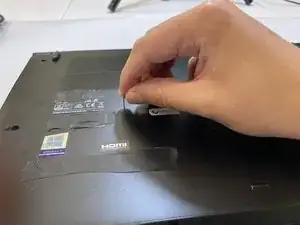
    • Turn your laptop 180 degrees.

    • Insert a safety pin in the "Reset EC" slot.

    • There is potential hardware damage to the laptop if "Reset EC" not performed.

    • A safety pin has small enough diameter to fit into the "Reset EC" to perform this step.

  3. c2wSCufLOWJKkRJV
    c2wSCufLOWJKkRJV
    XnIIXTGRLMqDgqGb
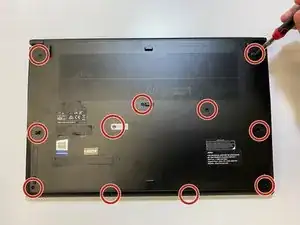
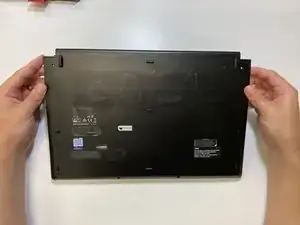
    • Remove eleven 1 mm screws using a Phillips #1 screwdriver.

    • Phillips #1 is known also as PH1 in some screwdrivers set

  4. ayttilCtSyGsIxZE
    ayttilCtSyGsIxZE
    mXBTgQeKntJbtrEH
    PhPFIqXaEtqCksrf
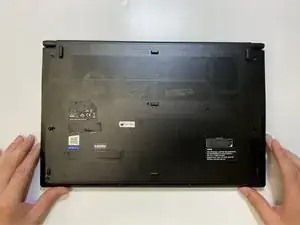
    • Turn your laptop vertically, so the monitor base is facing up.

    • Before continuing this step, make sure you have unscrewed all 11 screws, including the one hidden under the "Factory Seal" sticker. Ignoring this may cause you to break the back cover of your laptop by missing a screw that prevents it from opening properly.

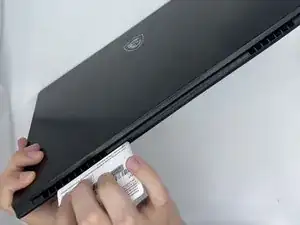
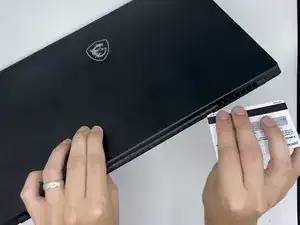
    • Insert the plastic card above the back cover plate along the spine and slide it through the side.

    • You will hear a popping sound as the card slides through the laptop. This is the plastic hinges unlocking as it slides through.

    • Warning: Use a plastic card or spudger to open your laptop back cover. Using metal or hard material for this step will likely cause severe damage to the laptop if you are not a professional.

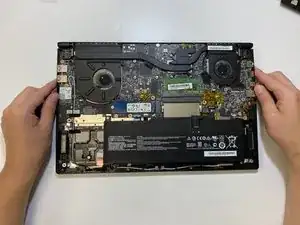
    • Remove the back cover.

  5. xRm3enGw2AXPax2l
    xRm3enGw2AXPax2l
    3CWBqSRVhbRUrrqP
    TThIKZe1b61Ugqyw
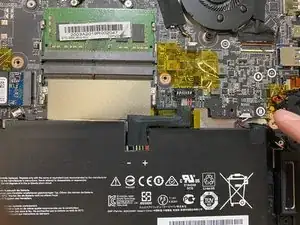
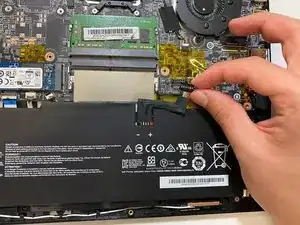
    • Unplug the battery cable connected to motherboard.

    • Failure to complete this step can result in electrical damage.

    • This requires some force to unplug the cable.

    • Hold the pin when unplugging the battery cable; pulling on the wires will cause damage to the battery cable.

  6. FqLoSDLnUXXbMpCD
    FqLoSDLnUXXbMpCD
    Mo3SXAZGmfIh2dBp
    yOnKWadZO2HLNW4i
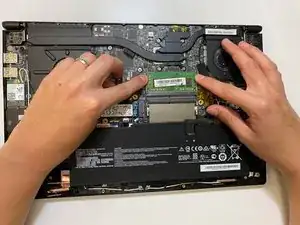
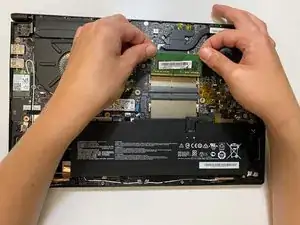
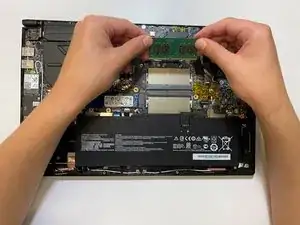
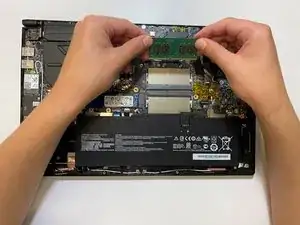
    • Place your fingers on side of the RAM slot.

    • Push your fingers down on the side of the slot to release the RAM.

    • Remove the RAM from the slot.

  7. AUweoxM64GrWDkOb
    AUweoxM64GrWDkOb
    QiQYENv12qhaxhao
    LmX6qjrQVfchWSoi
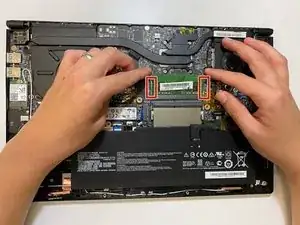
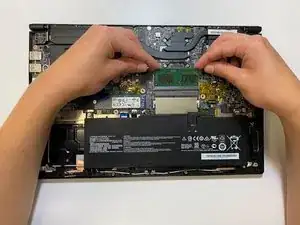
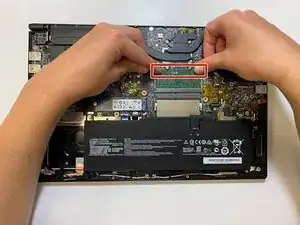
    • Line up the new RAM stick with the RAM slot.

    • Insert the RAM into the slot.

    • Press down on the RAM to lock it in place.

    • Press down firmly on the RAM. There will be a pop sound when the RAM is locked in place.

Conclusion

To reassemble your device, follow these instructions in reverse order.
Brian M. Williams

Member since: 28/09/21

175 Reputation

0 comments