Introduction

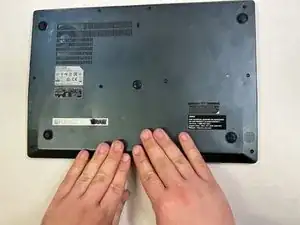
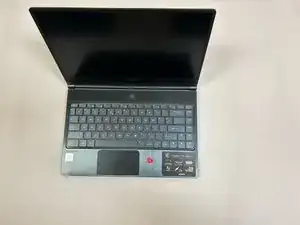
This guide will show you how to remove a faulty battery from the MSI modern 14 A10M and replace it in an efficient and safe manner.

  1. HH1FqnCyiVVZGDgX
    HH1FqnCyiVVZGDgX
    w1UWCRAcOiOoshFs
    • Shut down the laptop by pressing and holding Alt F4 on the desktop.

  2. YX6gQUKS3l5Nt3XT
    • Press Enter and wait for the lights on the laptop to turn off.

  3. NKrgFVgtPl3jWe5D
    NKrgFVgtPl3jWe5D
    a4wGWbhaDHNQUN4p
    pShgNv1FcfTnBF4M
    • Unplug the charging cable and close the laptop.

    • There should be no external power through the system because of the risk of electric shock.

  4. YPEWNARcSamFDfx5
    • Flip the laptop over onto a clear workspace so the back cover is visible.

  5. P4oFbHiGUCNyek52
    P4oFbHiGUCNyek52
    NvZWQbvIaJO3sbsw
    bvoB6fxqcLWg6ZV6
    • Select the J1 bit from the iFixit repair kit and assemble the screwdriver.

    • The bit types should be labeled on the foam insert holding them.

  6. Gsyj3FDTr63tTEMS
    Gsyj3FDTr63tTEMS
    JmvxubAlwVh61KrP
    • Unscrew the 12 screws from the back of the laptop cover.

    • Set the screws aside to make reassembly easier.

  7. TmXdCnsQaGwCeZlY
    TmXdCnsQaGwCeZlY
    IkJInAe2ro1RmHDD
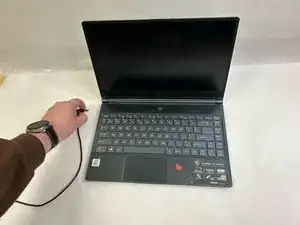
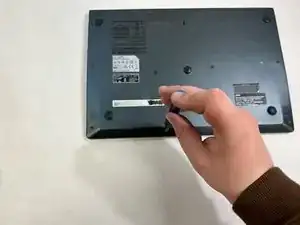
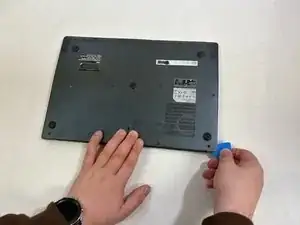
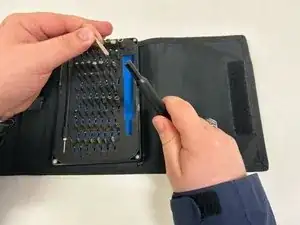
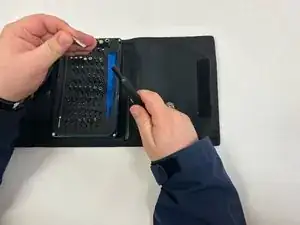
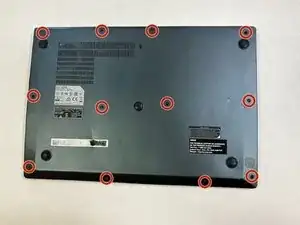
    • Insert the Plastic Opening Pick from the iFixit repair kit until the corner of the cover pops off.

    • The top corner is the easiest place to insert the pick.

  8. 1qMRFGb1Lh2GAmCm
    1qMRFGb1Lh2GAmCm
    NFdlYkBjQJkxcKkC
    Yd1UStUncC1UHJAh
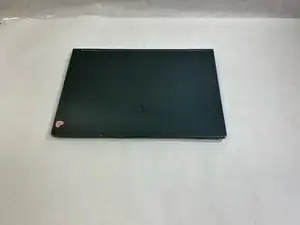
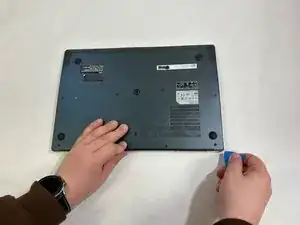
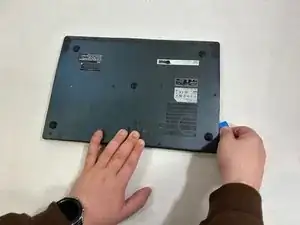
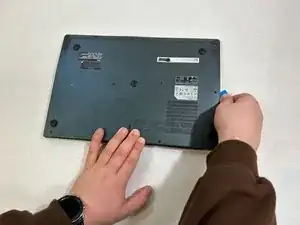
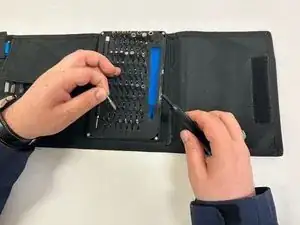
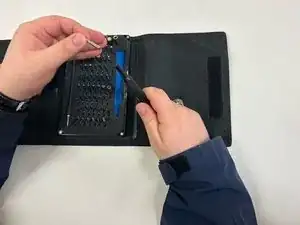
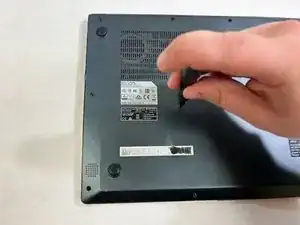
    • Slide the Opening Pick along the side to release the clasps from behind the back laptop cover until the entire back has been released from the laptop.

  9. 5tQitYoV4ZKGANTV
    5tQitYoV4ZKGANTV
    1eZWe3lDNbP1aDeI
    UlnX5M6OZi5LQvjl
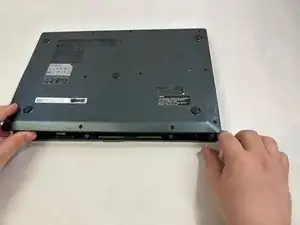
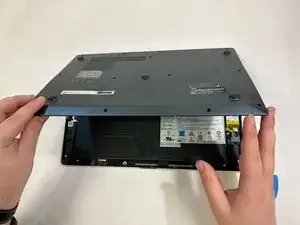
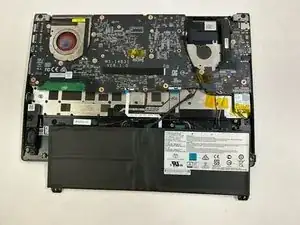
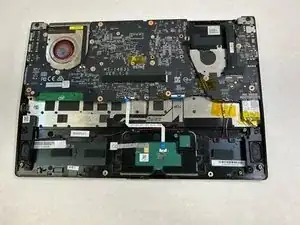
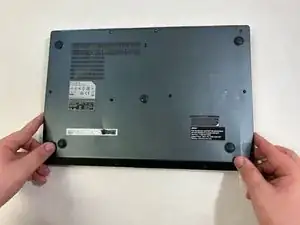
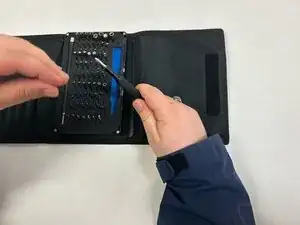
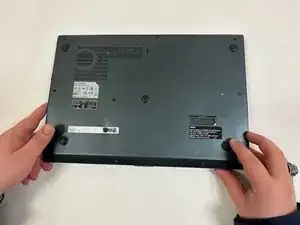
    • When the Opening Pick has unhinged the entire cover, lift the cover off the laptop and set it to the side to be used later.

  10. ynqLQuHDJVOZaIIa
    ynqLQuHDJVOZaIIa
    IdHblMJ23vxWGHre
    wZDX6KXrfuw5JWsy
    • Switch the J1 bit to the 0 bit in the iFixit kit and assembly the screwdriver.

  11. ljTAEycqj1ooOCGe
    ljTAEycqj1ooOCGe
    2kG6iWlXDVYTmOoM
    kCP2PfIHQPg1rNhF
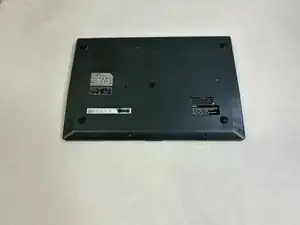
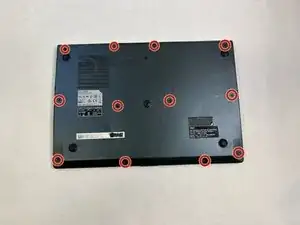
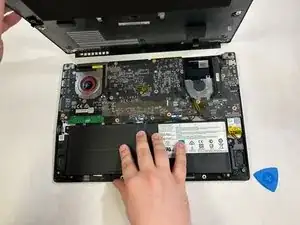
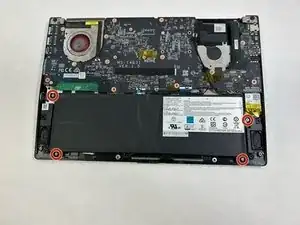
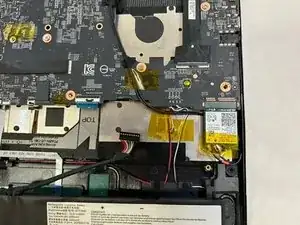
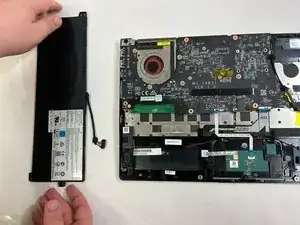
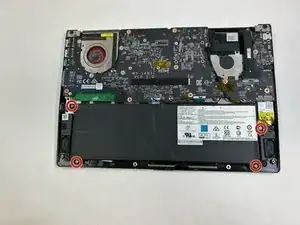
    • Find the cover of the battery and unscrew the four screws from the cover of the battery. Remove the cover and set it aside.

    • The battery should be exposed now.

  12. x62A1OiKI1xYGXkJ
    x62A1OiKI1xYGXkJ
    miBanHVMeVDpO6Gm
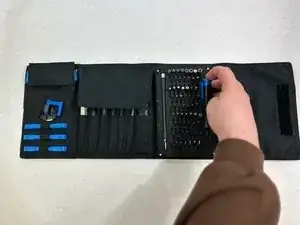
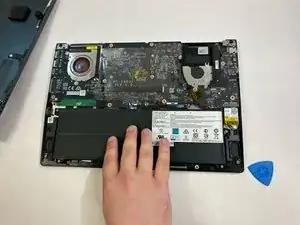
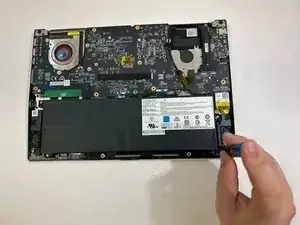
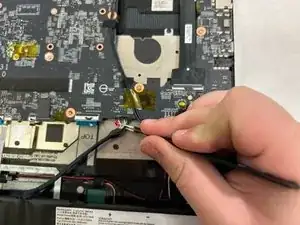
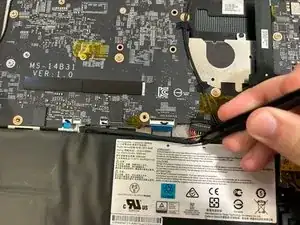
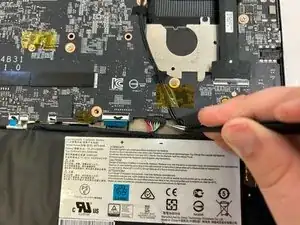
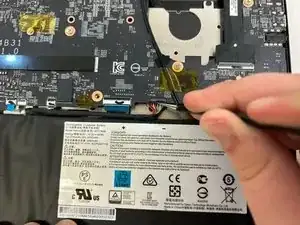
    • Use the tweezers from the iFixit repair kit to unplug the battery connection from the computer so that the power source is no longer connected.

  13. WKExt1n4wVePk5jX
    WKExt1n4wVePk5jX
    vCuEE1D6pVtOaVeM
    KXZNDkVwO3ATopMM
    • Remove the battery from the laptop and dispose of it properly.

    • Dispose of the battery at a hazardous waste collection point.

  14. 2GBi3XdANCbsOxMK
    2GBi3XdANCbsOxMK
    6Cyys2mcRSlo3BLZ
    oXrZHGdP6HsFToHX
    • Place the new battery into the laptop where the old battery was.

    • Be sure to line up the battery to the screw holes.

  15. kTSPpHkMhKUEoC3e
    kTSPpHkMhKUEoC3e
    sdV2jXK5G4fZpIGN
    ByEXgrbdBKDKvFwl
    • Use tweezers to insert the new battery connection to the computer.

  16. S1jJ2BwsUNty4qtK
    S1jJ2BwsUNty4qtK
    dsTlFoyuPUEXCtI2
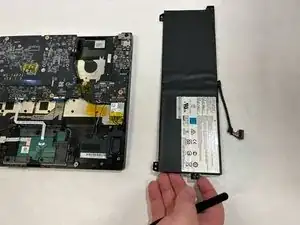
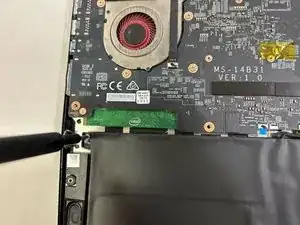
    • Grab the battery cover, place it onto the new battery, and screw the 4 screws into the back to secure the battery in place.

  17. o2mZg1VdbyUjitci
    o2mZg1VdbyUjitci
    JWLL4uyEKOyI5IAO
    j1LuBcNXMjR2UDAD
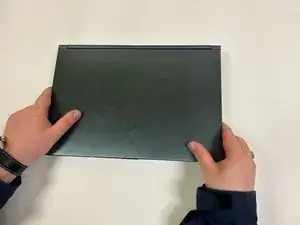
    • Line up the laptop's back cover and press down on the sides of the cover in place until the entire cover is flush with the laptop again.

  18. ewCXW5EjrNomryjR
    ewCXW5EjrNomryjR
    HICDycsU51TJIfBw
    4cqXR1IBYCUCBIhe
    • Switch back to the J1 bit from the iFixit repair kit and assemble the screwdriver.

  19. IFyErmn3LBWgRZTZ
    IFyErmn3LBWgRZTZ
    H2UN644vporDkYmS
    • Reinsert the 12 screws using the J1 bit to secure the back cover in place.

  20. iJKCYS4PZHRIpWLR
    iJKCYS4PZHRIpWLR
    ZYHeRWDMlNHtIdN1
    ePjWJAtSWhsIbpBl
    • Flip the laptop right side up and open the top.

  21. KXLYMdJrxTwfAScQ
    • Plug the power source in to help the laptop when it is powered on.

  22. MLNuAYXtBuV2n42N
    MLNuAYXtBuV2n42N
    2nVWUpChNMjbw3HC
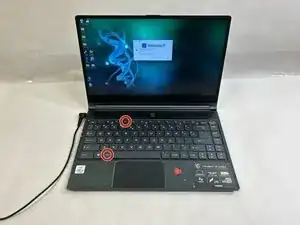
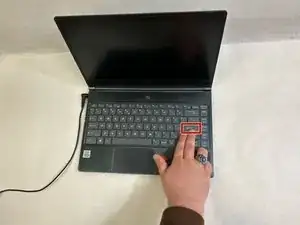
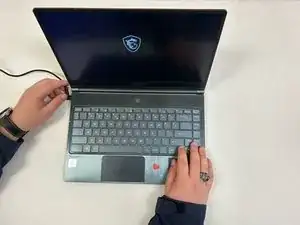
    • Press the power button of the laptop to verify that it is working by holding the power button in the top middle of the laptop keyboard until the screen comes on.

Conclusion

If the laptop fails to power on after completing the repair, be sure to go back and verify each step was done correctly.

Joseph Ward

Member since: 21/03/23

415 Reputation

0 comments