Introduction
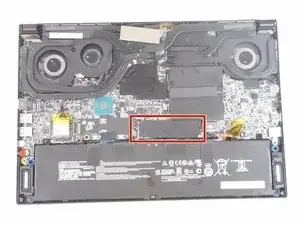
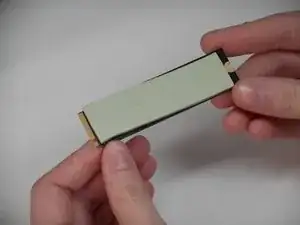
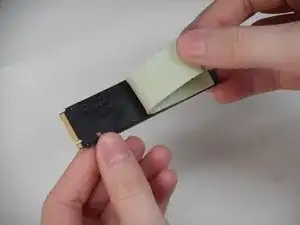
If your MSI GS66 Stealth laptop (model 11UE-007) is having difficulty with accessing/retrieving information in a quick and efficient manner, the NVME SSD might need to be replaced with this guide. The nonvolatile memory express (NVME) is the tool that assists the solid state drive (SSD) in the delivery and retrieval of information within the hard-drive. NVM is a relatively new thing that streamlines the response times for higher workloads.
If your computer is lagging and having trouble running programs, this may be a direct result of the SSD drive. This a relatively "easy" fix because it follows the same beginning steps as the other guides. This piece is easy to spot and remove and replacements are not expensive to replace.
If the NVME SSD is needing replacement, the motherboard will need to accessed. Since the NVME SSD is directly connected to the motherboard, if after replacement the part still does not function, an entire new motherboard might be required or a download of a more recent Windows file will fix the issue. The tool required for this replacement is a Phillips J1 Screwdriver.
Tools
-
-
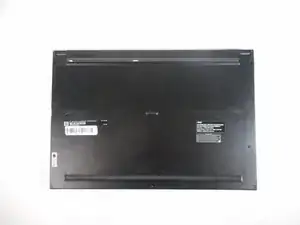
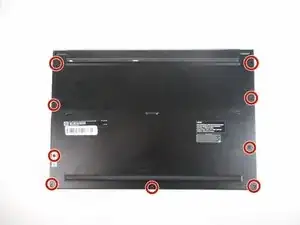
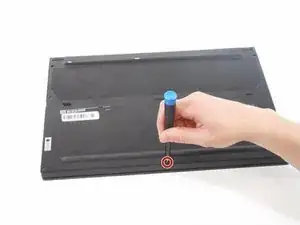
Identify the nine screws around the perimeter. One screw will be under the factory seal sticker.
-
-
-
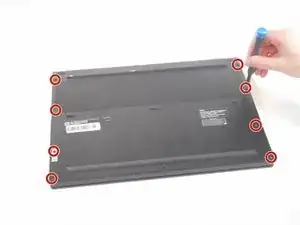
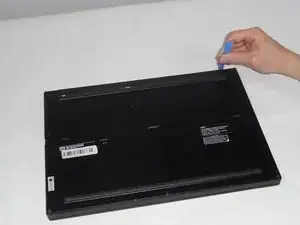
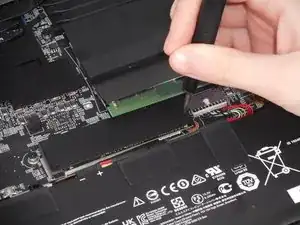
Use the tip of the blue plastic opening tool to slip between the backplate and the body of the laptop at the hinge side.
-
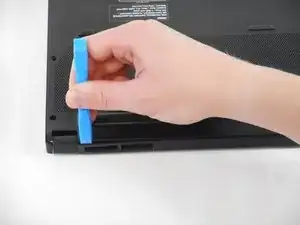
Wiggle the blue plastic opening tool as you slide it around the perimeter of the backplate to separate it from the body of the laptop.
-
-
-
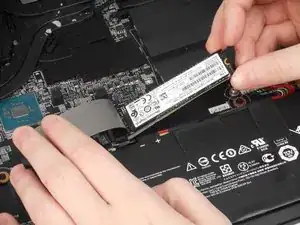
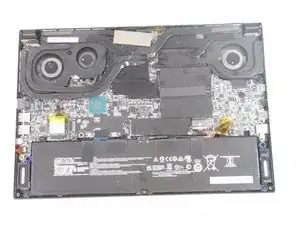
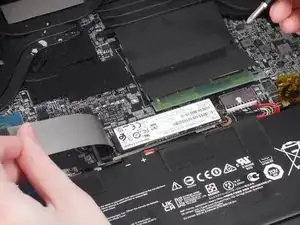
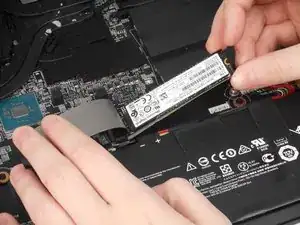
Lift the drive up to forty-five degrees and pull at that forty-five degree angle away from the connector.
-
To reassemble your device, follow these instructions in reverse order.
