Introduction
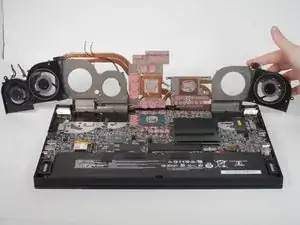
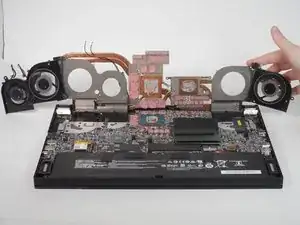
If your MSI GS66 Stealth laptop (model 11UE-007) is having problems overheating, a cooling fan replacement might solve the issue. The cooling fan is an essential component of any laptop. The CPU will produce heat and without the cooling fan to reduce the heat on the device, this could result in performance loss, unexpected shutdowns, hardware damage and, in the worst case, a fire.
The warning signs for a broken cooling fan are very recognizable with a concentrated abnormal amount of heat on the backplate of the laptop. Prolonging this issue is not recommended and with this guide the issue can be solved quickly and ensure the longevity of your laptop. For this guide, you will need to use a Phillips J1 screwdriver, a blue iFixit opening tool, and an iFixit opening pick.
Tools
-
-
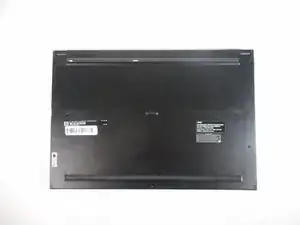
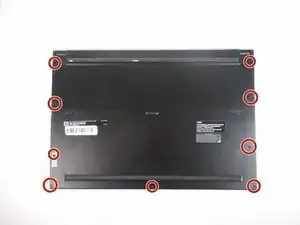
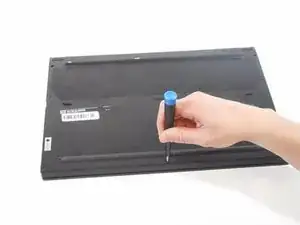
Identify the nine screws around the perimeter. One screw will be under the factory seal sticker.
-
Remove eight 10mm Phillips J1 screws.
-
Remove one 7mm Philips J1 screw from the center bottom of backplate.
-
-
-
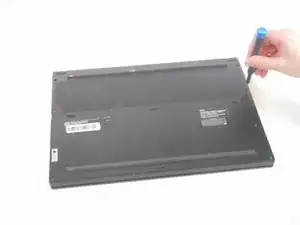
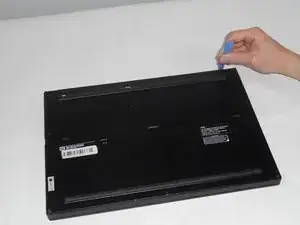
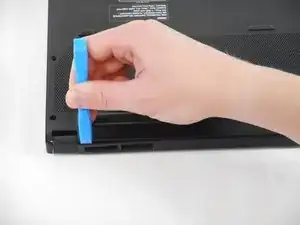
Use the tip of the blue plastic opening tool to slip between the backplate and the body of the laptop at the hinge side.
-
Wiggle the blue plastic opening tool as you slide it around the perimeter of the backplate to separate is from the body of the laptop.
-
-
-
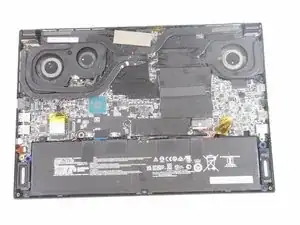
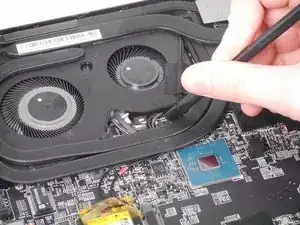
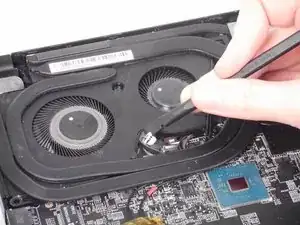
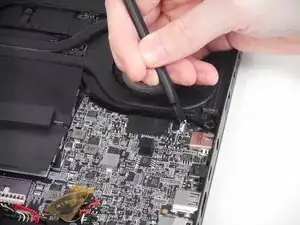
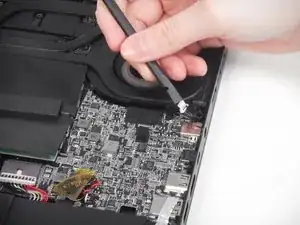
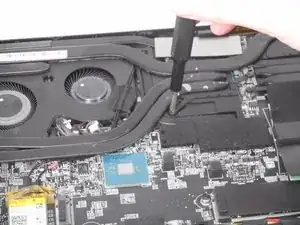
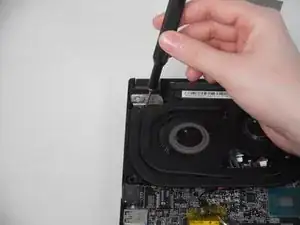
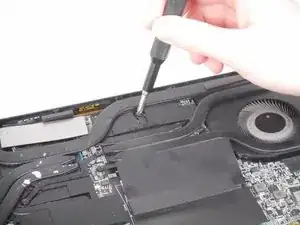
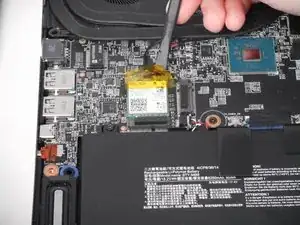
Remove the fans
-
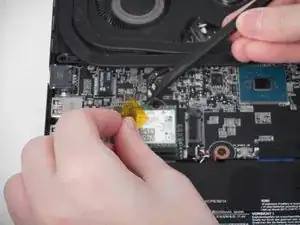
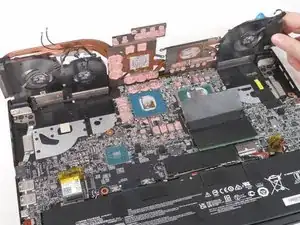
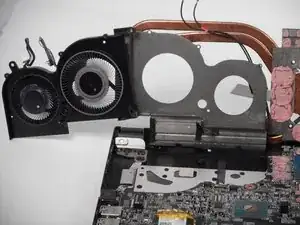
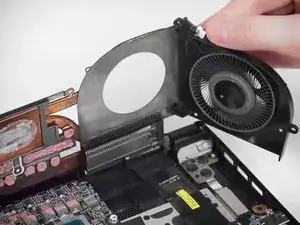
Orient your laptop so that the bottom is facing up and the hinge is away from yourself.
-
To reassemble your device, follow these instructions in reverse order.
