Introduction
This guide will teach you how to replace the hard drive in you MSI GE72 6QF Apache Pro
Tools
-
-
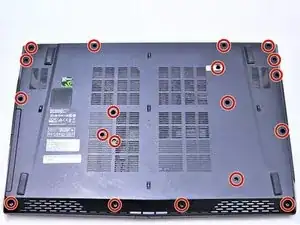
With the laptop closed and upside down, unscrew the nineteen 5.5mm Phillips #1 screws that keep the back cover in place.
-
-
-
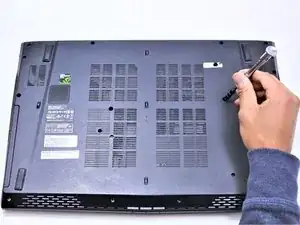
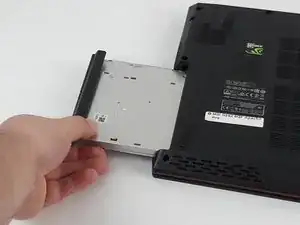
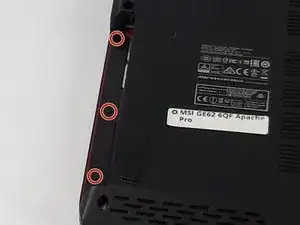
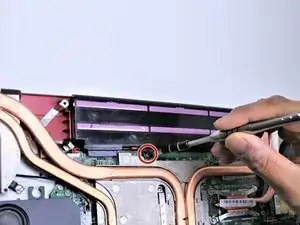
Use a Phillips screwdriver to remove the three screws along the edge of the optical drive bay.
-
-
-
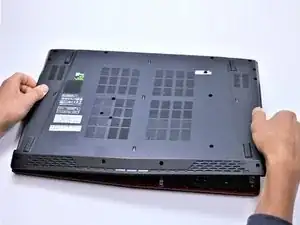
Using your fingers, gently loosen the edges of all four sides of the back cover.
-
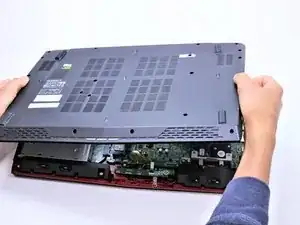
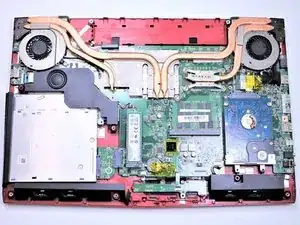
Gently pull off the back cover.
-
-
-
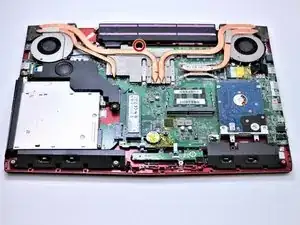
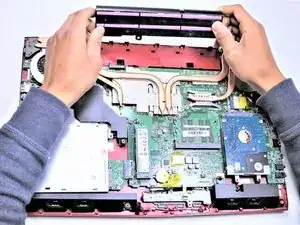
Grab the battery with your fingers and gently pull it up and away from the rest of the laptop.
-
-
-
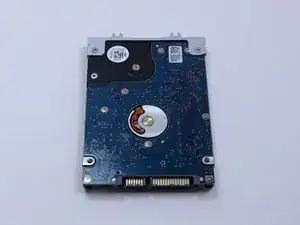
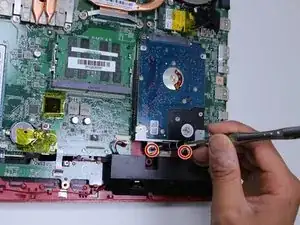
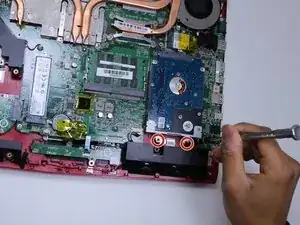
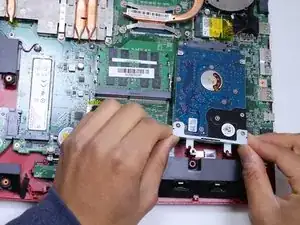
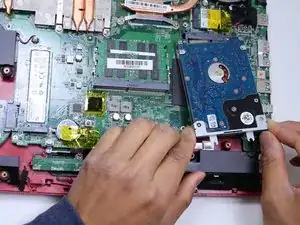
Gently pull out the hard drive by wiggling it from right to left with your hands until it is removed.
-
To reassemble your device, follow these instructions in reverse order.
One comment
I have just bought an MSI GP72VR Laptop and I screwed up and got the model with only one drive, an SSD. It nagged at me that I didn't get the one with 2 drives. Well I happen to build my own desktops and had a spare 500GB Mushkin SSD hanging around and decided, what the heck. I came here and couldn't find the exact model but this is identical for what I want. I have never seen an access like this where you have to remove 19 screws. So I am very happy that this is on iFixit. I removed the screws and couldn't get the bottom removed as shown, I had to go to the other side and then it came off fairly easily. I used a butter knife for the initial pry and that worked well. They had sent the disk holder with the computer so I had no problem installing and I just set it up in Disk Manager. Tanmay, thank you very much for the assist, it is appreciated.
adard745 -
Good day sir pls am urgently look for the complete cd rom for this laptop msi 1791. Please if u can get some for me text me on 7186034112
rauffsulemane -
Or send me and email rauff191@gmail.com
rauffsulemane -