Introduction
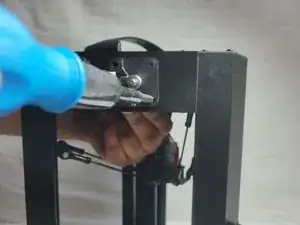
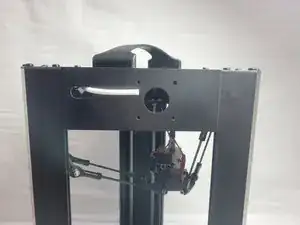
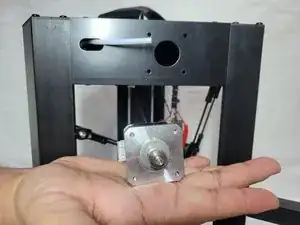
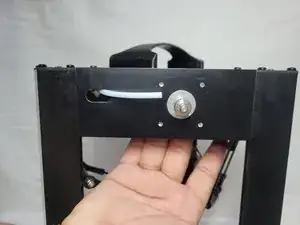
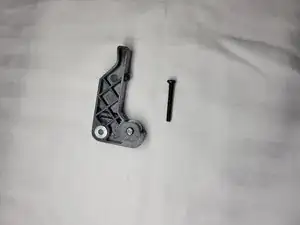
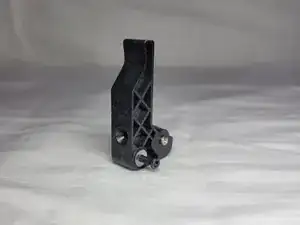
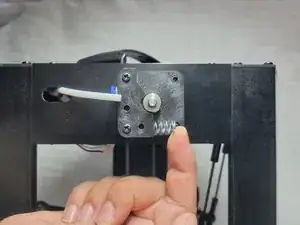
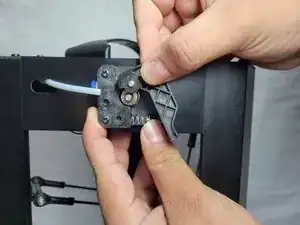
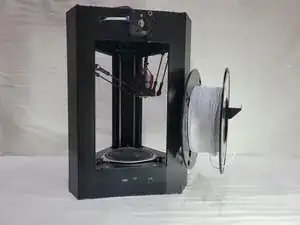
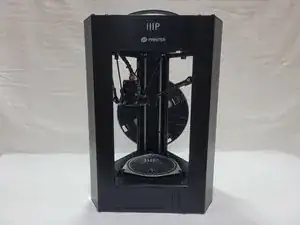
Are you noticing grinding noises and improper extrusion with your MP Select Delta Mini 3D printer ? Use this guide to replace the extruder assembly if you need to. This procedure is quite normal and routine and should not adversely affect your 3D printer, however it is highly recommended to first talk to the people where you bought the 3D printer to see whether or not a warranty still applies to the extruder. Typically most 3D printer retailers and manufacturers only allow warranty on the extruder if a warranty ticket is placed within one month of the purchase as the extruder is considered an expendable part.
Tools
Parts
-
-
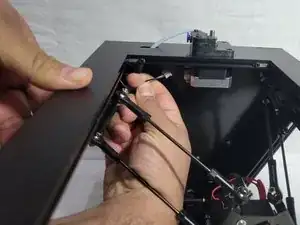
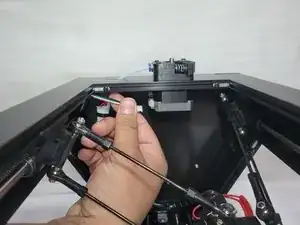
Flip the 3D printer on its side with the extruder facing up.
-
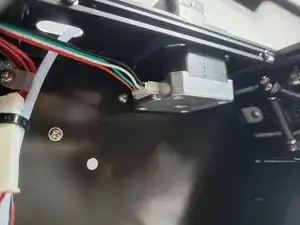
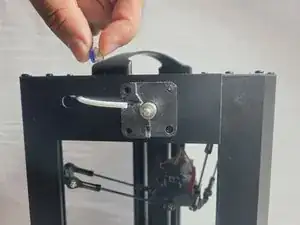
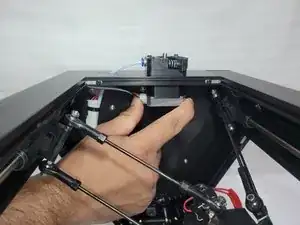
Gently unplug the wire from the NEMA 17 stepper motor.
-
-
-
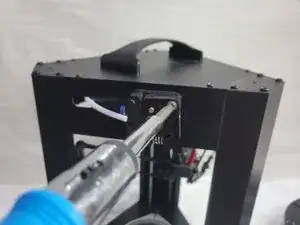
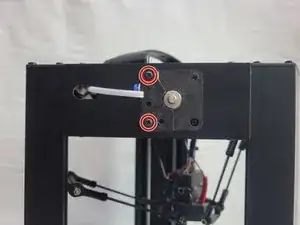
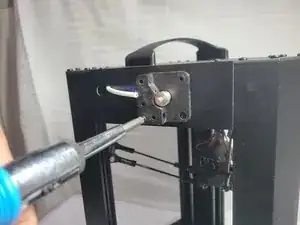
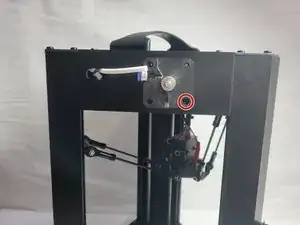
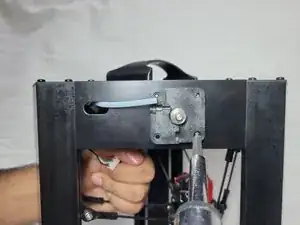
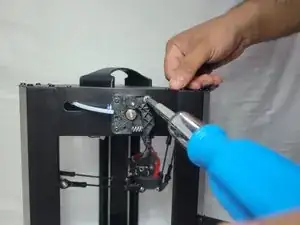
Using the Phillips #2 screwdriver remove the M3 x 3mm screw while holding the stepper motor.
-
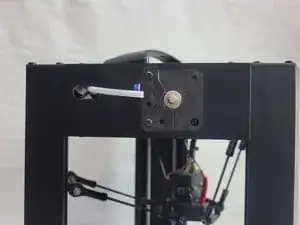
Gently remove both the plastic assembly and the stepper motor from the 3D printer's metal chassis.
-
-
-
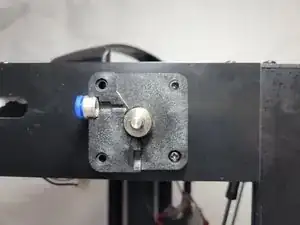
With one hand holding the motor in place, attach the large replacement base for the plastic extruder.
-
Whilst holding the stepper motor screw in the M3 x 3mm screw with the assistance of your Phillips #2 screw driver.
-
-
-
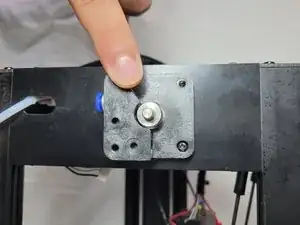
Place the coupling on the top left corner of the extruder assembly in the place designated for it.
-
Place the second largest plastic assembly piece on top the coupling.
-
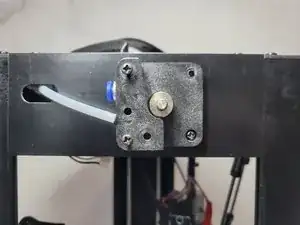
Place two M3 X 8mm screws in the two holes on the left of the extruder assembly and tighten them with the Phillips #2 screw driver.
-
-
-
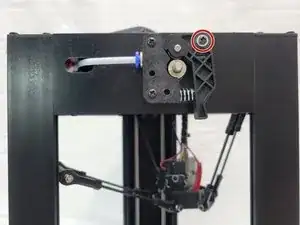
Place the M3 x 8mm screw in the extruder arm making sure that the screw head faces the same direction as the pre-attached screw head.
-
-
-
Place the replacement spring in the hole designated of it on the side of the extruder plastic assembly.
-
Place the M3 x 8mm screw attached to the arm on top of the hole on the top right corner of the assembly base plate .
-
Very carefully compress the spring and slide the spring over the little extruded piece of plastic on the extruder arm.
-
When the spring, extruder arm and the M3 x 8mm screw have been aligned use your Phillips #2 screw driver to tighten the M3 x 8mm screw.
-
-
-
Flip the 3D printer on its side with the extruder assembly facing up.
-
Locate the loosely hanging stepper motor wire.
-
Gently insert the stepper motor wire into the stepper motor.
-
