Introduction

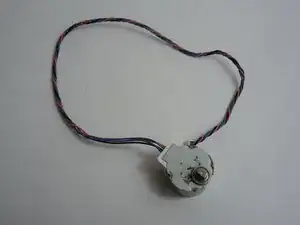
When printing, your extruder may not work properly, the reason of this may be related to one of the two motors. If you determined that one of the motors could be the ones causing trouble, you will need to replace it. Through this guide we intend to show the step by step process that one must take to safely remove and replace the motor of a M3D Micro.

  1. cNg2qsyivFCc6LN1
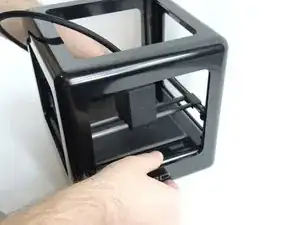
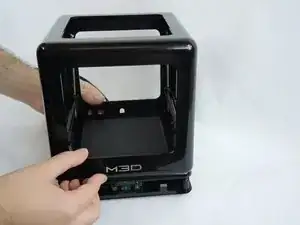
    • Removing the frame is necessary to access the z axis belt, motors and ports. Make sure the unit is unplugged and set on a hard level surface.

  2. dLitWxk2WbUWFXRV
    dLitWxk2WbUWFXRV
    QrrOiLK15klnRFNw
    rHUieMR23Am2qdlX
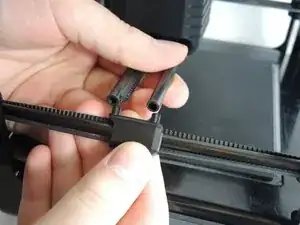
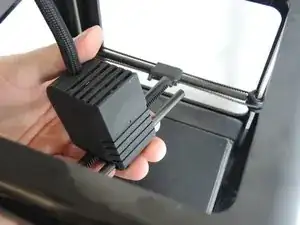
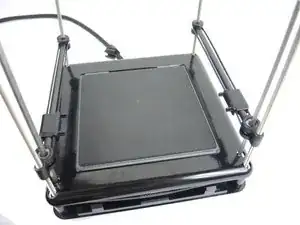
    • Pull the x-rods away from the plastic sliders on the y-rods, and flip the slider upwards to release the tracks. Lift the extruder assembly out of the way.

    I could get it loose on one side. The other is firmly stuck. It does let me flip the head up to the side, but it won’t come loose without significant violence.

    Also, to the the first one loose, I have to pull the Y-rods so hard that they bend. Not plastic deformation, they are not ruined (I think) but the amount of force disturbs me.

    Ragnemalm -

  3. xpnXhbiyDEaKjdnL
    xpnXhbiyDEaKjdnL
    JlnOC4diUbyUZJjV
    • No tools are required to remove the frame. Press down on the printing bed with your thumbs while lifting the frame with your fingers. The frame easily slides up.

    This doesn’t work at all on my M3D. I had to force in a tool, a kitchen knife, to crack it open in each corner. THEN I can lift it up. (But I still can’t lift it off since I can’t remove the printer head. More force needed there.)

    Reassembly is harder, because you have six rods that must get into separate holes more or less simultaneously, and I guess those small metal rings on the top have a purpose too.

    Ragnemalm -

  4. 2ROqVCBEXTo2o1v6
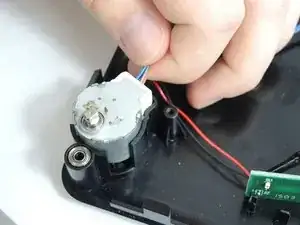
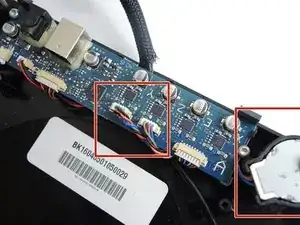
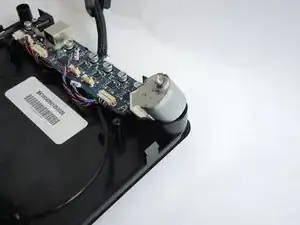
    • Once the base is opened you should find a circuit board and two motors like the one on the right, select the motor to be replaced.

    You forgot one step: How to remove the base!

    Ragnemalm -

  5. Z1cDhlGLqD5UC3rr
    Z1cDhlGLqD5UC3rr
    2YXLluGwiYyPj4fQ
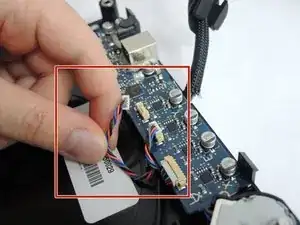
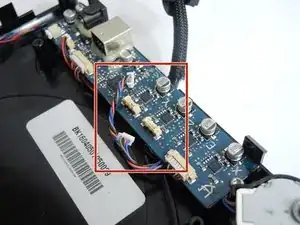
    • Unplug the connectors for the Orange, Blue, Gray and Black cables. These would be the motor cables.

  6. KdlJCSs6NtydBIVl
    KdlJCSs6NtydBIVl
    aigMZGTtkkExQfPG
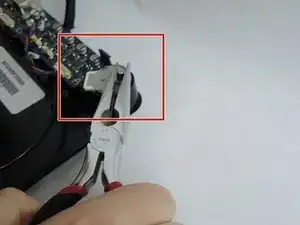
    • Once disconnected you will proceed to lift the motor using pliers.

  7. nKXOYEWlG6FnhaZV
    nKXOYEWlG6FnhaZV
    YS4ETAHqRFnx5eEP
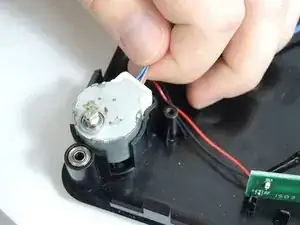
    • Now, remove the motor.

Conclusion

To reassemble your device, follow these instructions in reverse order.

Miguel Pina

Member since: 17/10/17

101 Reputation

One comment

Hello, good work and explanation. Is there any possibility to replace MICRO+ X-AXIS MOTOR “gear” please. Thanks

robozeka -