Introduction
Disassemble your Logitech VX Nano Wireless Mouse to either replace your broken scroll wheel or clean your current one.
-
-
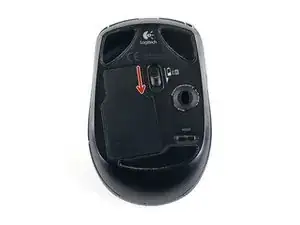
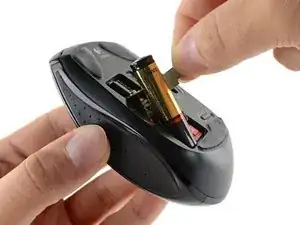
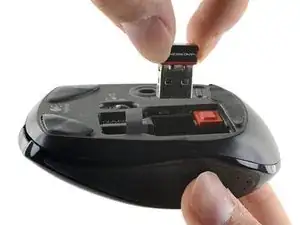
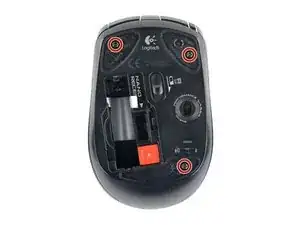
If the Nano Receiver is still in the mouse, push the bright orange button to remove it. It should pop right out.
-
-
-
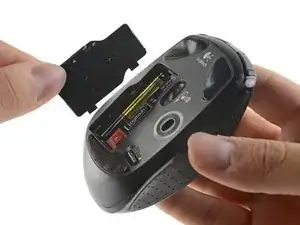
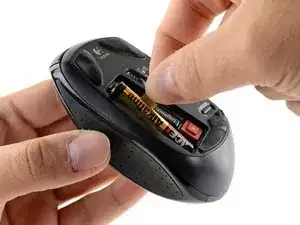
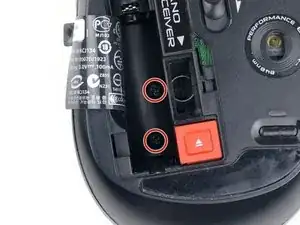
Use a Phillips #1 screwdriver to remove the two 6 mm-long screws at the bottom of the battery compartment.
-
-
-
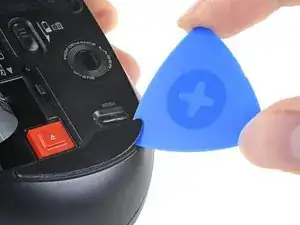
Insert an opening pick underneath the corner of one of the adhesive skates.
-
Continue to push the opening pick between the adhesive pad and the mouse case, slowly working the adhesive away from the case.
-
Repeat this same process for the two other skates.
-
-
-
Use a Phillips #1 screwdriver to remove the three 6 mm-long screws from the backside of the mouse.
-
-
-
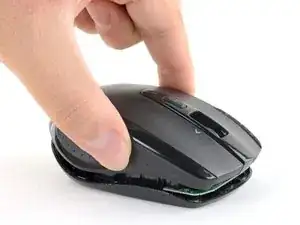
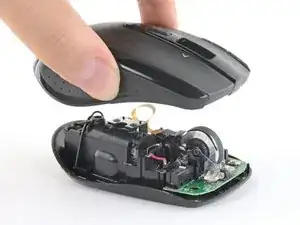
Lift the top shell straight up to separate the top plastic shell from the bottom case.
-
Remove the top shell.
-
-
-
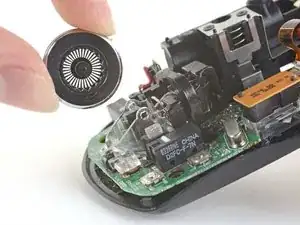
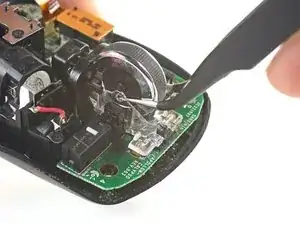
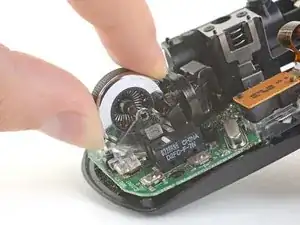
Use the flat end of a spudger to carefully pry one side of the scroll wheel out of its clear plastic housing.
-
Use a set of tweezers to grasp either side of the scroll wheel near the axle. Use one side of the tweezers to keep the scroll wheel from popping back into the clear plastic housing on the side you already disconnected.
-
At the same time, use the other side of the tweezers to pull the opposite side of the scroll wheel loose from the clear plastic housing.
-
-
-
Pull the scroll wheel up and away from the clear plastic housing and the spring holding it in place.
-


To reassemble your device, follow these instructions in reverse order.

2 comments
Thanks for the instruction!
Although I think it is impossible to remove the skates (pads, feet, whatever you call them) without damaging them.
But the replacement is still relatively easy to find on Ali or ebay.
You’re totally right! I’ll add this clarification to the step. Thanks!