Introduction

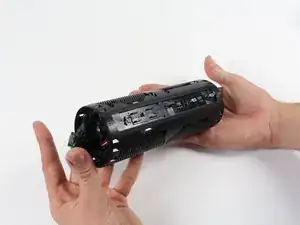
This guide will show will allow you to see step by step how to take apart your UE Boom in order to get inside and change your speakers.

  1. YnlnA4A5cB5hX4bZ
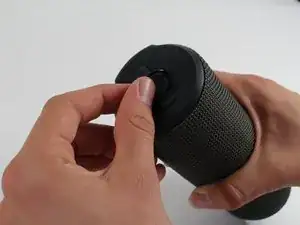
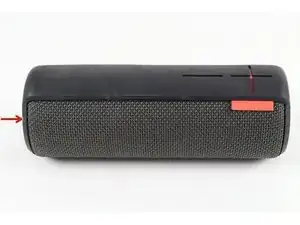
    • Turn the device over. The D-ring will be on the left face of the speaker when viewing the device from this orientation.

  2. ZUHnoi6e5ScLc2F3
    ZUHnoi6e5ScLc2F3
    OkRGCmfcoZTBaGXy
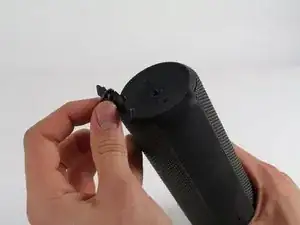
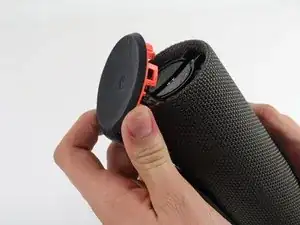
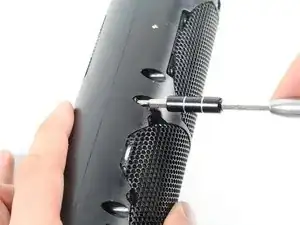
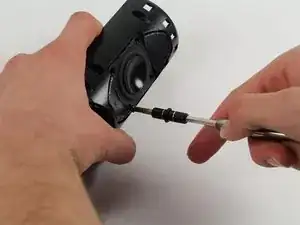
    • Lift the handle on the D-ring and unscrew it.

    • Remove the D-ring.

  3. OyrdPMyALqWWKtr2
    • Any repairs made from this point forward will void your device's warranty.

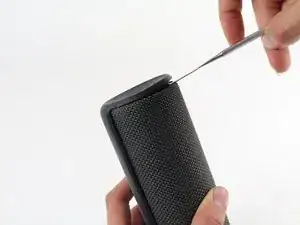
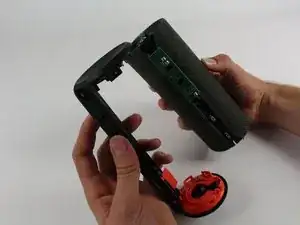
    • Holding the speaker upright, wedge the metal spudger in between the casing and the speaker. Gently pry open the tabs as they are easily broken.

    This part is not easy. The main risk is to broke the plastics clips.

    Optrolight -

    Use a heat gun (or hair dryer on high) first around the edges before attempting to pry it open. There are six tabs: one directly in line with the charging port; one approx 3/4 inch to the left and right of that tab; one centered against the back of the volume control "panel", and one approx 3/4 inch to either side of that one. So when prying, try to insert your spudger in between those spacings in order to not push on the tabs directly.

    Lotus Flower -

  4. TRBvaJSG5KNCXfBf
    TRBvaJSG5KNCXfBf
    YgLS3FBs1yFpqRr3
    q5EWYjOYvNlkvTRv
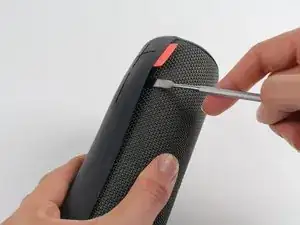
    • Find the part of the casing that covers the volume controls. Wedge the metal spudger under this and pry open all of the tabs as in the previous step.

    • Repeat for the bottom of the speaker and pry the casing open with your fingers.

  5. aMJOLjlFTeG4bRwn
    aMJOLjlFTeG4bRwn
    SRjRlgjeJnVEeduA
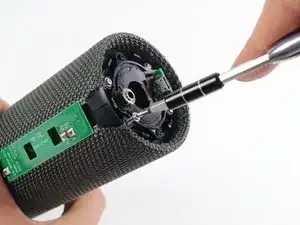
    • Using the Phillips J0 head screwdriver, unscrew the four silver 9 mm screws.

    • Do the same for the two black 7 mm screws.

  6. oPqssBfC6ZDxmFKj
    oPqssBfC6ZDxmFKj
    jDQTlFMRdUksISIn
    vWZ6ZlueCYCy5Ppk
    • This next step involves the use of a hot soldering iron. Remember to be careful during this step since it can be easy to burn yourself.

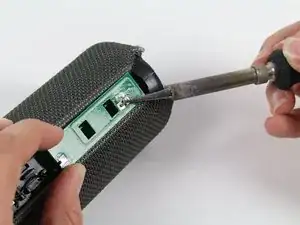
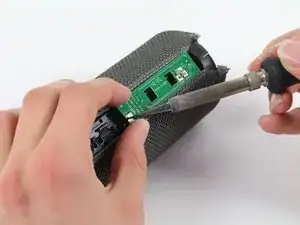
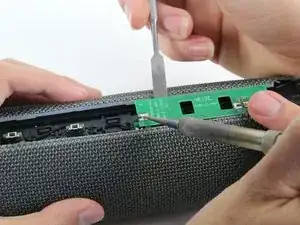
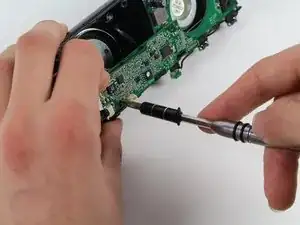
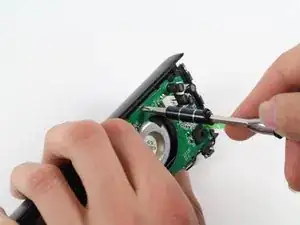
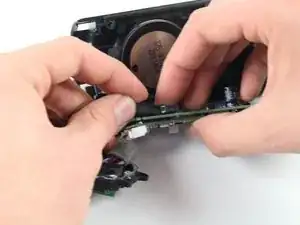
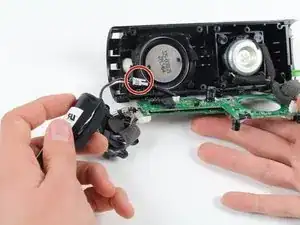
    • Using a soldering iron, de-solder the two ends of the switch plate.

    Great instructions here guys - just one comment from myself - underneath the plate there is glue holding it down as well as the solder joints. Be sure to heat it up slightly prior to lifting out otherwise the capacitors and other components get stuck in the glue.

    Jamie Horn -

    bei mir sieht der blootooth-adapter anders aus. da muss ich nix löten, er ist klein und liegt nur in einer passenden mulde, aus der er herausgehoben und in die er wieder abgelegt werden kann. meine typbezeichnung ist S-00122.

    thomas propp -

    Definitely start with the middle one, has 2 solder hinge points that took me a couple minutes to heat up, wiggle and finally lift up. One that side lifted, was much easier to go back to the edge hinge, heat up and just gently pull off.

    Michael Arvan -

    It is importante to note that there are two large solder hinge points and for the midle to pin point. Easy to desoldering but not easy to soldering after battery replacement.

    Optrolight -

  7. UsBekJvobsb4OAY1
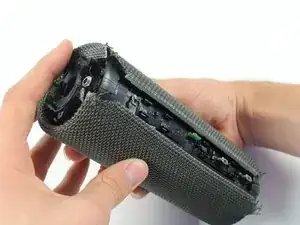
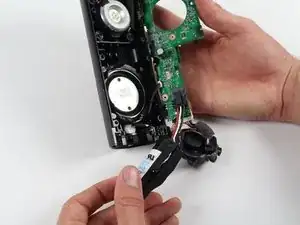
    • With the switch plate disconnected, remove it and your device should now look like this.

  8. NC1PGBVJL5xKtfrV
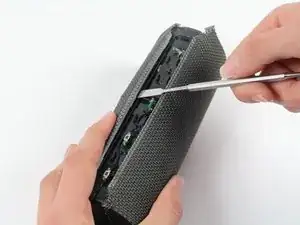
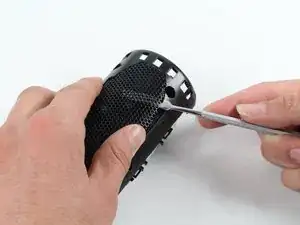
    • With a metal spudger, pry open the tabs on the speaker sleeve along the length of the speaker.

  9. AkCHJRMYTrWWejjj
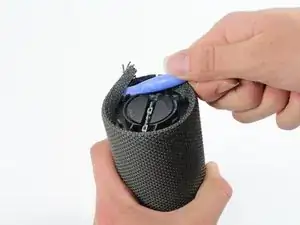
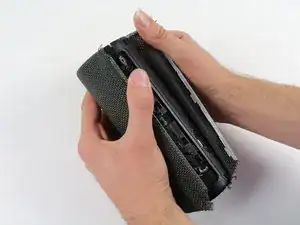
    • Use a plastic opening tool to pry the sleeve off from the bottom of the speaker.

    Zuerst auf der Gegenseite zuerst den Deckel, dann die Hülle lösen. Erst am Ende die Seite mit dem Power Button.

    Hans Fuchs -

    Translation: First loosen the cover on the opposite side, then the cover. Only at the end the page with the power button.

    Dan -

    A tips that could be help lot of us. i consider it what not easy to pry the sleeve off. But in fact there are many hole around the side that could be used to push through the holes, the plastic ring retainer.

    Optrolight -

  10. EHNBetUFlThiBcdX
    EHNBetUFlThiBcdX
    ZfnhSKEq1MSfpnce
    nIF2npvqCUXjXpkH
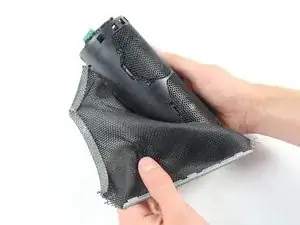
    • Peel off the sleeve.

  11. VrV2FZjmxgmagAjc
    VrV2FZjmxgmagAjc
    mIOdAWdUFjEcI5GI
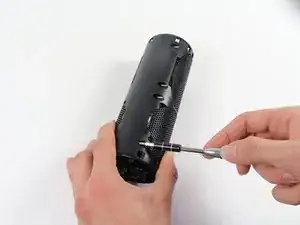
    • Use a Phillips 1 screwdriver to unscrew the eight black 14 mm screws along the length of the casing.

  12. eXeOLdX6kItOEWuf
    eXeOLdX6kItOEWuf
    r1XUK12YCnUTql6F
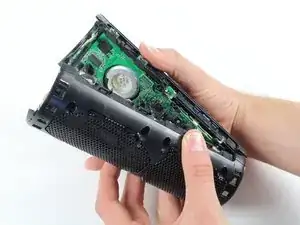
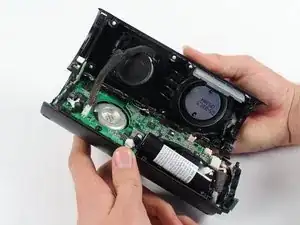
    • With the screws removed, pry open the casing to be able to get to the components inside.

    • Try prying the case open from one of the ends if that is easier.

  13. CqYiDTojj6LXKjub
    CqYiDTojj6LXKjub
    V1Y224N4DQfsYmZX
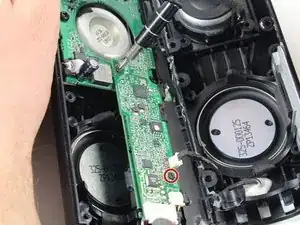
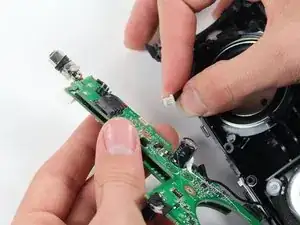
    • With a Phillips #00 screwdriver, unscrew two 5.6 mm screws from the rectangular shaped circuit board.

  14. HWEEYWtNJtvgOSB1
    • With the Phillips #2 screwdriver, unscrew the 9.9 mm screw from the larger circuit board surrounding the speaker.

  15. bxGlI2pX4FYd4ttG
    • Once all of the screws are gone, you should be able to remove the circuit boards and find the battery.

  16. vJ3WfTgmATDZL3OE
    vJ3WfTgmATDZL3OE
    nF1cAPB2CtGGOTQQ
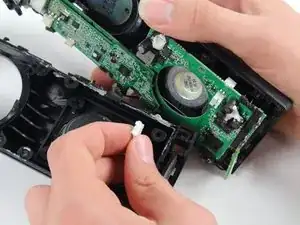
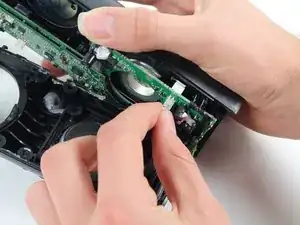
    • Remove the battery by pulling it from the terminal as marked in the picture.

  17. iMCypVO26SFBVKUl
    • At this point, you should have the case completely open and removed the battery from the motherboard.

    where do I get the speakers to replace with please

    Amwaj Khamis -

  18. 3v6T1LAPeuh5KiKS
    3v6T1LAPeuh5KiKS
    k4oXjO3XC2huu5JI
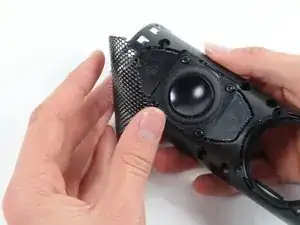
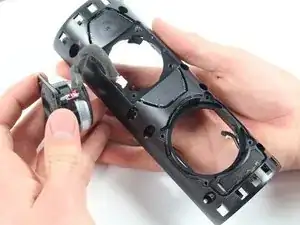
    • Remove the panel covering the speaker with the spudger. Be careful while doing this, as it is a very fragile and brittle metal panel.

  19. jFsYiVY5pc3iEdUv
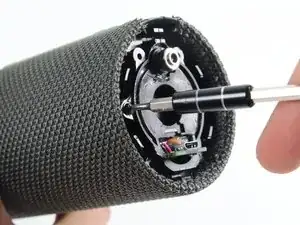
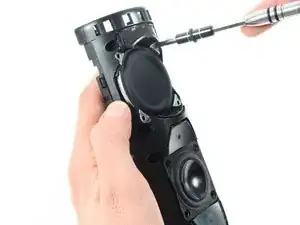
    • Unscrew the bolts holding the speaker in after removing the panel covering the speakers.

  20. sBAWLnqRBVsyQOcs
    sBAWLnqRBVsyQOcs
    rWSBJwluAoI2Dkmm
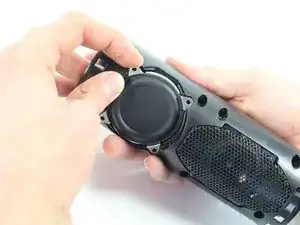
    • Gently pull the speaker off of the case after unscrewing the screws holding it in place.

  21. 22UDdIKBqPLEaFwQ
    • Start unscrewing the screws on the second speaker (the process for removing the panels is the same for both speakers!).

  22. GDhUS2iKf14IuOgI
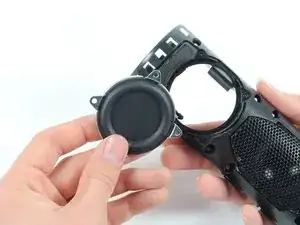
    • Remove the speaker from the casing as was done previously with the other speaker.

  23. 2qi3FegrxQLaSRx1
    2qi3FegrxQLaSRx1
    ZDEiQrfS35MPhPCu
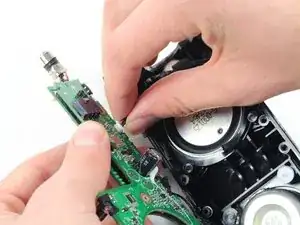
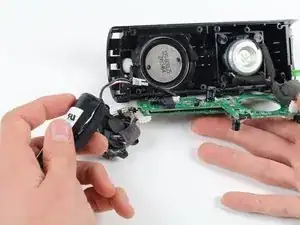
    • Gently unplug the speaker from the motherboard after removing it from its place in the casing of the device.

  24. GvjYPyo6aGD6Gsl6
    GvjYPyo6aGD6Gsl6
    6VL6dYMmlkY26PtK
    • Gently unplug the other speaker from the motherboard after removing it from its place in the casing of the device.

    • After this, you will have completely removed the speakers from the device!

Conclusion

To reassemble your device, follow these instructions in reverse order.

Andrew Pifferini

Member since: 01/10/15

1320 Reputation

16 comments

thank you for this excellent tutorial. Would you have an idea where replacement speakers can be found online ?

olivier delannoy -

Is it necessary to solder the bluetooth adapter because my speaker got dented and now it makes a weird popping sound when i play my music on high volume. i think the problem is that the metal frame is touching the speaker causing the popping sound when the speaker vibrates

Humberto Aponte -

my speaker have the same problem what should i do?

streetfames -

How many speakers are inside exactly, 2 or 4 ? I didn't understand if there are 2 per side or not...

I don't have sound on a side of my speaker and I don't now if this is normal (it is new)

Pixedy -

There are 2 speakers and 2 passive resonators, the 2 on the top are speakers while the 2 on the bottom are basically speakers without coils, they are just cones that rely on the pressure and vibration inside of the device generated by the real speakers on top to vibrate themselves and increase bass/low-end presence.
frankg65tg -

My speaker does the same sound wen i play my music loud

urirlperez04 -

What should I do mine turns on if I tap it and its poppy I think my sister got it wet what should I do

tane jury -

^But it turns on. I think I need to change the speakers in side it ????

tane jury -

when i vigorously shake mine something inside shakes too what could be the problem

nathanpace2003 -

Where do I get replacement speakers from?ive only had mine for 8months but bought on duty free.
Jim mor -

You should contact UE Support (http://www.ultimateears.com/en-us/suppor...). Your product should have 2 years warranty.
Mario Toller -

Alternatively… STEP 1 buy a new speaker.

Albert Einstein -

Where can I buy this UE replacement speakers? I have 2 broken.

knknmlambo -

Where can I purchase speakers for use boom

Brent Reimer -


My speaker fell on the floor: the battery is 100% and the speaker is ON, speaker is connected to my iPhone via Bluetooth (or via cable), I and can increase and decrease the volume (I'll checked in the app) BUT I have no music sound whatsoever? The speaker has now been completely taken apart, but all cables appear to be connected and nothing looks wrong on the printing board: what could be the problem?

Hans -

If you get a tone when you hit the volume limit, the issue is upstream of the speaker it’s self and the speakers Amp. This gets into the the DAC logic and the Analog/Bluetooth connection logic. Basically, the logic board has an issue.

Dan -