Introduction

Use this guide to safely remove and replace the battery in a Logitech Slim Folio iPad keyboard case.

Note: The Slim Folio requires two CR2032 coin cell batteries as replacements.

  1. OWtVaSeLVmvmYVYP
    OWtVaSeLVmvmYVYP
    yOmBuAEJTV6WlHJT
    AWMNnA4akAfrdKGB
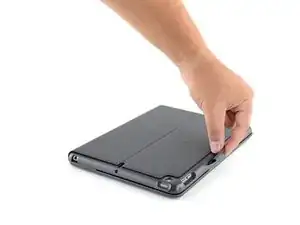
    • Open your case and lay it out flat.

  2. nW55BGDXSiHqBWEN
    nW55BGDXSiHqBWEN
    HJBEhoLSieUYNKQw
    HdWNXU5y4sANeHcd
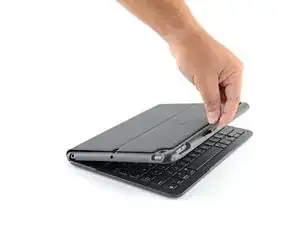
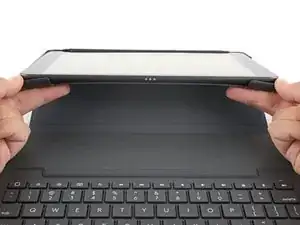
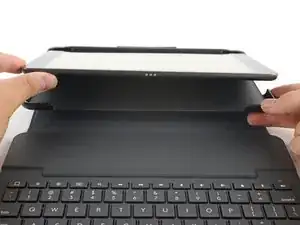
    • Grip the two case corners closest to the keyboard with your thumbs and pull them down, away from the iPad.

    • Remove the iPad from the case.

  3. sdDCDgNV5FedUMKr
    sdDCDgNV5FedUMKr
    NRGuwPtmNEt3DVNG
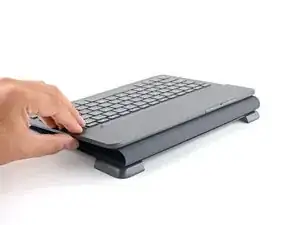
    • Fold the case in half, so the keyboard is facing up.

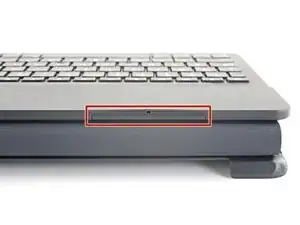
    • Locate the battery tray.

    My Logitech keyboard has stopped working after I wiped it down with a soft cloth. Tried new batteries, no good. I see your iPad has three dots at base - to connect to keyboard? My iPad doesn’t have those.

    J Newssid -

  4. rQAuZ22CPd3cXhkJ
    rQAuZ22CPd3cXhkJ
    fOb1sXPorOSEcYpK
    HsNoIq2gkvpM2vYJ
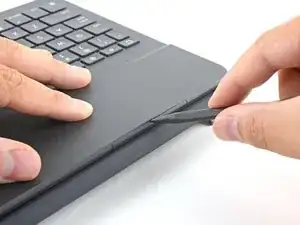
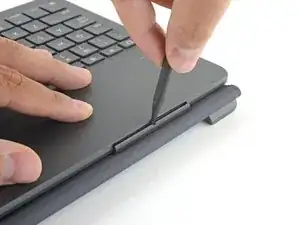
    • Insert the pointed end of a spudger into the access hole on the battery tray.

    • Push the spudger in, down, and pull the spudger towards you.

    • The battery tray should "click" open.

    Heb je geen spudger? Je kan ook een zakmes gebruiken.

    TheArcm -

  5. HuOWjMpbvFEKvm4h
    HuOWjMpbvFEKvm4h
    WCLyvJqQPOEFufEX
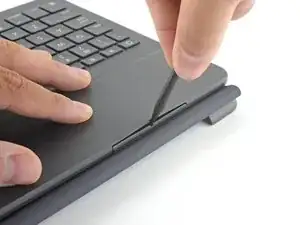
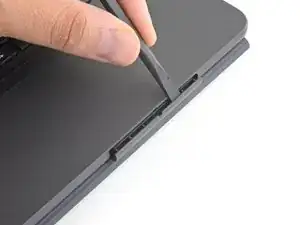
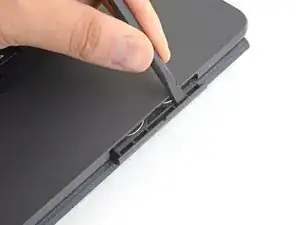
    • Insert the flat edge of the spudger into the top of the battery tray.

    • Push the battery tray out, away from the case, until you can grip it with your fingers.

  6. h46OIoCXckHH3UVj
    h46OIoCXckHH3UVj
    mkdUrFZe54p1FwSR
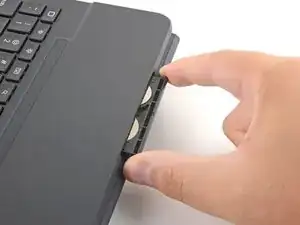
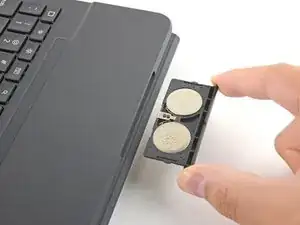
    • Remove the battery tray.

  7. tMv3RaeHOlT5OWPR
    tMv3RaeHOlT5OWPR
    GsX4yyIoyhYnxCJv
    hZGbDn4o2yl3dsSN
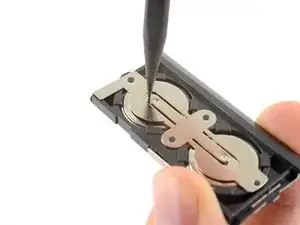
    • Flip the battery tray over.

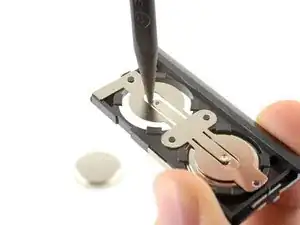
    • Use the pointed end of the spudger to push both batteries out of the tray.

    • Remove the batteries.

  8. EJZfJjqcutpLhwDM
    EJZfJjqcutpLhwDM
    mwarF3yKORMi4MAQ
    EUgPH4bWdJpIhaDD
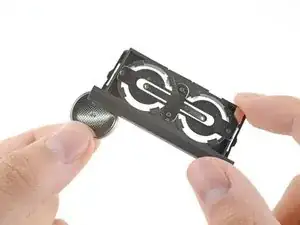
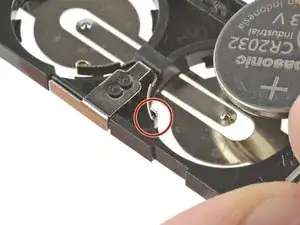
    • To install new batteries:

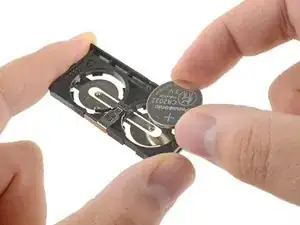
    • Press one edge of a CR2032 coin cell battery against the contact arm, its text and "+" sign facing up.

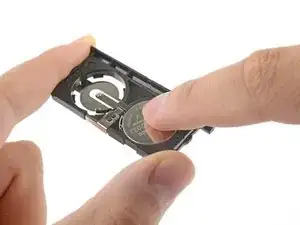
    • Press to fully seat the battery.

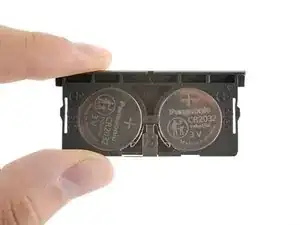
    • Repeat for the second battery.

    Super duidelijke uitleg.

    irma.smits -

    Eccellente! Magari fossero tutte le istruzioni così!

    Grazie

    maja pekarcikova -

    I put it in like that but the keyboard doesn’t work

    Ashraf Fahim -

Conclusion

To reassemble your device, follow the above steps in reverse order.

Take your e-waste to an R2 or e-Stewards certified recycler.

Repair didn’t go as planned? Check out our Answers community for troubleshooting help.

Carsten Frauenheim

Member since: 10/03/20

110978 Reputation

12 comments

Excellent instructions. So easy - you made me a hero!

edspecial -

So easy to do. I’m up and running again!

Susan Hallett -

when you put the battery tray back in, you have to push it kind of hard to get it to go all the way in. I didn’t have a spudger but was able to use an ice pick (gently) and then a small flat screw driver.

pdmd -
What if you don’t have a spider? Is there anything else that you can use to open the battery tray?

Kathy Pecsko -

You can use something pointy instead of a Spudger. For example: A pair of scissors ✂️. You can open them with the pointy blade. Thanks!

Cheryl Xu -

You can use something pointy instead of a Spudger. For example: A pair of scissors ✂️. You can open them with the pointy blade.

Cheryl Xu -

I changed the battery and still not working

Carol Garofalo -

Changed battery, the green light doesn't come on. What else can I do to make it work?

Oscar Stevens II -

Great instructions. I, def not tech savvy but I managed to replace my batteries. Would never have found the battery tray without your instructions

Gill Jory -

Exelent instructions anybody can easily follow.

Valoor Thankappan -

help please in 2023 :) I cannot open it :( is there a button or lock on the tray? thank you!

Ml Zilong -

donde puedo comprar una batería nueva??

Lola Correro -