Introduction

Use this guide to replace worn-out or damaged feet (also known as skates, glides, slides, or pads) on your Logitech MX Master 3.

While it’s possible to cleanly remove the feet, you may need replacements if one rips or separates from its adhesive pad.

  1. 2SWWPw5ThMHrPA13
    2SWWPw5ThMHrPA13
    aoCFIXisnltEV3os
    iBbCiOdCCZY1nZx1
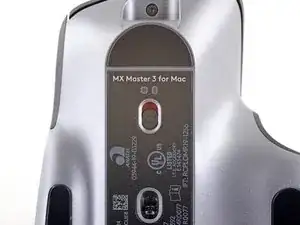
    • Flip the mouse's power switch into the OFF position, unplug any cables, and flip it over so the feet are facing up.

    • The unique shape of some mice can prevent them from laying flat. If you need to, lay your mouse on a soft towel to prevent wobble.

    • If you're planning to reuse your existing mouse feet, note that the adhesive needs to be thoroughly heated for them to be cleanly removed.

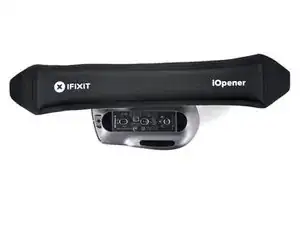
    • Heat an iOpener and apply it to each of the mouse feet for about one minute each.

    • Alternatively, you can use a hair dryer to soften the mouse feet adhesive.

    • When using a hair dryer, don't heat the feet for more than a couple seconds at a time—anything hotter than just warm to the touch risks melting or warping the plastic lower case.

    • The information sticker adhesive may soften during this step, but you don't need to remove it.

  2. lNwHraklNpe13FRL
    lNwHraklNpe13FRL
    WQN1OPOPOxHpIY1q
    eNAhdVdCEFeQY3Ex
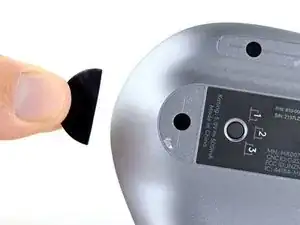
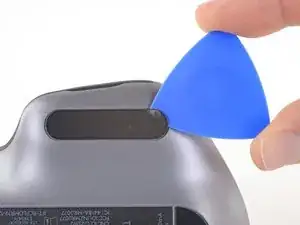
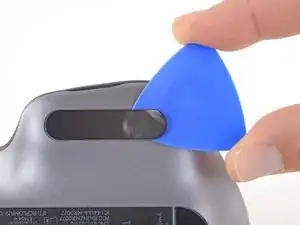
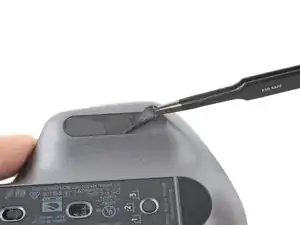
    • Slide an opening pick under an edge of the left mouse foot.

    • Go slowly, and make sure the pick slides underneath both the foot and its adhesive pad. These layers separate easily.

    • If you plan on reusing your mouse feet, be careful not to crease them or separate them from their adhesive pads.

    • If the foot feels stuck, apply more heat before continuing.

    • Slide your pick under the foot to separate its adhesive until you can grab it with your fingers.

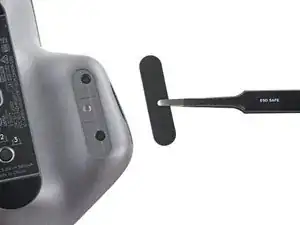
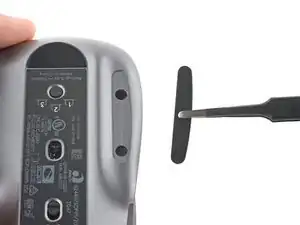
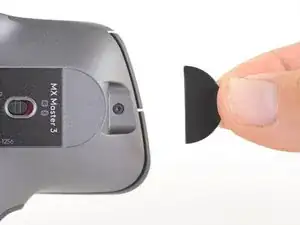
    • Peel up and remove the left mouse foot.

  3. ZXEKsfuUko2MRLrb
    ZXEKsfuUko2MRLrb
    iovfN2Z5AaT6EELY
    • Repeat the previous two steps to remove the right and the rear mouse feet.

  4. 6IDqXArxQvfcUxaF
    6IDqXArxQvfcUxaF
    VZghydpbtwxxlCaU
    bcTJSIBTKA6WGKMG
    • If the adhesive separated from the foot:

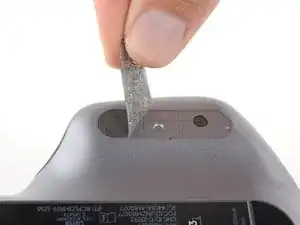
    • Slide the flat end of a spudger under an edge of the adhesive. If the adhesive seems stuck, you may need to heat the adhesive further.

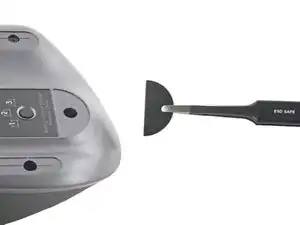
    • Use a pair of tweezers or a spudger to remove any large chunks of leftover adhesive.

    • For installing new mouse feet or reusing your old ones:

    • Thoroughly clean the bottom of the mouse with isopropyl alcohol and a lint-free of microfiber cloth. Allow the surface to dry completely.

    • Peel your new mouse feet away from their adhesive liners and press them firmly into place.

  5. 12pO6SJVbEjX4ORD
    • Remove the front mouse foot.

    This step should be before reassembly?

    luyten -

Conclusion

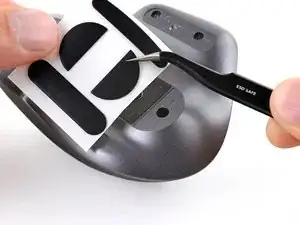
Compare your new replacement part to the original part—you may need to transfer remaining components or remove adhesive backings from the new part before installing.

To reassemble your device, follow these instructions in reverse order.

Adam O'Camb

Member since: 11/04/15

195421 Reputation

0 comments