Introduction

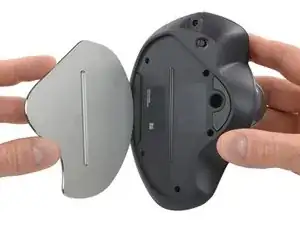
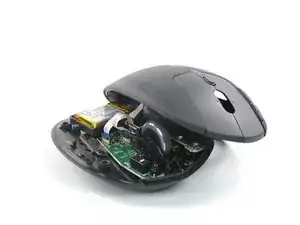
Use this guide to replace the battery in a Logitech MX Ergo.

If your battery is swollen, take appropriate precautions. For your safety, discharge your battery below 25% before disassembling your device. This reduces the risk of a dangerous thermal event if the battery is accidentally damaged during the repair.

You’ll need replacement adhesive to reattach components when reassembling the device.

  1. QLeAxIXTOoWjmcGC
    QLeAxIXTOoWjmcGC
    Jd4yTDjYncNPMIxO
    cHMPJDROgKxYiPVb
    • Before you begin, flip the mouse's power switch into the OFF position.

  2. rigJhGubqjgGdNiN
    rigJhGubqjgGdNiN
    lJYmOYGtNYRwsZyh
    • Remove the magnetic cover by pulling it away from the bottom mouse half.

  3. KZM6XyMjohPT2eLL
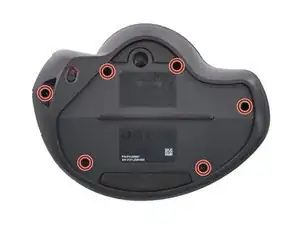
    • Use a Torx T6 screwdriver to remove the six 5.7 mm-long screws securing the two halves of the mouse together.

    My mx ergo had T5 screws not T6

    Jacob Beaman -

  4. PCDODYVMqUFdmwTb
    PCDODYVMqUFdmwTb
    EEFA2iLfAdNSgCOU
    uQTTvEF3HPWbR1gR
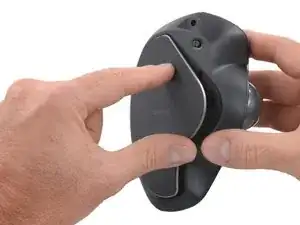
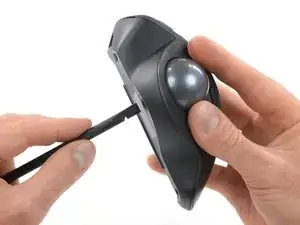
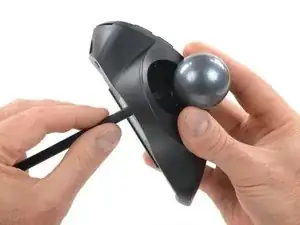
    • Insert a spudger into the hole on the bottom of the mouse, located under the trackball.

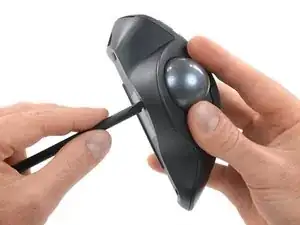
    • Use the spudger to push the trackball out of its recess.

    • Remove the trackball.

  5. qYqHvxYCMrlDoOMn
    qYqHvxYCMrlDoOMn
    VhGEmJ12aRTlGlZG
    3DtU2H5BrQovPqDo
    • There are clips all around the perimeter of the mouse case holding the two halves together.

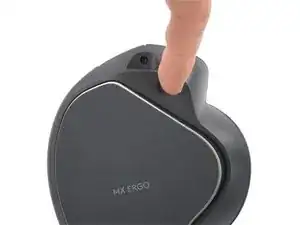
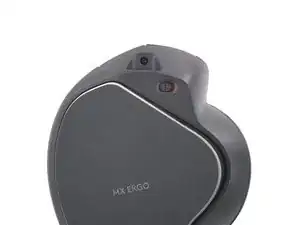
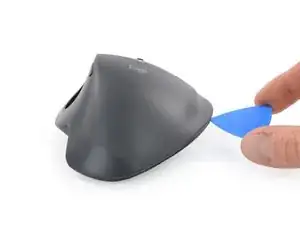
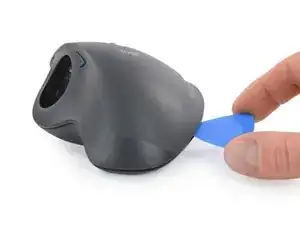
    • Insert an opening pick into the gap on the right side of the mouse.

    • Rotate the opening pick about 30 degrees to unhinge the plastic clip.

  6. i66FxCUGthX6Dr6j
    i66FxCUGthX6Dr6j
    kOHUphsLHLH2ATVp
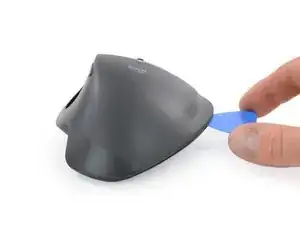
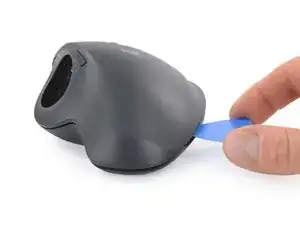
    • Slide the opening pick to the lower right side of the mouse.

    • Rotate the opening pick about 30 degrees to unhinge the plastic clip.

  7. urwPVXnpPmQLCNUQ
    urwPVXnpPmQLCNUQ
    TCLkOYuEEFcMLFHL
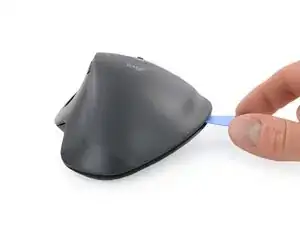
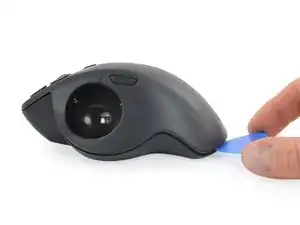
    • Slide the opening pick to the bottom side of the mouse.

    • Rotate the opening pick about 30 degrees to unhinge the plastic clip on the bottom end of the mouse.

  8. DrhFKvwhsagUlSoe
    DrhFKvwhsagUlSoe
    Bo6E6B2R2dPRJDUQ
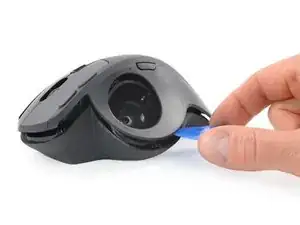
    • Slide the opening pick to the center of the left side next to the recess of the trackball.

    • Rotate the opening pick to unhinge the remaining plastic clip.

  9. I15OQnYLR4djvINW
    I15OQnYLR4djvINW
    NNUT6pEFKCZnPODa
    vPF66NAxwIGcpTiW
    • Don't completely separate the two halves yet—they're still tethered together by a delicate cable.

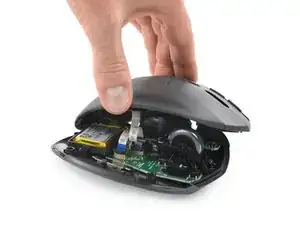
    • For better access, place the top half of the mouse to the left of the lower half of the mouse.

  10. 1WPJMGmtPBINdw34
    1WPJMGmtPBINdw34
    PFaxPKnYELG5PLYU
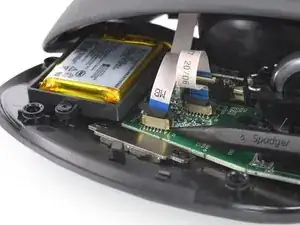
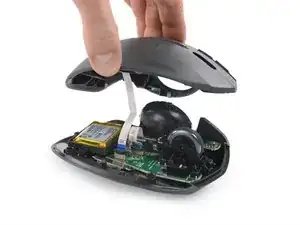
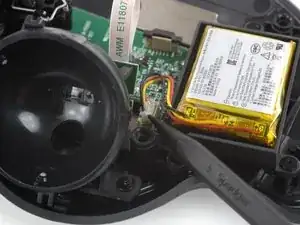
    • Use the pointed end of a spudger to gently lift the left side of the black sliding lock on the interconnect cable socket until it stops.

  11. U44qPwHBsmWyAT4v
    U44qPwHBsmWyAT4v
    LBfUQEgR4VrSqnYS
    • Use the pointed end of a spudger to gently lift the right side of the black sliding lock on the interconnect cable socket until it stops and the cable is no longer locked in.

  12. DHrbuvStFGuVWwRk
    DHrbuvStFGuVWwRk
    k13DVtR2Riw6AFSC
    ht6HaAd1xP5cJpDh
    • Remove the top half of the mouse.

  13. owEkhbkrQcpiWnSK
    owEkhbkrQcpiWnSK
    HOB441U25S5NdP3G
    • Use the pointed end of a spudger to push the battery connector up and out of its socket.

  14. cfGBtIkmuZRShmCS
    cfGBtIkmuZRShmCS
    SLKSjI6tqOYbymEa
    m3aWfSWrmRDfRihd
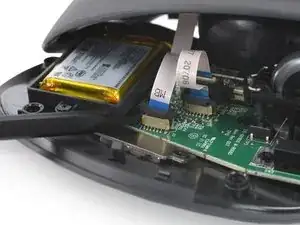
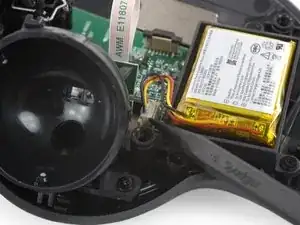
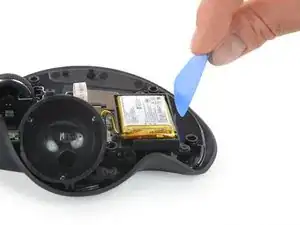
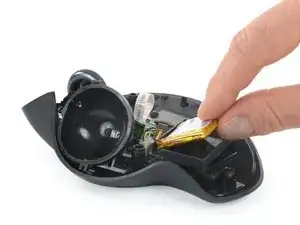
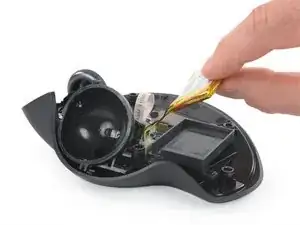
    • Insert the long edge of an opening pick between the battery and its housing at the side opposite the battery cable.

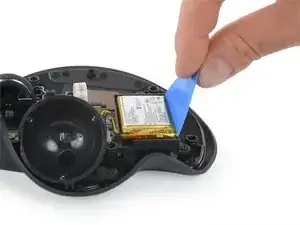
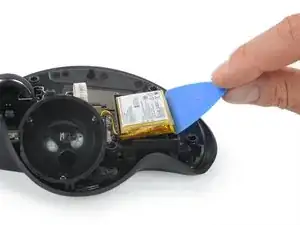
    • Push the opening pick under the battery and lift up to pry the battery off of its housing.

    • Make sure you push underneath the battery and not into it. Don't bend or deform the battery.

  15. qBsHhkCKVnJeuMAU
    qBsHhkCKVnJeuMAU
    WfdVBYs6GGZAmuhx
    • Use you fingers to lift the battery out of its housing.

  16. H6INf6PrdDXoOXa5
    H6INf6PrdDXoOXa5
    ORPULcdV2J36ZZye
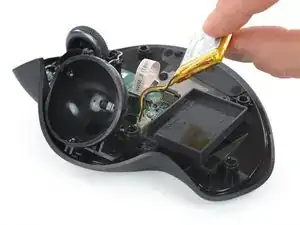
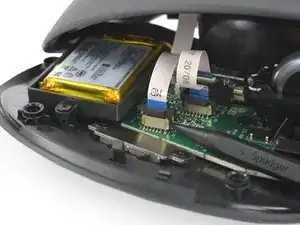
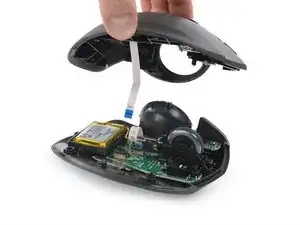
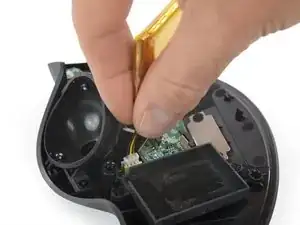
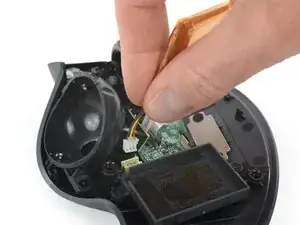
    • Use your fingers to carefully pull the cable out of the socket.

    • Remove the battery.

    • Do not reuse the battery after it has been removed, as doing so is a potential safety hazard. Replace it with a new battery.

    • It is likely you can reuse the old adhesive with the new battery. If you wish to replace the adhesive instead, remove the old adhesive and wipe away any adhesive residue with a lint-free cloth and high-concentration isopropyl alcohol.

    • Follow this guide to install new precut adhesive.

Conclusion

If possible, turn on your device and test your repair before installing new adhesive and resealing.

Secure the new battery with pre-cut adhesive or double-sided adhesive tape. In order to position it correctly, apply the new adhesive into the device at the places where the old adhesive was located, not directly onto the battery. Press the new battery firmly into place.

Compare your new replacement part to the original part—you may need to transfer remaining components or remove adhesive backings from the new part before installing.

For optimal performance, calibrate your newly installed battery: Charge it to 100% and keep charging it for at least 2 more hours. Then use your device until it shuts off due to low battery. Finally, charge it uninterrupted to 100%.

To reassemble your device, follow the above steps in reverse order.

Take your e-waste to an R2 or e-Stewards certified recycler.

Repair didn’t go as planned? Check out our Answers community for troubleshooting help.

Adriana Zwink

Member since: 18/12/19

47713 Reputation

7 comments

This guide is fantastic! It was super easy to fix! Thanks!

Corey Trueman -

Thank you for this !! Visited this site before for other tutorials you guys are great. This was easy to follow worked good for me.

DJSan -

Its a very thorough explinations and guide except the most important point.

Where to buy the new replacement battery.

Jacob Bornman -

Those are very well-done instructions. The new battery installation went very well. Thanks for the help.

Lyle Ellingson -

hi where did you buy the battery?

Yanna -

If you do a google search on Logitech 533-00121 battery you will find suppliers

David Gaguine -

An easier way to separate the two halves of the case: After removing the ball in Step 4 of the above Guide, (1) hold the case in your right hand, with the power switch forward and facing left, the concave ball recess facing up and to your right, and the edge of your right thumb firmly grasping the right edge of the rim around the ball recess (the rim is on the upper half of the case and protrudes a bit from the ball recess, so you can get a tight grip on it; the ball recess is on the lower half and is separate from the rim); (2) insert a sturdy rod into the hole that you used to remove the ball (e.g., the shaft of a Phillips-head screwdriver); (3) while holding the rim with your thumb as described in (1), gently but firmly twist the sturdy rod downward to pry the two halves of the case apart; (4) as described in Step 9 of the Guide, the two halves are connected by a cable, so as they separate be careful to keep them close to each other to prevent damage ; and (5) continue with Steps 9 through 16 of the Guide.

ebiznez -