Introduction
This guide will walk you through the process of removing the top cover of the mouse to replace the mouse buttons.
Tools
-
-
Hold the mouse so that the bottom is facing up.
-
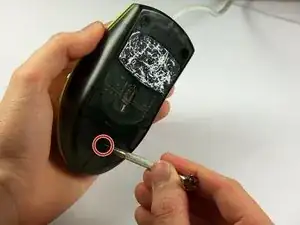
Remove the single Phillips #1 screw from the bottom half of the mouse.
-
-
-
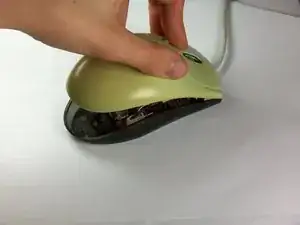
Place the mouse so that the bottom is resting against a hard surface.
-
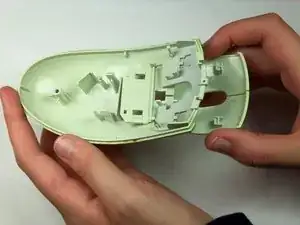
Lift the top cover of the mouse gently, and remove it.
-
-
-
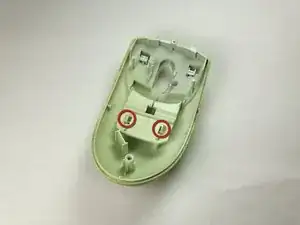
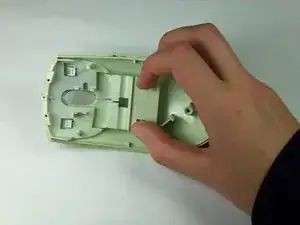
Locate the two tabs that are protruding from the button assembly.
-
Pinch the tabs together to free the buttons.
-
-
-
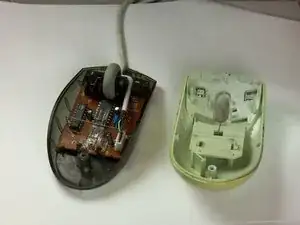
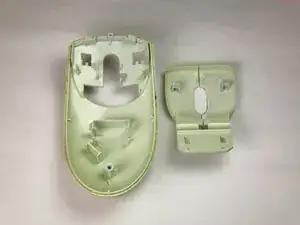
Remove the button assembly from the top cover by flipping the top cover upside down and pulling the button assembly downward and away from the top cover.
-
Slide the button assembly out from the top cover through the opening.
-
To reassemble your device, follow these instructions in reverse order.
باز کردن پیچ زیر موس
h sh -
There may be a sticker covering the screw hole.
Eric Jensen -