Introduction

  1. 5xtUobjq2RQbUo3B
    5xtUobjq2RQbUo3B
    DyOuAINQljYma1br
    Wv4audNkOvVOn6US
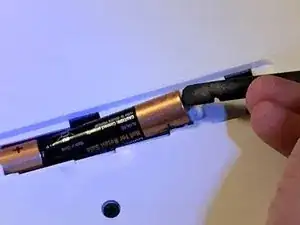
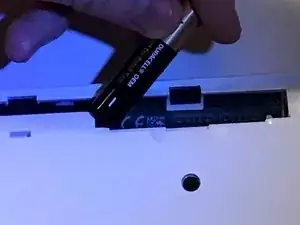
    • Pry open the battery cover on the back of the device using either your hand or a spudger.

    • Use a spudger to remove the first battery.

    • Slide the 2nd battery out of the slot.

  2. JvhqLmSXifOL5rRh
    JvhqLmSXifOL5rRh
    XeorkTAnJaZJNYKM
    pVIrSrhps1AHAeDd
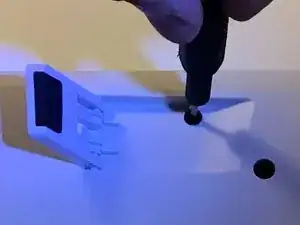
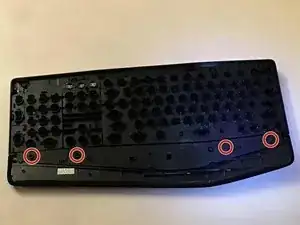
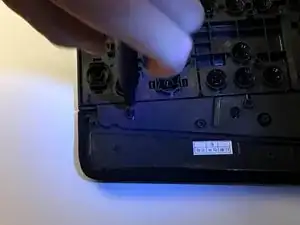
    • Unscrew the highlighted red screws using a Phillips 000 screwdriver.

    • Some screws are hidden under the rubber feet so you will have to pry off the rubber feet.

    • There are 2 screws under the keyboard's kickstand.

    PH000 was way to small/wobbly for my KBD (maybe the size changed over the years).

    PH0 was perfect match

    ZZZ ZZX -

  3. Y1R1KjhpZkhBNYPe
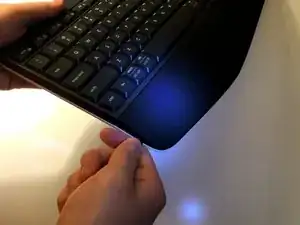
    • Insert a spudger into the seam between the black side (front) and the white side (back).

    • Pry the two halves apart, making your way around the keyboard.

    • Be careful while prying, or else you may break the two plastic clips that hold the sides together.

    I think it would help to have a photo with arrows showing where the clips are and which way to pry to release them.

    David Limbert -

    I was able to use slotted 3/32 tip (from Husky 74501 set) - the other side of PH0

    ZZZ ZZX -

  4. rDsBWInyoTYXJRTC
    rDsBWInyoTYXJRTC
    KISoBQIu6ZkcRq6u
    • Flip the black side (front) over so the keys face downwards.

    • Remove the red highlighted screws, then remove the palm rest.

  5. PsEpBW5HSRTyTxei
    PsEpBW5HSRTyTxei
    JWStJGkPM3HAZkkf
    QagBj1TSfaE2oOjW
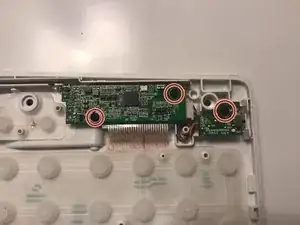
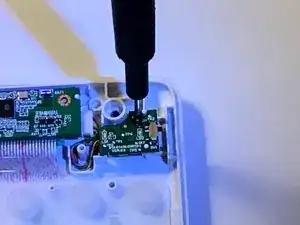
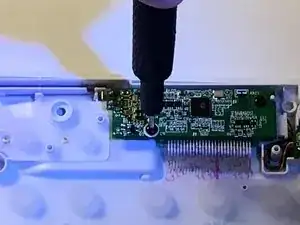
    • Unscrew the circuit boards using a Phillips 000 screwdriver.

    Great guide. Are replacement circuit boards available?

    Dan -

  6. MFOwJhsoSRgE3HYg
    MFOwJhsoSRgE3HYg
    IPHs1IGrWYfmbOmo
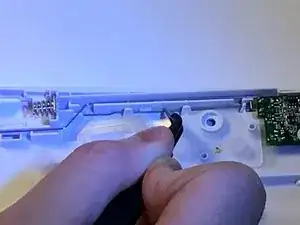
    • Use a pair of tweezers to bring the metal rods under and over the plastic hooks.

    • Approach with caution, you can break the metal rod and/ or the plastic hooks if you are too aggressive.

  7. Unplug the ribbon cable connecting the two boards and remove the power switch daughter board.
    • Unplug the ribbon cable connecting the two boards and remove the power switch daughter board.

    • Unplug the ribbon cable connecting the membrane to the main circuit board.

    Nice guide, thanks.

    Any idea whether or not one can purchase a replacement power switch daughter board?

    Dan -

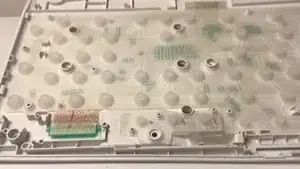
  8. Peel off the membrane.
    • Peel off the membrane.

    Would anyone have an idea why would 4 keys on the same printed circuit line [F1 1 2 T] fail to recover after cleaning/drying spilled wine? Membrane was supposed to prevent liquid from going further but it didn't. No visible damages to the circuit. The fn keys (on the same line as these 4) appear to be functional, except that pressing them alone (without an F-key) lights up current connection indicator [1 - 2 - 3]. Don' know if that's normal behavior on a virgin KBD.

    Z Z -

    The circuit under the membrane is multi-layered, maybe the wine got in between the layers.

    Marcus Jones -

Conclusion

The Logitech K850 keyboard is quite complex, though it is somewhat easy to fix. However, with a ton of fragile components that need to be pried on, repairs can be difficult.

Marcus Jones

Member since: 23/11/18

1145 Reputation

One comment

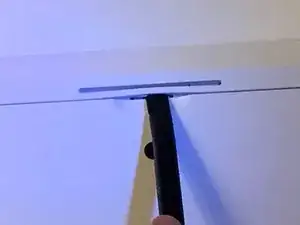
How do I fix the incredibly tiny plastic piece where the foot/stand fits into? Are the side wholes enough to get two new feet without having to worry about that plastic part or does it need ot hook into that?

?
Danny Romero -