Introduction

Follow this guide to remove or replace the mouse feet (also called skates or pads) on a Logitech G PRO Wireless mouse.

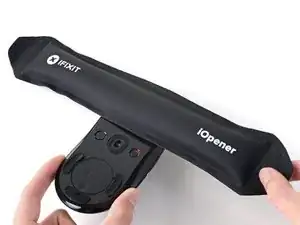
If you plan to reuse the mouse feet, you’ll need to apply heat to loosen the adhesive and remove the feet with minimal bending. Bent or torn mouse feet may require replacement feet.

  1. YVxiacwMdnR6KhOg
    YVxiacwMdnR6KhOg
    fSyXMM5sQxrSErUc
    2CysBKTDEWRCGUsG
    • Shift the power switch down to turn off your mouse (when the PRO Wireless label is oriented right-side up).

    • The color behind the switch should be red when the mouse is switched off.

  2. Ia4BXxYiAX6jNCGX
    • If you plan to reuse the mouse feet, you'll need to apply heat to loosen the adhesive and remove the feet with minimal bending.

    • Heat an iOpener and apply it to the upper mouse foot for one minute.

    • A hair dryer or heat gun may also be used, but be careful not to overheat the mouse—the internal battery is susceptible to heat damage. If you use a hair dryer or heat gun, set it to the lowest temperature setting and apply heat for 10 seconds.

  3. QNmxqLDWMGuXWcgT
    QNmxqLDWMGuXWcgT
    Osmfaihf2jZc4sbU
    • Insert the flat end of a spudger under the upper mouse foot.

    • Each mouse foot has a gap in its recess that you can use to insert the spudger.

    • The mouse feet are made of two layers. Make sure you insert the spudger under the bottom layer to completely remove the foot.

  4. QPDLulaKpIp3GN2Z
    QPDLulaKpIp3GN2Z
    WyRBMBmPFFy5KOrQ
    nZ6HnRGjt3KFkn5X
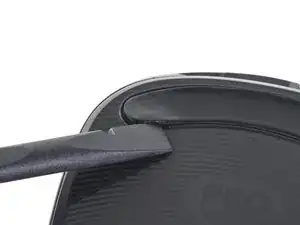
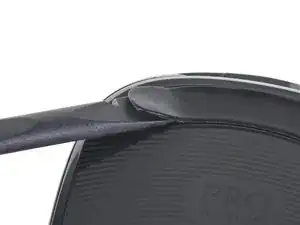
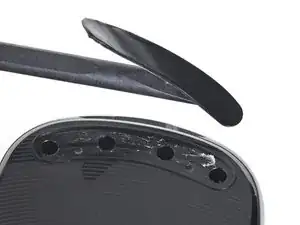
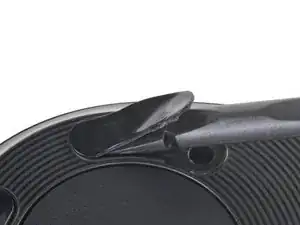
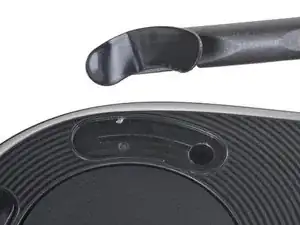
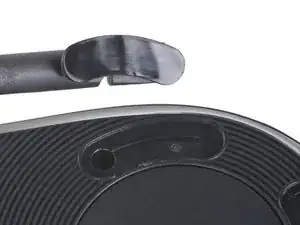
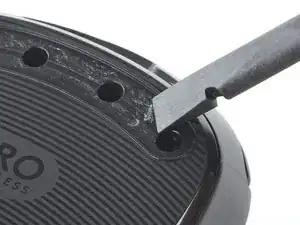
    • Slide the spudger under the length of the upper mouse foot to cut through the adhesive and detach it from the mouse.

    • Work slowly to avoid bending the mouse foot. If the adhesive becomes difficult to cut through, remove the spudger and apply more heat.

  5. wLyMePZRTS3vBcnS
    • Apply the iOpener to the lower mouse feet for one minute.

    • Alternatively, use a hair dryer or heat gun to apply heat for ten seconds.

  6. wDYcpCHLNPCt1gea
    wDYcpCHLNPCt1gea
    TUTFSfrKEFLBHgPC
    • Insert the flat end of a spudger under the left lower mouse foot.

  7. q4AWPUFBQ1iQFPRo
    q4AWPUFBQ1iQFPRo
    Oavi3QGf1cKJOZFg
    2V6iUPGmMTlFhmVS
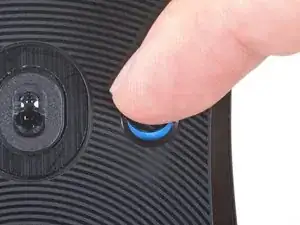
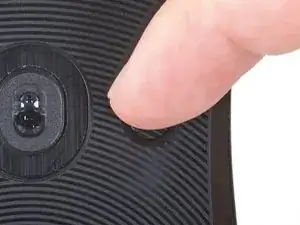
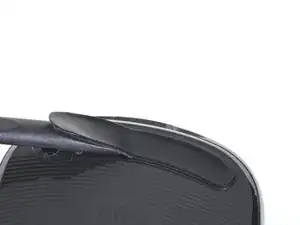
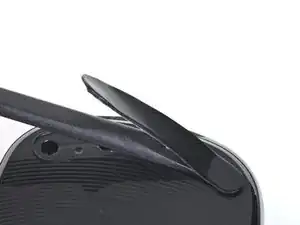
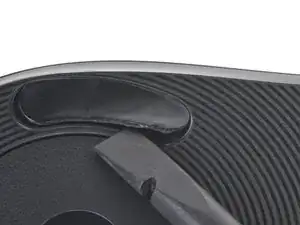
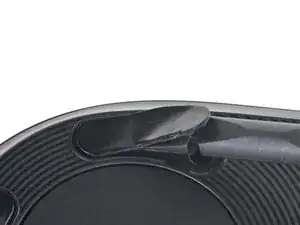
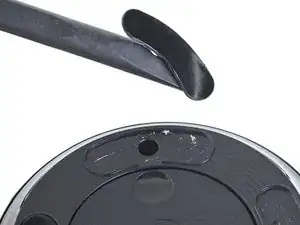
    • Slide the spudger under the length of the left lower mouse foot to cut through the adhesive and detach it from the mouse.

  8. tCehAIGyropN5kNn
    tCehAIGyropN5kNn
    lnINsTHpR3Ehgcug
    • Repeat the procedure to remove the two remaining lower mouse feet.

  9. qHMsMMXvUlhVNtHT
    • If you are going to install replacement mouse feet or apply new adhesive, use the flat edge of a spudger to remove the remaining adhesive in the mouse foot recesses.

    • During reassembly, follow this guide if you are using a pre-cut adhesive card to secure the mouse feet.

Conclusion

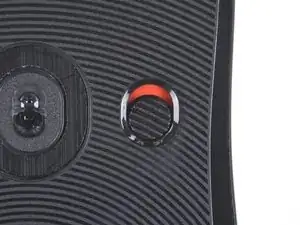
Compare your new replacement part to the original part—you may need to transfer remaining components or remove adhesive backings from the new part before installing.

To reassemble your device, follow these instructions in reverse order.

Kyle Smith

Member since: 01/02/21

40669 Reputation

0 comments