Introduction
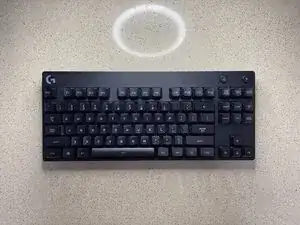
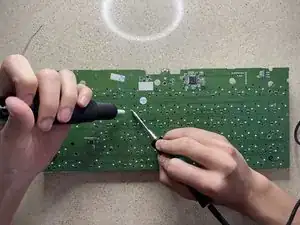
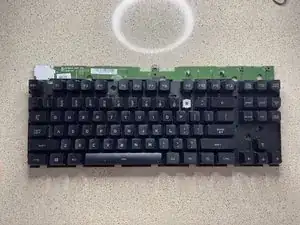
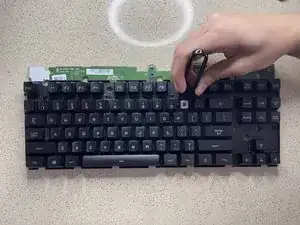
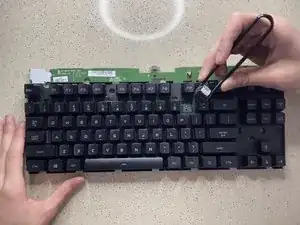
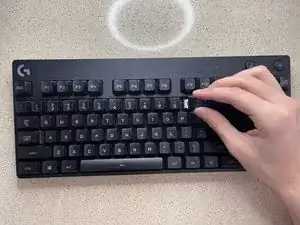
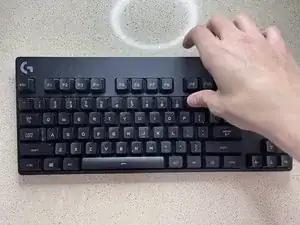
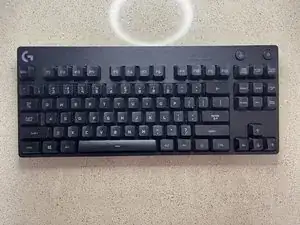
After long use of a keyboard, there will come a time when certain keys stop working. This can be difficult, especially if the key that has stopped working is a necessary key, like a letter. This guide shows you how to replace a broken Romer G Switch in a Logitech G Pro keyboard so you can continue using your keyboard without having to replace the entire unit. After you’ve finished this repair, you will be able to fix your keyboard in the future if more keys stop working.
Tools
Parts
-
-
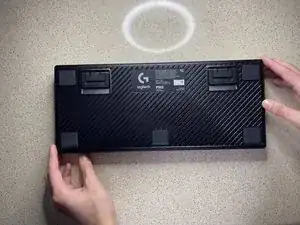
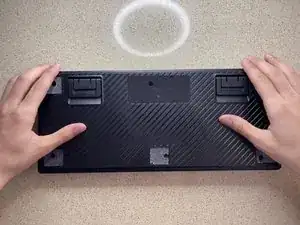
Flip the keyboard and lay it face down.
-
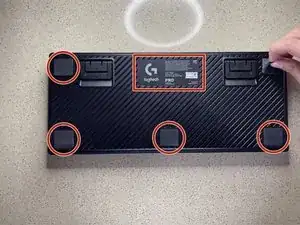
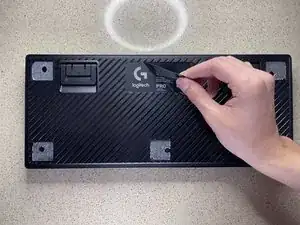
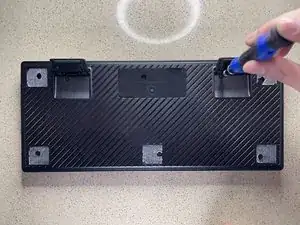
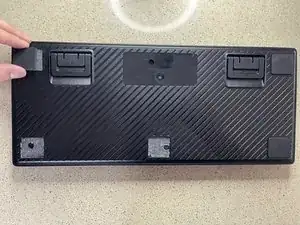
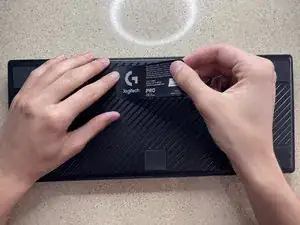
Remove the Logitech sticker and all of the rubber feet by peeling them away slowly. This allows the screws holes to be shown.
-
-
-
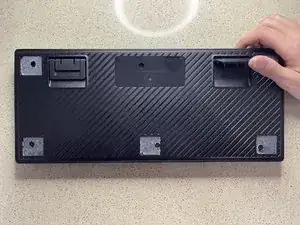
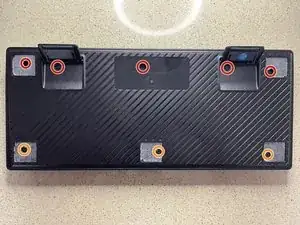
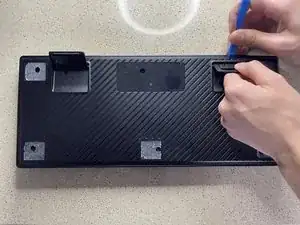
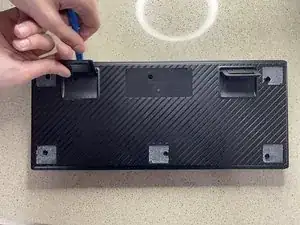
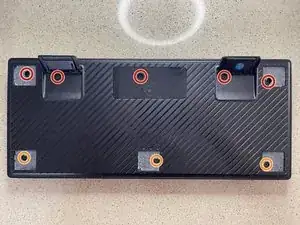
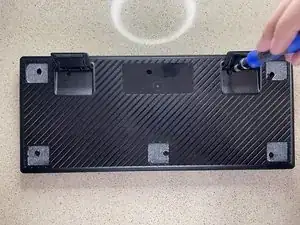
Flip up each of the stands to show two more screws.
-
Remove the five 12.7 mm screws across the top using a Phillips #1 screwdriver.
-
Remove the three 7.6 mm screws from the bottom using a Phillips #1 screwdriver.
-
-
-
Take your opening or prying tool and press down in the crease between the top and bottom plate and pull gently on the feet of the keyboard to separate the case.
-
Do this on the left and right side so the back of the case separates evenly.
-
-
-
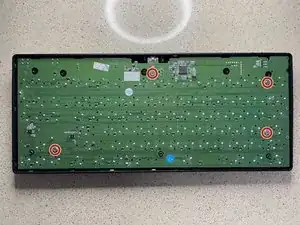
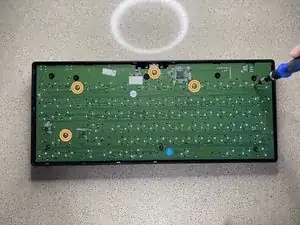
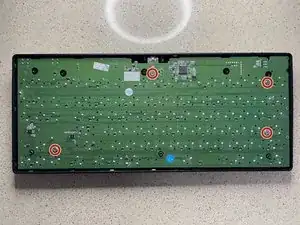
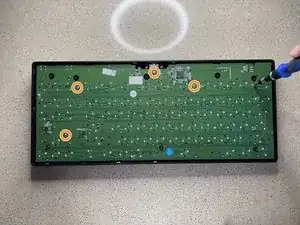
Remove the four 6.4 mm screws using a Phillips #1 screwdriver.
-
Remove the four 3.8 mm screws using a Phillips #1 screwdriver to separate the board from the top case.
-
-
-
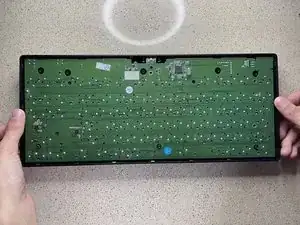
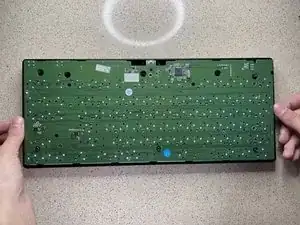
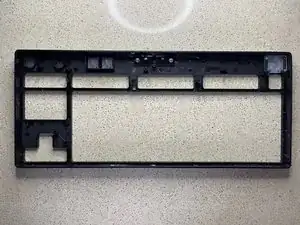
Gently press on the black casing around the board to let the top casing fall away from the board.
-
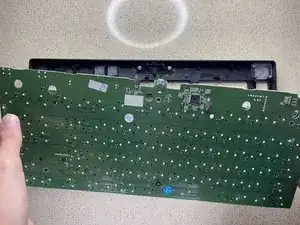
Lift the board out of the top casing and place the top of the case to the side.
-
-
-
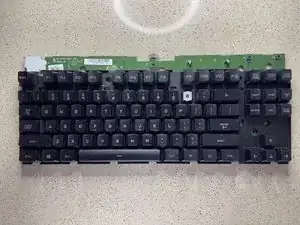
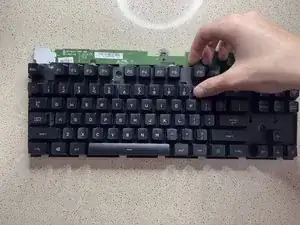
Flip the keyboard over so that you are looking at the keys.
-
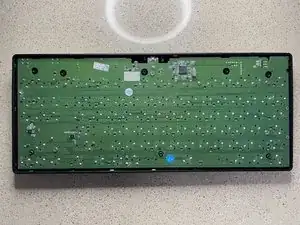
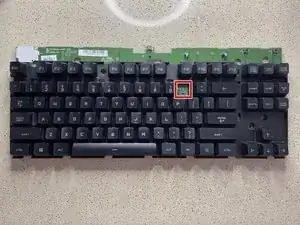
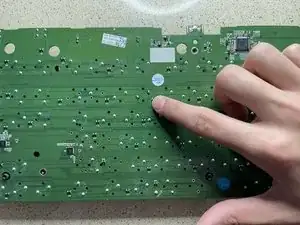
To locate the solder joint on the board, count the number of rows down and keys from the right or left side to the broken key/switch.
-
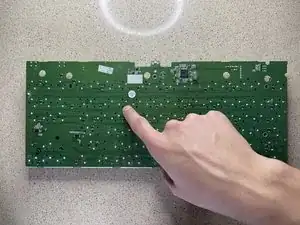
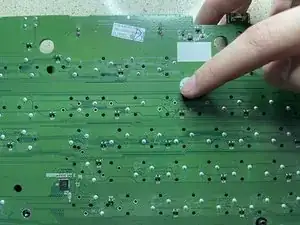
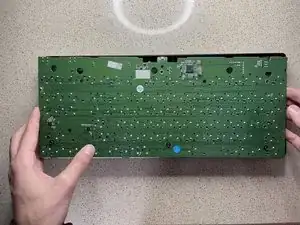
Flip the keyboard over so you can see the solder joints again.
-
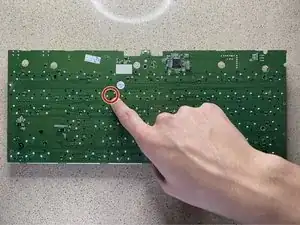
Using the number of rows and keys from the left and right, count the solder joints which will find the solder joint you need to remove.
-
-
-
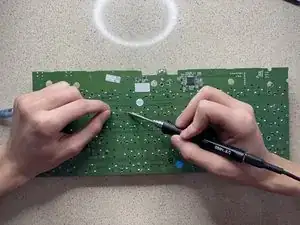
Heat your soldering iron up to 350 degrees celsius.
-
The two pins you need to desolder will be diagonal of each other.
-
At this point, you want to desolder both pins holding the switch. As the solder is being melted you want to use your desoldering pump to remove the solder that has been melted.
-
-
-
Flip the keyboard back over to see the keys.
-
Using your switch puller tool, grab the switch on its left and right side and pull straight up from the board.
-
-
-
Align the pins on the bottom of the replacement switch with the holes on the board where you took out the broken switch.
-
Place it in and push firmly until you hear a click meaning it went all the way in.
-
-
-
Take the keyboard and flip it over so you can see the side with all the solder joints.
-
After locating the new switch on the back of the board, press the soldering iron up against the pin, and push solder into the location of the iron slowly to create your solder joint. Do this for both pins.
-
-
-
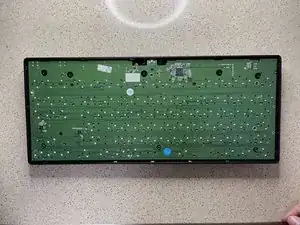
Place the front casing of the keyboard flat down. Take the board with the keys attached and line the board up, placing it back inside the front casing.
-
-
-
Screw the four 6.4mm screws back in using a Phillips #1 screwdriver.
-
Screw the four 3.8mm screws back in using a Phillips #1 screwdriver.
-
-
-
Take the back casing and place it over the back and press firmly along the edges until it all clicks into place.
-
Replace the five 12.7 mm screws with a Phillips #1 screwdriver.
-
Replace the three 7.6 mm screws with a Phillips #1 screwdriver to reattach the bottom case to the top.
-
-
-
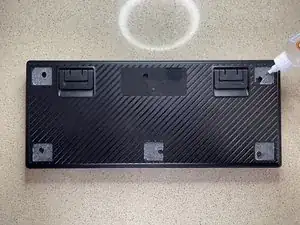
Apply some adhesive to each location where there was a rubber pad on the bottom of the keyboard. Then place each of the rubber feet back on top of the adhesive.
-
Take the Logitech branding sticker and reapply it back to its location.
-
-
-
Flip the keyboard over so you are looking at the keys.
-
Take the keycaps of the switches being replaced, and line up the lettering so that it matches and push the keycap back down firmly into its original location.
-
Congratulations, you have now learned how to disassemble and reassemble a Logitech G Pro Keyboard as well as replace Romer G Switches in this keyboard.
10 comments
I dropped a full glass of milk on it. Took 2 hours to completely disassemble, clean, and reassemble it. It looks just like when I had it. Thanks !
A few additional points:
* If you also need to remove the lower cover from the board, the operation has a few tricky bits:
** The full-size version of the keyboard has two plastic hooks holding the cover to the board and there is no obvious way to release them. This means that even after you remove all the screws, the cover will not release. Be careful and confirm that it is just catching in the areas between the three sets of keys. They will probably break and I couldn't figure out a way to avoid it but it isn't critical and won't affect the reassembled keyboard. Just be aware of this and be aware of this.
** The power switch and the windows-key-disable switch are extremely delicate and easy to break. The switch itself is tiny and has a miniscule sliding arm sticking out that fits into the much-larger case switch cover.
to be continued because of dumb character limit. (I'm just trying to help here!)
continued...
* If you look carefully at the pictures of the solder points, you'll notice that there are two different orientations. If you, like me, want to cannibalise an unused key (such as one of the G1-6 keys or the three near-useless Print Screen, Scroll Lock, and Pause buttons, care a careful look at the broken key to see which orientation you need.
* The keycaps themselves are not that well-designed and become loose after repeated removal, no matter how careful you are. This means that if you like to vacuum your keyboard or shake out the lint, you may be in for a bit of annoyance.
* The shift and enter keys do not have adequate lateral support and you may find that, over time, they become misaligned with their adjacent keys. I think the takeaway message is to avoid Romer keys; they are just not as well-built or designed as Cherry.
