Introduction
This is a prerequisite-only guide! This guide is part of another procedure and is not meant to be used alone.
-
-
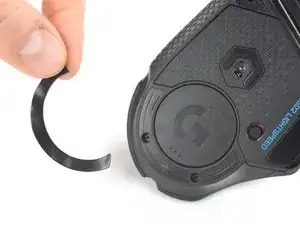
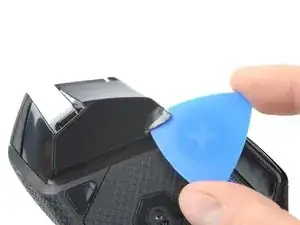
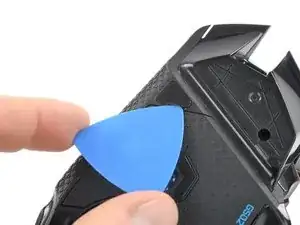
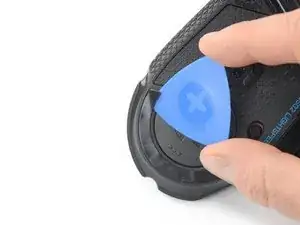
Insert the tip of an opening pick underneath the front foot at the gap in its recess.
-
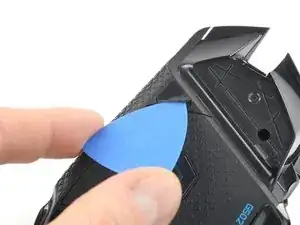
When possible, grab with your fingers and slowly pull to peel it off completely.
-
-
-
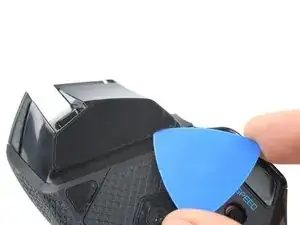
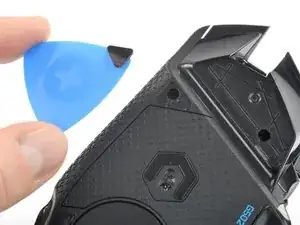
Insert the tip of an opening pick underneath the tiny front right foot at the gap in its recess.
-
-
-
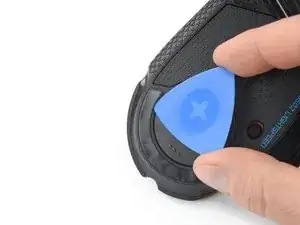
Insert the tip of an opening pick underneath the rear foot starting at the gap in its recess.
-
When possible, grab with your fingers and slowly pull to peel it off completely.
-


To reassemble your device, follow these instructions in reverse order. Apply new adhesive where necessary after cleaning the relevant areas with isopropyl alcohol (>90%).
Repair didn’t go as planned? Try some basic troubleshooting, or ask our Answers community for help.