Introduction

This is a prerequisite-only guide! This guide is part of another procedure and is not meant to be used alone.

  1. Qytp3hWHVPbFQeTZ
    Qytp3hWHVPbFQeTZ
    5VU1dG1rayQiV5pl
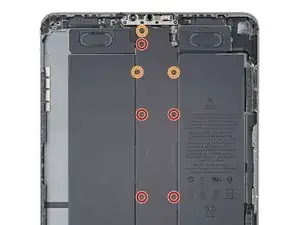
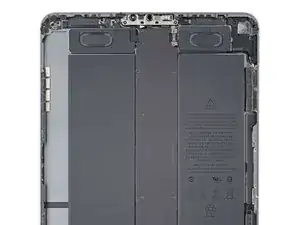
    • Use a Phillips PH00 screwdriver to remove the eight screws securing the shield to the logic board:

    • Five 2 mm screws

    • Three 1.2 mm screws

  2. Qi5jGYnb6hwPQahK
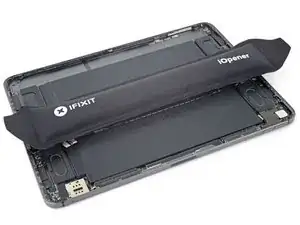
    • Apply a heated iOpener to the top of the logic board for two minutes.

  3. R2Pm4wunJHGRrIpU
    R2Pm4wunJHGRrIpU
    xZN1vnGsqZSboLRe
    5tGQ1CKk2cMdaeIk
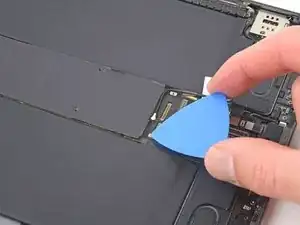
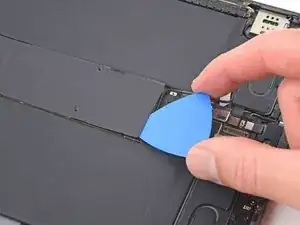
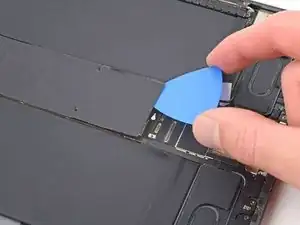
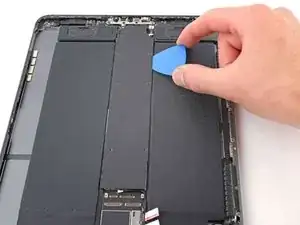
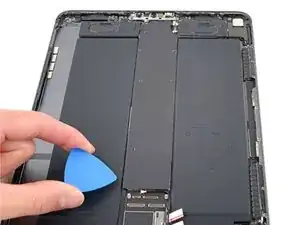
    • Insert an opening pick between the shield and the shielding gasket on the bottom edge of the logic board.

    • Slide the pick along the bottom edge to separate the adhesive.

  4. PXKLLBmAcLv6mcxl
    PXKLLBmAcLv6mcxl
    q2wZQAPIQaQEZRap
    SJcwBJtVCETYqiLY
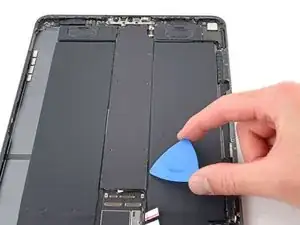
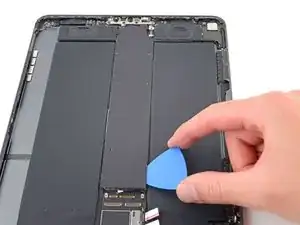
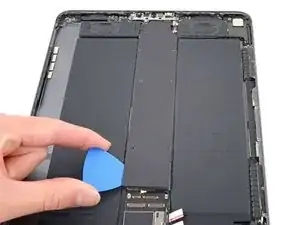
    • Repeat the previous step for the right edge of the logic board shield.

  5. v1GplQCoeoLRrO3u
    v1GplQCoeoLRrO3u
    srAscC3iGvaqgolZ
    UuLGNJbmOyOMjLOD
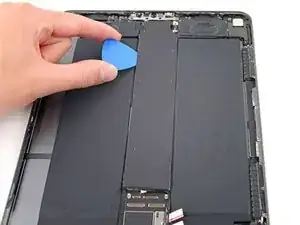
    • Repeat the previous step for the left edge of the logic board shield.

  6. 2uY3ALS1I3JIHXmq
    2uY3ALS1I3JIHXmq
    Y34M13IGbVuvIysd
    PfL2M24MklaB4EqI
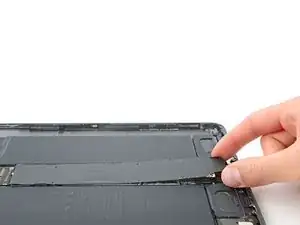
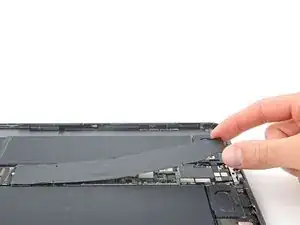
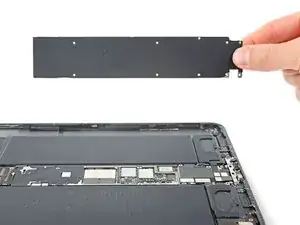
    • Grip the logic board shield at the top and lift it up.

    • Stop lifting if the shield is stuck or begins to bend—a bent shield will reduce thermal transfer from the logic board. Use an opening pick to separate any remaining adhesive.

Conclusion

To reassemble your device, follow these instructions in reverse order.
Chayton Ritter

Member since: 21/08/20

17428 Reputation

0 comments