Introduction
Over time, O-rings will wear out and your pump will begin to develop leaks. Some indicators of worn O-rings are low pump resistance while inflating tires, abnormal hissing when pumping, or a pump plunger jam.
Parts
-
-
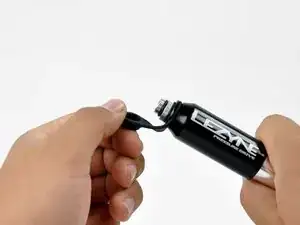
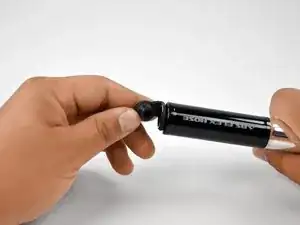
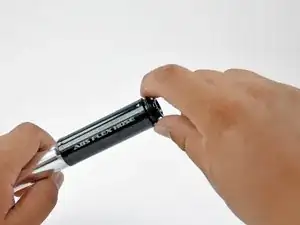
Lift the rubber ABS hose cover to expose the ABS hose fitting.
-
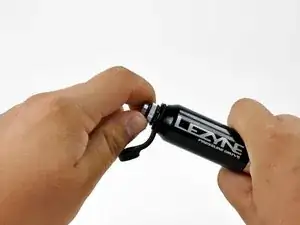
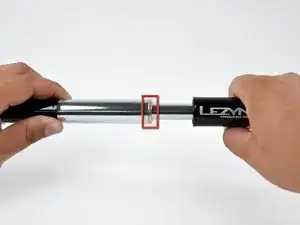
Turn the silver ABS hose fitting counter-clockwise until it fully unthreads.
-
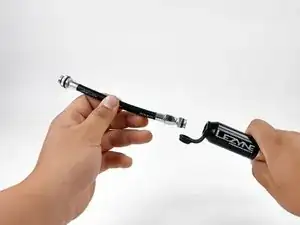
Remove the ABS hose from the pump.
-
-
-
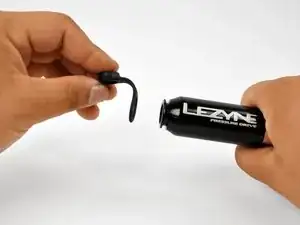
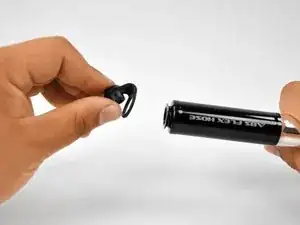
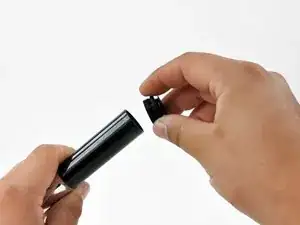
Pull the ABS hose cover off the pump by pulling it straight away from the pump.
-
Flip the pump around and unplug the rubber cover on the outlet side of the pump.
-
Remove the outlet cover the same way as the ABS hose cover.
-
-
-
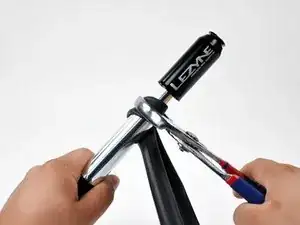
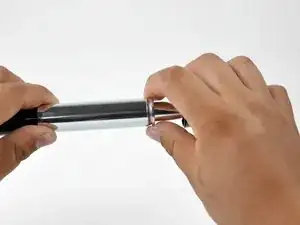
Use channel locks or pliers to grip the silver cap and turn it counter-clockwise until it is loose.
-
Continue turning the silver cap counter-clockwise by hand until it fully unthreads.
-
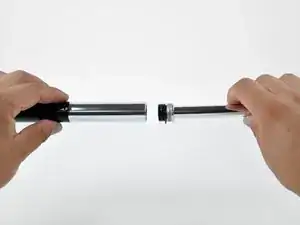
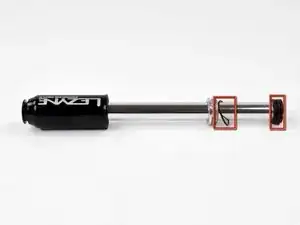
Pull the pump plunger out of the pump body.
-
-
-
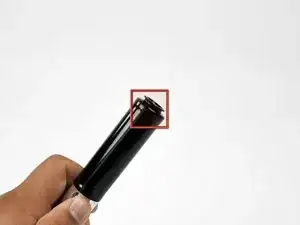
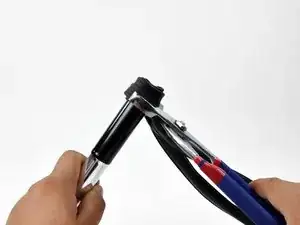
Use channel locks or pliers to grip the pump outlet cap and turn it counter-clockwise until it is loose.
-
Continue turning the outlet cap counter-clockwise by hand until it fully unthreads.
-
Remove the pump outlet cap.
-
-
-
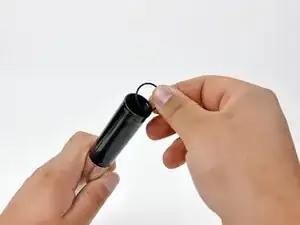
Use your finger to remove the bump-stop O-ring from below the pump's outlet cap threads.
-
Place a new bump stop O-ring into the pump.
-
The O-ring can be inserted into the other side of the pump body. As long as it is straight, the pump plunger will push it down to it's proper place.
-
-
-
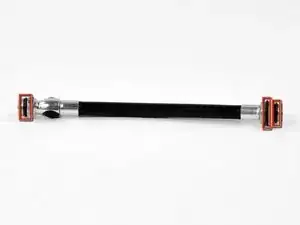
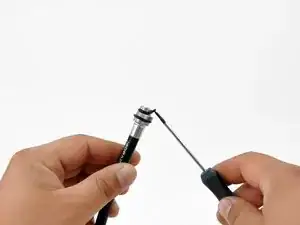
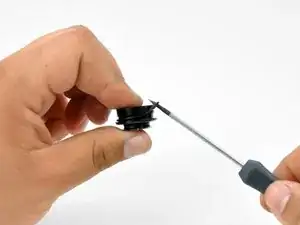
Replace the 3 O-rings on the ABS hose. Use a small flathead screwdriver to help pry the old O-rings off and stretch the new O-rings on.
-
-
-
Replace the two O-rings on the pump plunger using the same method as the previous O-rings.
-
Replace the outlet cap O-ring using the same method as the previous O-rings.
-
Re-assemble the pump by using these instructions in reverse.
-