Introduction
Tools
-
-
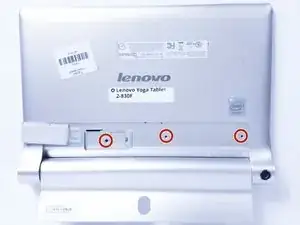
Remove the three screws on the back of the device with the Phillips Screwdriver #00 bit.
-
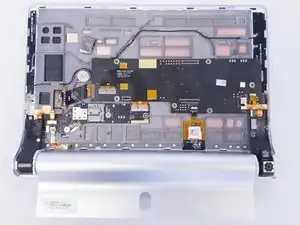
Using the blue opening tools or spudger, gently remove the back cover to expose the interior of the tablet.
-
-
-
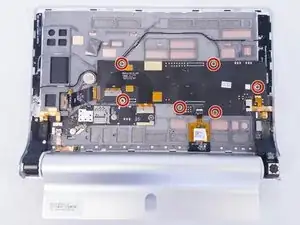
Using the Phillips Screwdriver #00 bit remove the 6 screws.
-
Using the Phillips Screwdriver #00 bit remove the 3 screws.
-
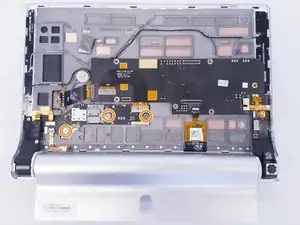
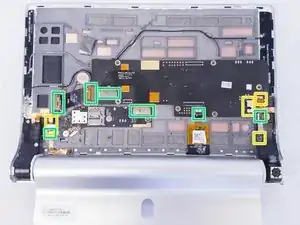
After removing all the screws, disconnect the ribbon cables.
-
Disconnect the ZIF connectors.
-
-
-
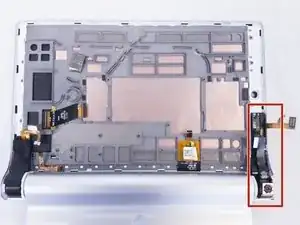
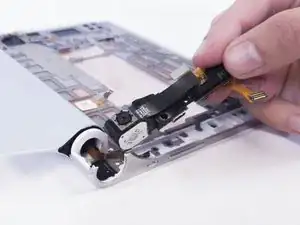
After removing the motherboard and antennas the camera module is located on the right as marked in red.
-
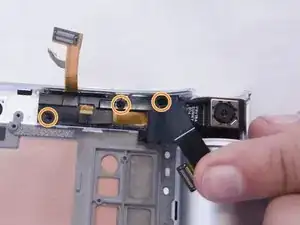
Remove the three 2mm screws holding the module in place with the Phillips Screwdriver #00 bit.
-
Conclusion
To reassemble your device, follow these instructions in reverse order.
