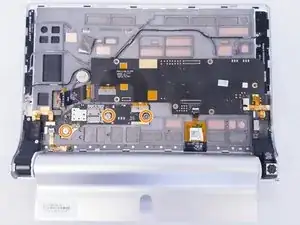
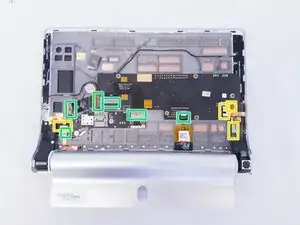
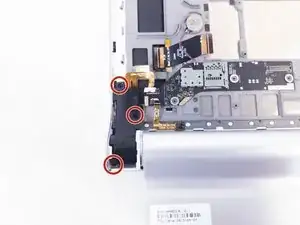
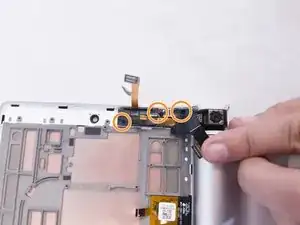
Introduction
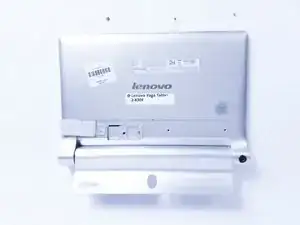
Before beginning, acquire a replacement battery from a retailer of your choice and begin with the device off and a clear, static-free workspace.
Tools
-
-
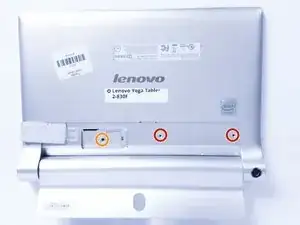
Remove two 3mm screws on the back of the device with a Phillips #00 bit.
-
Remove the single 2mm screw with a Phillips #00 bit.
-
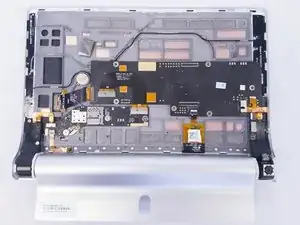
Using the blue opening tool or spudger, gently remove the back cover to expose the interior of the tablet.
-
-
-
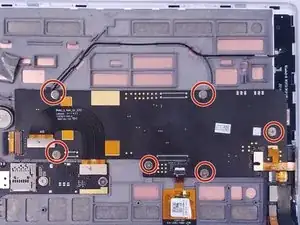
Remove the six 3mm screws on the back of the motherboard with the Phillips Screwdriver #00 bit.
-
Remove the three 3mm screws on the back of the secondary board with the Phillips Screwdriver #00 bit.
-
Remove the ribbon cables connecting the boards to the other electrical components
-
Remove the ZIF connectors connecting the boards to the other electrical components
-
-
-
Remove the three 2mm screws on the back of the left speaker module with the Phillips Screwdriver #00 bit.
-
Remove the three 2mm screws on the back of the right speaker module with the Phillips Screwdriver #00 bit.
-
Gently remove both the left and right speaker modules.
-
-
-
Using the blue opening tool or spudger, pry the battery compartment off of the high located on the right hand side of the back.
-
-
-
Remove this metallic sticker with your fingernail to expose the screw underneath.
-
Remove the 3mm screw under the sticker with the Phillips Screwdriver #00 bit.
-
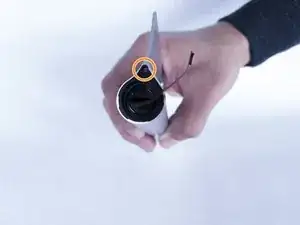
Using the tweezers, pull off the black clip that secures the battery compartment. This may require some force.
-
-
-
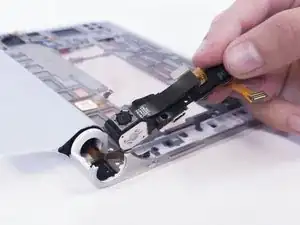
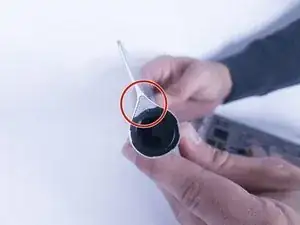
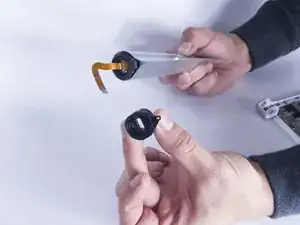
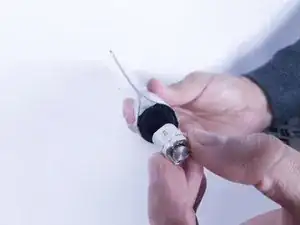
Remove the hinge clip from one side of the battery compartment. Use the spudger tool if necessary.
-
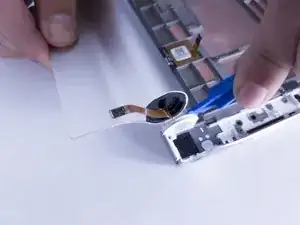
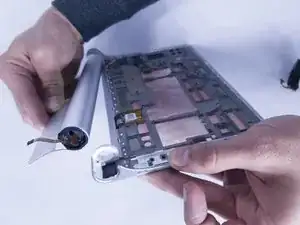
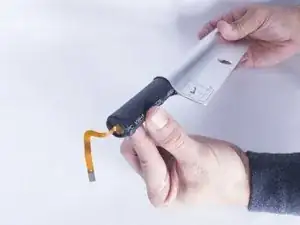
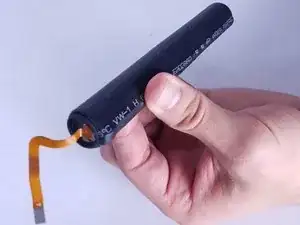
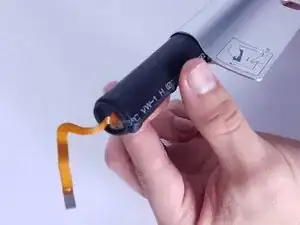
The battery should be able to slide from the compartment.
-
To reassemble your device, follow these instructions in reverse order.
6 comments
hi
where i can find batter, of battery cable
Excuse me, where can i get the battery if it is not for sale?
Bought one off eBay: Replace Lenovo L14C3K31 L14D3K31 Battery For Yoga Tablet 2 1050F 1051F YT2-830
