Introduction
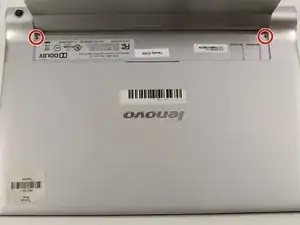
Before you proceed with this guide, you should know how to remove the back cover.
Tools
-
-
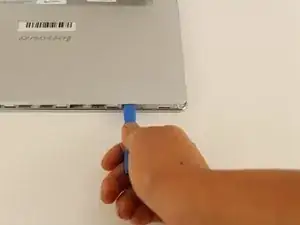
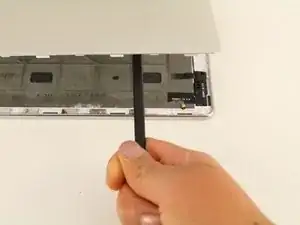
Use a plastic iFixit opening tool to pry the edges of the back case loose by placing it in between the edge of the cover and the screen.
-
-
-
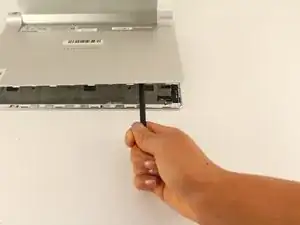
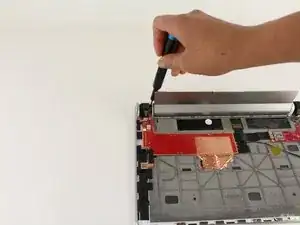
Use the spudger to reach into the center of the device and pry off the back case by giving it a light force upwards.
-
-
-
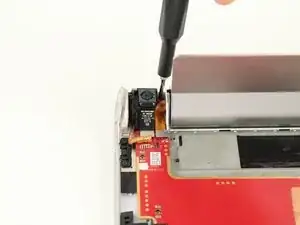
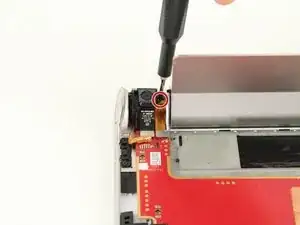
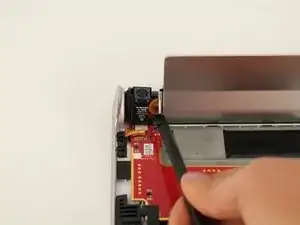
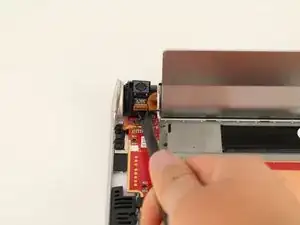
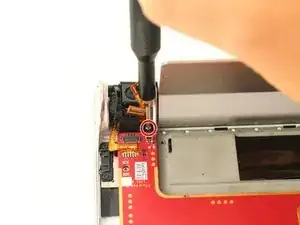
Use the spudger to disconnect the camera and battery from the printed circuit board by putting the spudger in between the connections and the printed circuit board and pushing the spudger up.
-
-
-
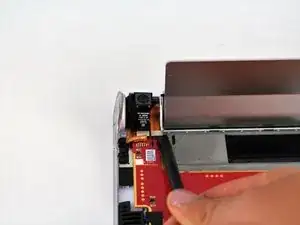
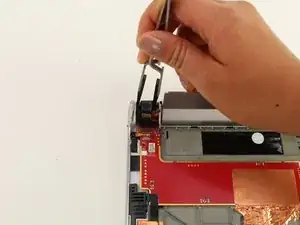
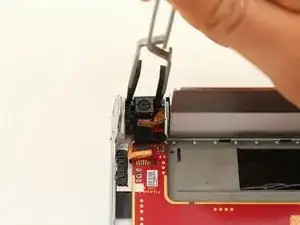
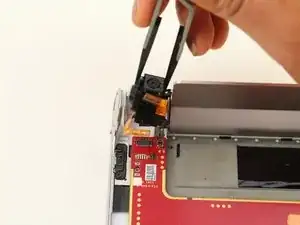
Use the nylon tip tweezers to push the camera out from between the power button and the kickstand.
-
To reassemble your device, follow these instructions in reverse order.
One comment
“To reassemble your device, follow these instructions in reverse order. “ Including unripping the power switch tail, which is soldered to the board. Look at the last picture!
The camera/speaker assembly cannot be removed without unsoldering this tail.
