Introduction
This guide will show how to replace the SSD.
Tools
Parts
-
-
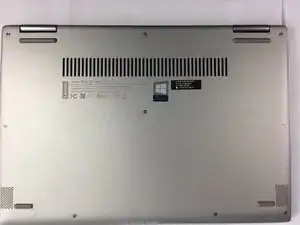
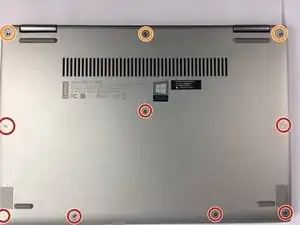
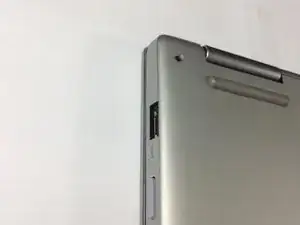
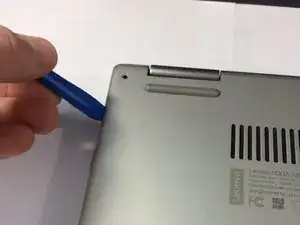
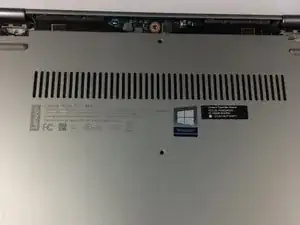
Lift the case from the bottom side. NOT the side with the hinges.
-
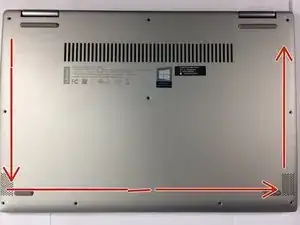
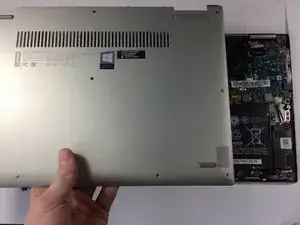
Once you feel resistance, gently pull the case towards you. (away from the hinges.)
-
Remove the case.
-
-
-
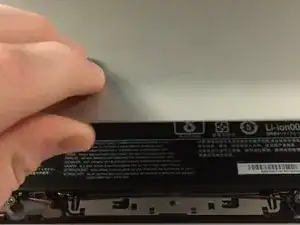
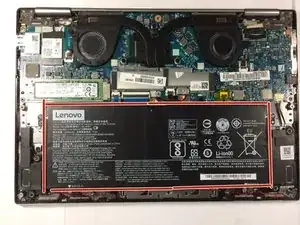
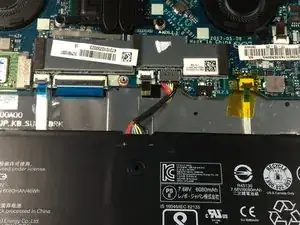
This is the battery. For guides that are for other parts, the battery is removed for the reason of it being a pain to connect or disconnect while screwed in.
-
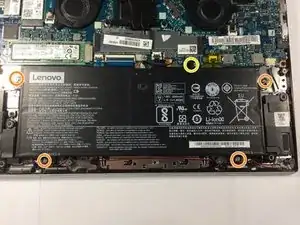
Remove four J1 Philips screws.
-
Remove one J1 philips screw.
-
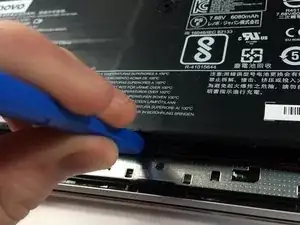
Lift the battery slightly using your plastic opening tool.
-
-
-
Pull the battery towards you until the wire is accessible.
-
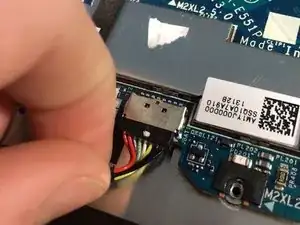
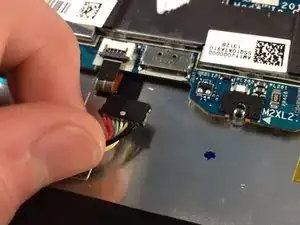
gently tug and wiggle on the wire until it pops out.
-
Remove the battery.
-
-
-
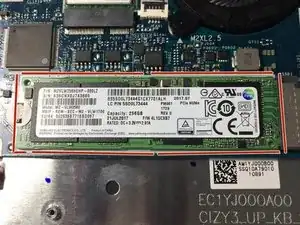
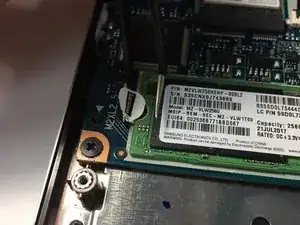
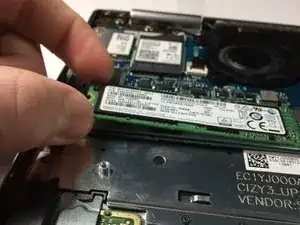
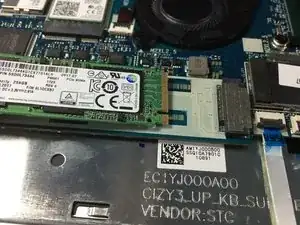
This is the SSD
-
remove the warranty sticker
-
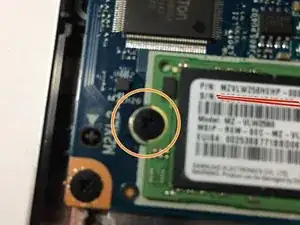
Remove 1 J1 Screw holding the SSDRemove the screw holding the SSD.
-
To reassemble your device, follow these instructions in reverse order.
12 comments
Your lucky to have a M.2 ssd. Also take those labels off if your going to have it serviced they may think you have opened it.
@captainsnowball 6000 REP! NICE.
Thanks @paperboypaddy. those labels were always on it. I do need it serviced now though.
Aiden -
I was able to take off the battery. But I stripped the screw for the ssd. It would not come out. I used what I thought was the correct screwdriver. Can any help me?
Thank you,
Alberto
Email: defdasm@yahoo.com
Stripping the screw usually only happens if a] you’re using a screwdriver that’s the wrong size, or b] you aren’t applying sufficient pressure. You may be able to remove the screw by using some fine/needlenose pliers, but I’d urge caution in doing so, and you might want to take this somewhere to have it done professionally if you’re at all uncomfortable doing so safely. Once you’ve loosened it, remove it by hand if possible.
Also, I’d recommend you replace the screw while you have the case apart. It is most likely a metric, m2 (as in, m1, m2, m3, etc. unrelated to the M.2 SSD form factor) x 3mm long, though the length may vary by about 0.5mm. You can sometimes find these at local hardware stores like Ace or a locally-owned non-Ace store. Larger hardware stores like Home Depot or Lowes (in the US) are less likely to carry metric screws that small.
Steps 4-5 appear to be unnecessary for this upgrade unless you’re disconnecting the battery for safety reasons. Is that why they’re present?
Thank you for the help. I would say it was option B. It was a stupid mistake on my part.
The guide easy enough to follow.
I am going to give this a try.
How to Remove a Stripped Screw
One of the options I would avoid at all costs.
