Introduction

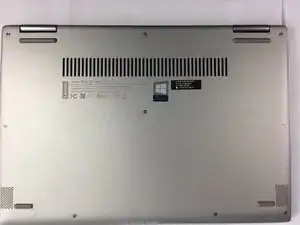
This guide shows how to properly remove the bottom case.

  1. FL2m4Hq5DT1LgjQ5
    FL2m4Hq5DT1LgjQ5
    YjtELAyB3pohOOO4
    sAkjrjiNnT6oqbU2
    • Before you begin, be sure to turn off your laptop and discharge the battery down to 25%.

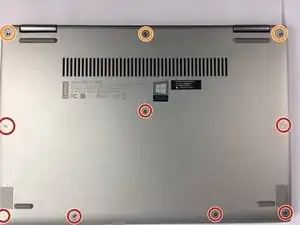
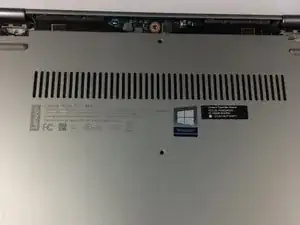
    • Start by flipping the device over so that you see the screws.

    • Remove seven Torx T5 short screws.

    • Remove three Torx T5 long screws.

  2. hfTPAjtqQmXQHRH1
    hfTPAjtqQmXQHRH1
    mVPhNaq1IixiUAhS
    jT1Wy5dwcqpIQZeV
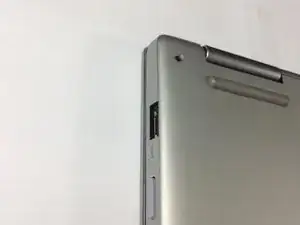
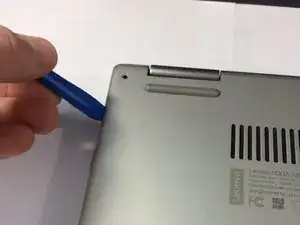
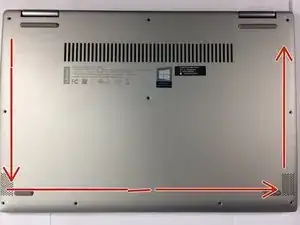
    • Starting from the USB port, use your opening tool to gently pry up the case.

    • Make sure you are prying on the cover itself, not the metal shield around the USB port.

    • Pry along the laptop in the order shown by the arrows.

    • Do NOT pry along the top side, or you risk damaging the casing. Stay with the arrows.

  3. 5wvxLJqhry23JAsX
    5wvxLJqhry23JAsX
    4dZUco1OA4HfhJvE
    jMtoaRrXOksHKSSu
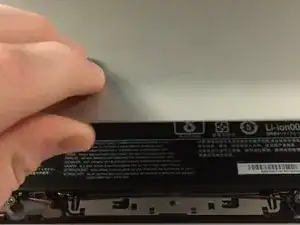
    • Lift the case from the bottom side. NOT the side with the hinges.

    • When you feel resistance, do NOT keep lifting or you will damage the housing.

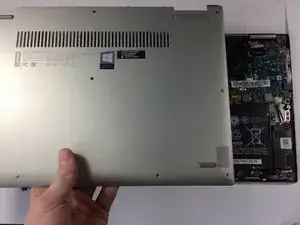
    • Once you feel resistance, gently pull the case towards you. (away from the hinges.)

    • Remove the case.

Conclusion

To reassemble your device, follow these instructions in reverse order.

Aiden

Member since: 19/09/15

17369 Reputation

One comment

Can’t seem to find information about this but why should I discharge the laptop to 25% before I do this?

I bought a new wifi card that I will put in.

Björn Ridell -