Introduction
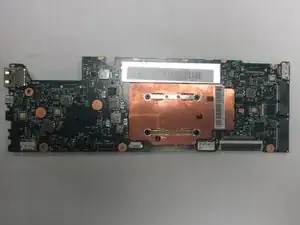
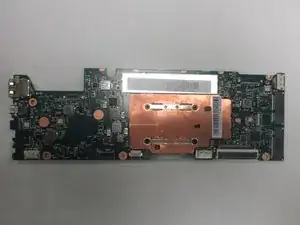
The Lenovo Yoga 710-11ISK’s motherboard is one of the most important components as it acts as a brain for all the internals. This guide shows how to disassemble the computer in order to access the motherboard and replace it.
Tools
-
-
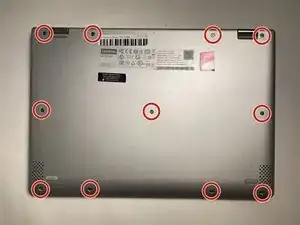
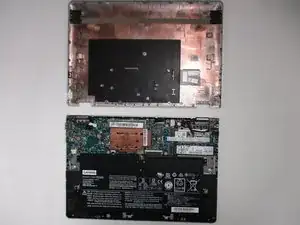
Insert an opening tool between the bottom panel and chassis, then pry around the entire perimeter until the five clips detach, releasing the bottom panel.
-
-
-
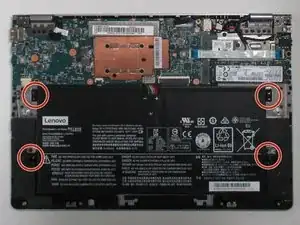
Use a Phillips #000 screwdriver to remove the four screws securing the battery.
-
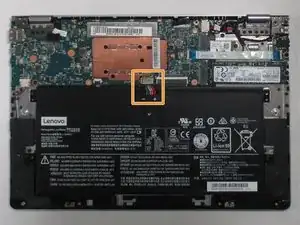
Hold the cable connector on both sides and gently pull it directly out of its port.
-
Lift the battery up and out.
-
-
-
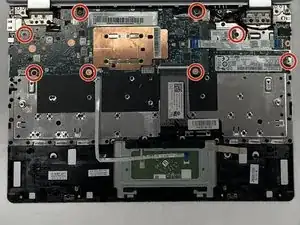
Use a Phillips #000 screwdriver to remove the eight screws securing the motherboard, Wi-Fi card, and SSD card.
-
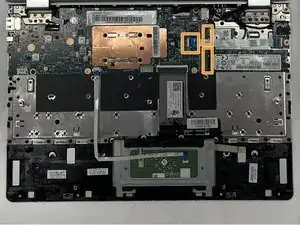
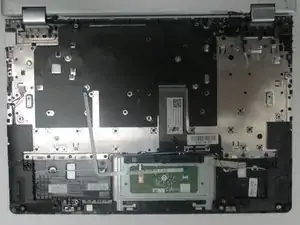
Unplug the Wi-Fi and SSD cards from the motherboard along with the attached wire harnesses.
-
To reassemble your device, follow these instructions in reverse order.
