Introduction
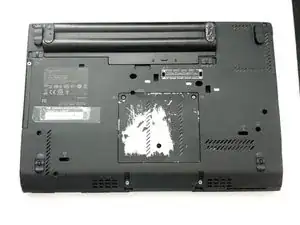
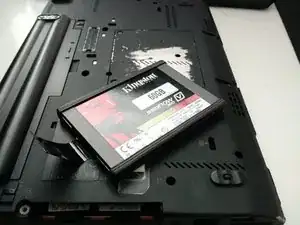
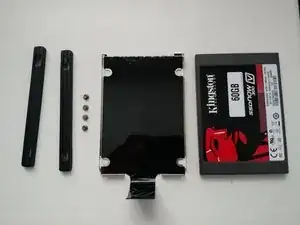
Here, I'll replace the hard disk of my ThinkPad X220 in a few steps.
Tools
-
-
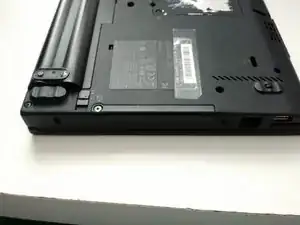
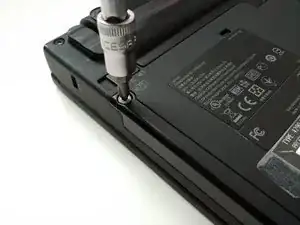
You will arrive to something like this.
-
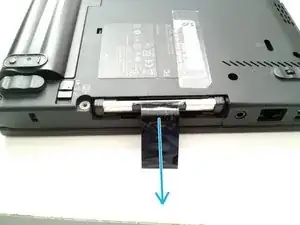
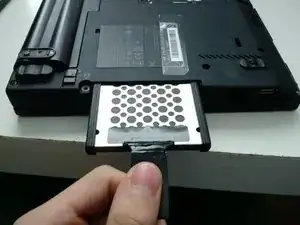
Pull the black tab popping out to remove the HDD from its tray.
-
-
-
Congratulations! You got the HDD out of the laptop. We can now put the laptop somewhere else and focus on the HDD.
-
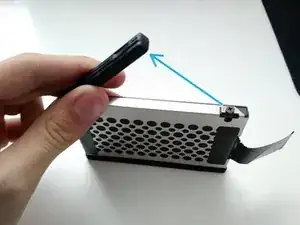
On each long side of the HDD, two rubber bands are located. Pull them to remove them and access to the screws.
-
-
-
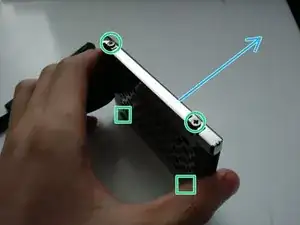
Unscrew the 4 screws located on the two long sides of the drives...
-
...and push the HDD outside from its retention bracket.
-
-
-
You're done! To reassemble, place a new drive in the bracket and follow the steps in the reverse order.
-
To reassemble your device, follow these instructions in reverse order.
5 comments
I just hope that a 64 year old crazy cat lady can do this without blowing up the galaxy
Thanks dude.
