Introduction
Is your screen filled with black spots or not displaying images properly? Consider using this guide to replace the display of your device.
Tools
-
-
Make sure to power down and turn off your device before proceeding with the repair.
-
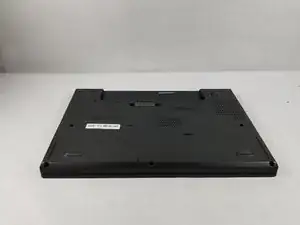
Flip your laptop over so that the backside is facing you.
-
-
-
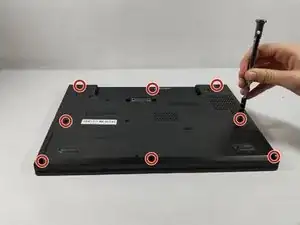
Using a Phillips #1 screwdriver, remove the eight screws securing the backplate.
-
Don’t try to force screws which won't come out. They are held in place by a stopper on the reverse side. This will not prevent you from removing the backplate.
-
-
-
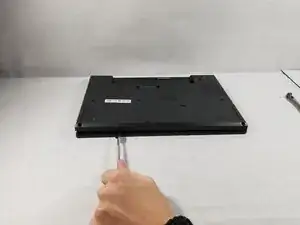
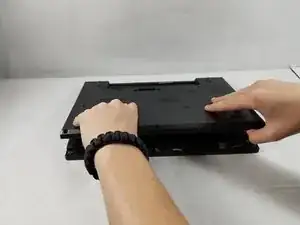
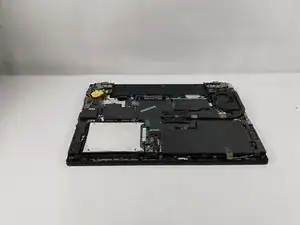
Using the metal spudger, wedge it in the seam where the backplate meets the front plate and run the tool along the seam to separate the backplate.
-
-
-
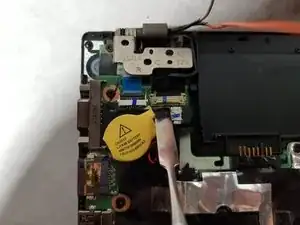
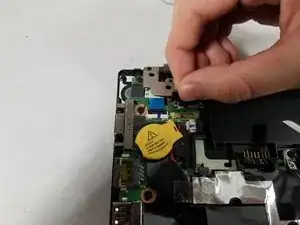
Use the metal spudger to pry up the lever securing the ribbon cable in it's connection housing.
-
-
-
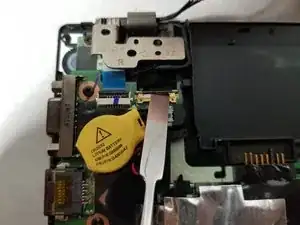
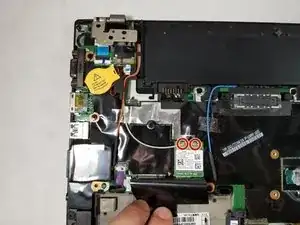
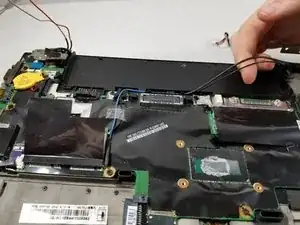
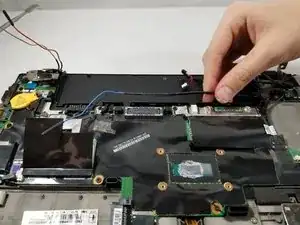
Disconnect the white and blue wires connected to the mounted circuit by grabbing them close to the connection and pulling upward.
-
-
-
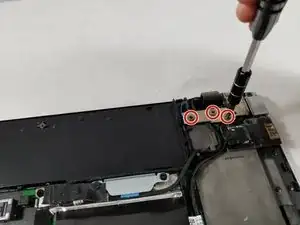
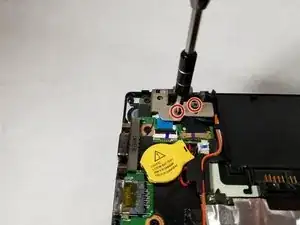
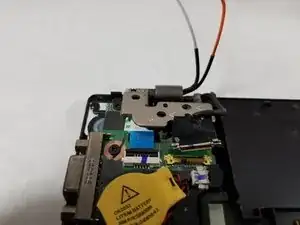
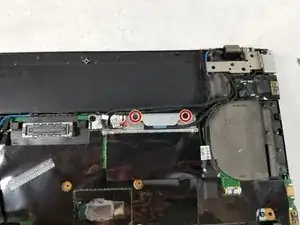
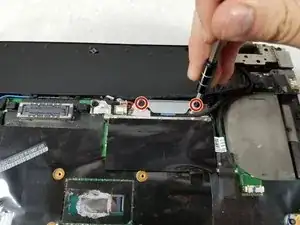
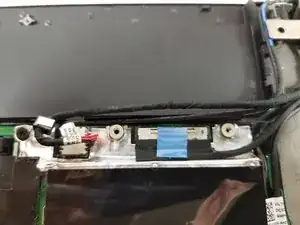
Use the Phillips #1 screwdriver to remove the two screws securing the metal plate to expose the wire connection.
-
-
-
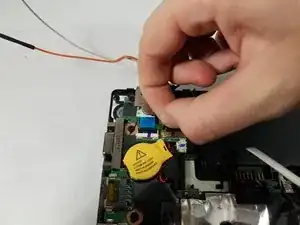
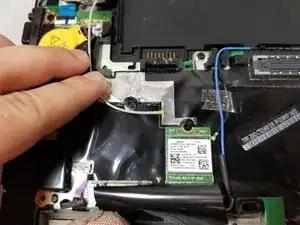
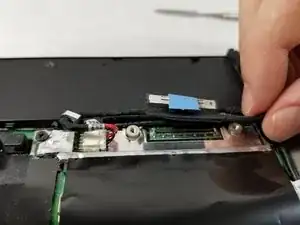
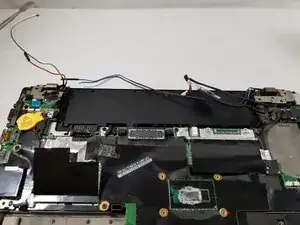
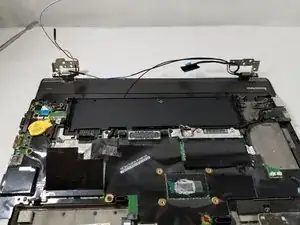
Unclip the 5 wires connected to the display assembly from the motherboard and move them out of the way.
-
-
-
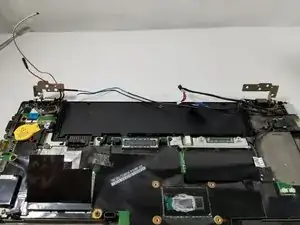
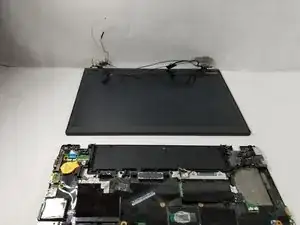
Now that the display assembly is disconnected from the main body, lift both of the mounting brackets and remove the display assembly from the main body.
-
To reassemble your device, follow these instructions in reverse order.
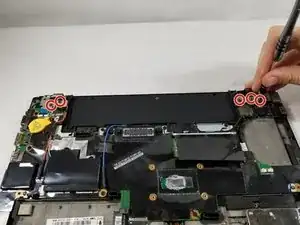
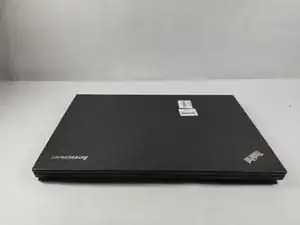

You should also disable the internal battery in the BIOS first too.
martin8777 -