Introduction
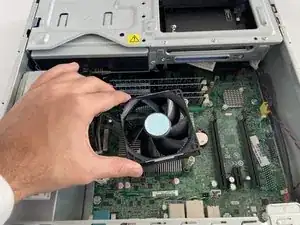
Use this guide to replace a fan inside of a Lenovo ThinkCentre M83 SFF computer to prevent overheating and further damage to your computer.
If your Lenovo ThinkCentre M83 SFF Pro Desktop computer is overheating, there might be an issue with your internal fan. Replacing a fan inside a computer can help improve the overall performance and longevity of the system. The fan is responsible for cooling the various components within the computer, such as the CPU and GPU. If a fan becomes defective, it can negatively impact the effectiveness of the computer and lead to overheating.
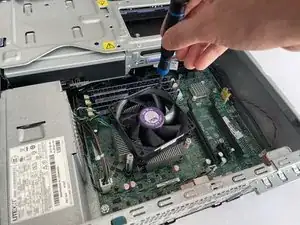
Before using this guide, inspect the computer fan for dust and debris. This may also cause it to malfunction and not work. A small build-up of dust can be removed by using a small dust blower.
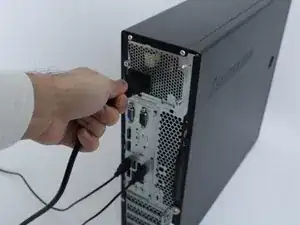
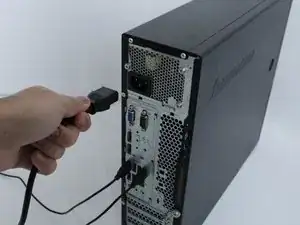
Before beginning this repair, be sure to turn off the device, and unplug from the power adapter.
Tools
-
-
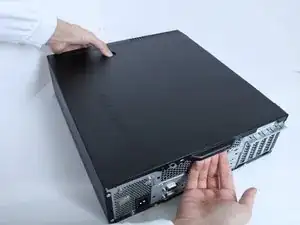
Lay the computer on its side.
-
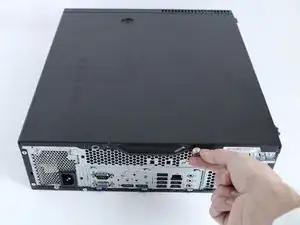
Unscrew the 14.0 mm screw with your hands to remove the side panel.
-
-
-
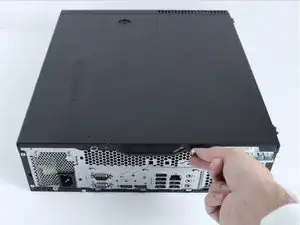
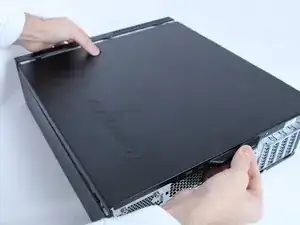
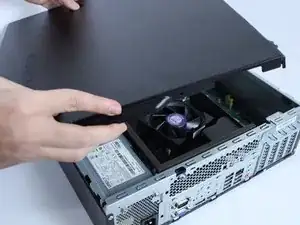
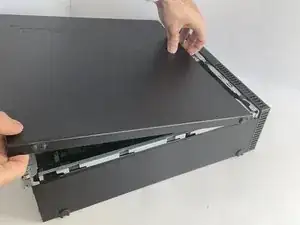
To remove the side panel press the release button and slide the cover to the rear of the computer.
-
-
-
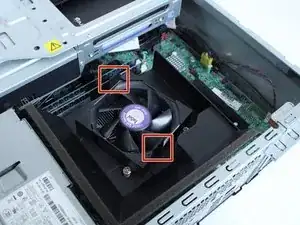
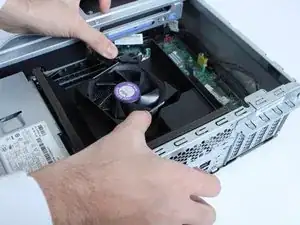
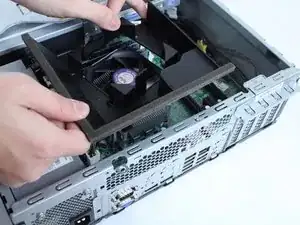
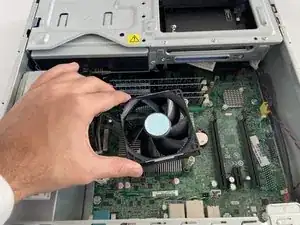
Remove the fan cover by pushing the two tabs out slightly with your hands, and lifting the cover up gently.
-
-
-
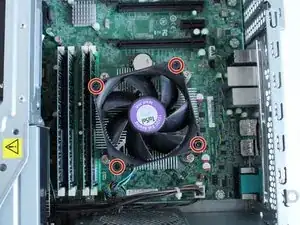
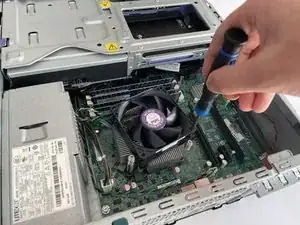
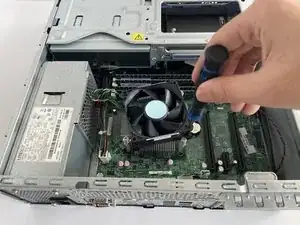
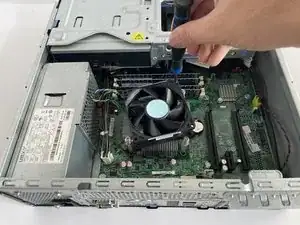
Use a Phillips #0 screwdriver to remove four 12.0 mm screws securing the fan to the heat sink.
-
-
-
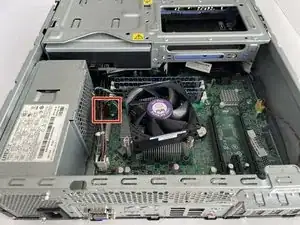
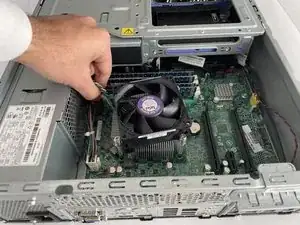
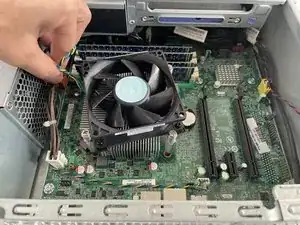
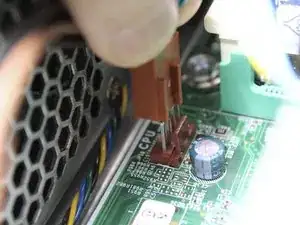
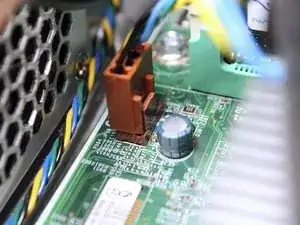
Pull the bundled fan cable away from the connector in the same direction as the individual wires are running to detach the fan from the motherboard.
-
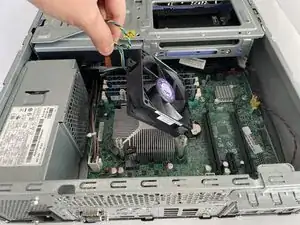
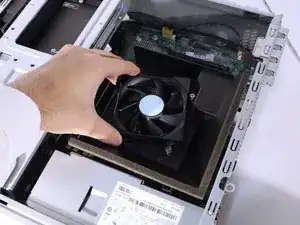
Lift the fan out from the motherboard.
-
-
-
Place the new fan on top of the heat sink and position it so that it aligns with the screw holes.
-
Use a Phillips #0 screwdriver to replace the four 12 mm screws that secure the fan.
-
-
-
Place the fan cover back on.
-
Slide the computers cover panel into place.
-
Screw the 14 mm screw back in with your hands.
-
Your device should be reassembled by following the final step.
One comment
Replacing the CPU fan on the Lenovo M700 SFF is easy. But to replace the case fan one requires either an advanced degree in Lenovo tech OR, membership of the Grande Obscure Guild of PC Case Fan Replacers.
mark4asp -
