Introduction
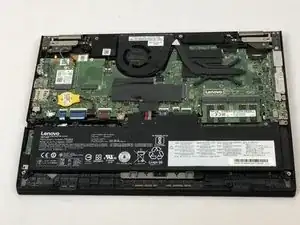
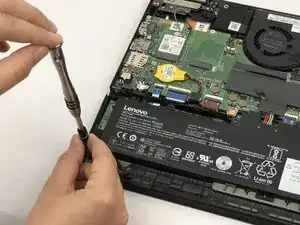
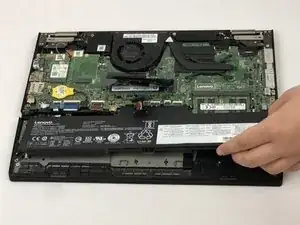
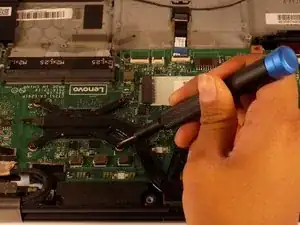
The internal computer fan is an important component meant to cool the other internal components by drawing in cool air and dispelling hot air. When the fan breaks or becomes dysfunctional the laptop may be prone to overheating and crashing under normal work conditions. This guide will show step-by-step instructions on how to replace the fan in the Lenovo ThinkPad Yoga 370.
Tools
Parts
-
-
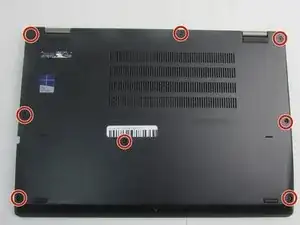
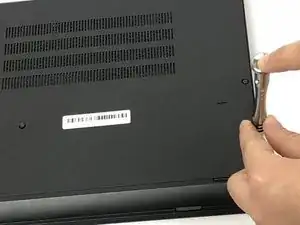
Using the Phillips #00 screwdriver unscrew the eight circled 4mm screws until you hear a click.
-
-
-
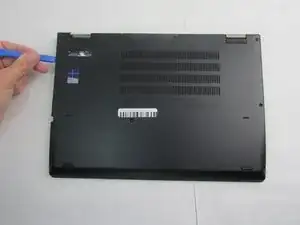
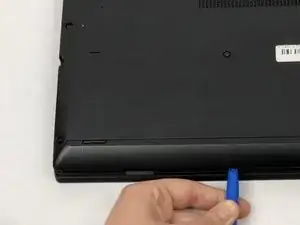
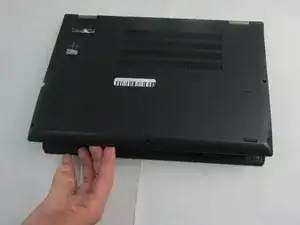
Using the plastic opening tool, work around the edges of the bottom cover to undo the plastic clips.
-
-
-
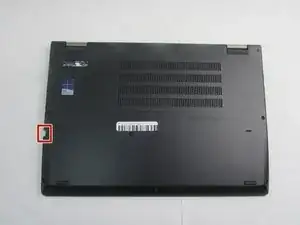
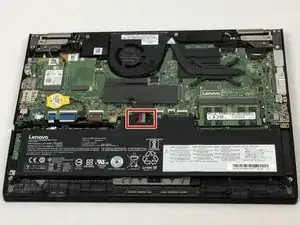
With your fingers, fold back the plastic cover highlighted.
-
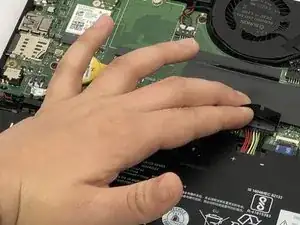
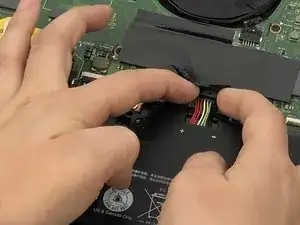
Using two fingers, gently remove the battery connectors.
-
-
-
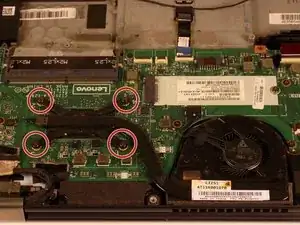
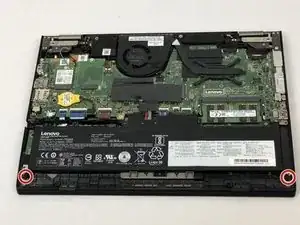
Remove the four 2 mm screws holding the heatsink to the motherboard using the Phillips #00 screwdriver.
-
-
-
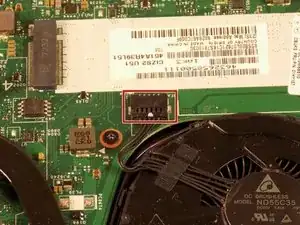
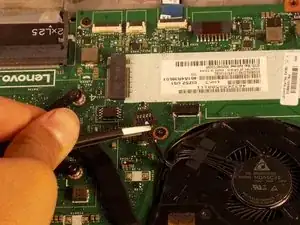
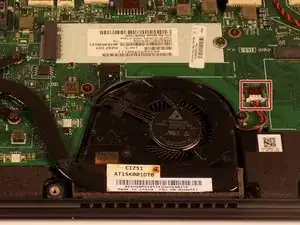
Disconnect the fan's bundled cable from the motherboard using a small set of tweezers or simply pull them out gently.
-
-
-
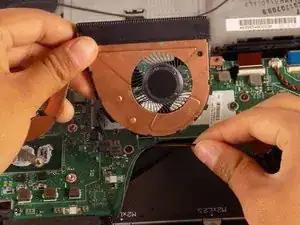
Lift the fan and heatsink from the motherboard; then flip both toward the motherboard.
-
Detach the wire from the perimeter of the fan casing.
-
Remove the fan and heatsink.
-
To reassemble your device, follow these instructions in reverse order.
