Introduction

If the speakers of your Lenovo ThinkPad X390 Yoga aren’t functional anymore, use this guide to replace them. Removing the speakers is surprisingly easy, it does not involve removing any screws only a wire connector.

Prior to starting this guide, power off your device and unplug it from any external power supply.

  1. xnwhamDkGlyKXQjy
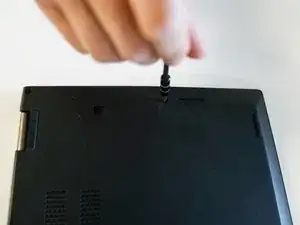
    • Use a Phillips #1 screwdriver to unscrew the eight captive screws from the back of the device.

    • The screws should not be removed from the back panel, so don't try to force them out.

  2. FeHKPMYaSseYOWcS
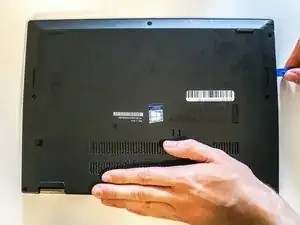
    • Use the iFixit opening tool to remove the back case by entering the tip of the tool into the seam and prying up.

    • This can be tough so take your time to undo the clips around the perimeter before removing the back cover.

  3. JwMukBgcZP3GOiOd
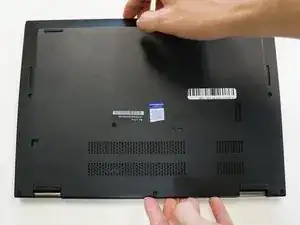
    • Once the back cover is no longer attached carefully remove it by lifting straight up.

  4. GwbXLBBR2CKvRkQK
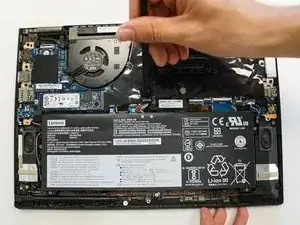
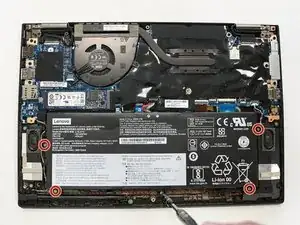
    • Use the spudger to disconnect the battery from the motherboard at the connector socket.

  5. JUEEQT25pyYKwnLQ
    • Use the Phillips #1 screwdriver to remove five 4 mm screws around the battery.

  6. kUtZ2LTAE4NZKtET
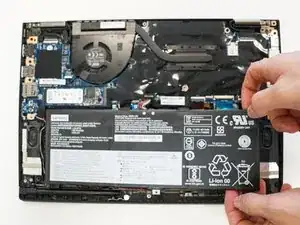
    • Lift the battery out of the laptop by lifting up.

  7. iORCEErIrRck2KmT
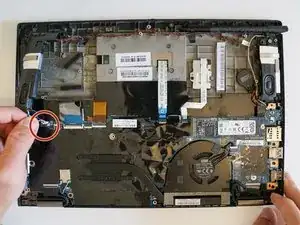
    • Disconnect the connector wire by gently pulling away from the port.

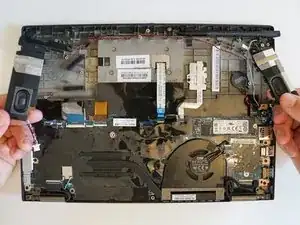
  8. gDUvasYDJFjvb2PG
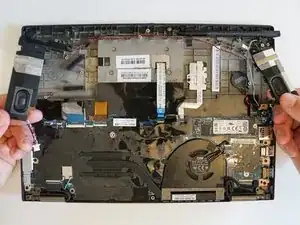
    • Remove the speaker by lifting them up.

    • Gently lift the speaker cable that connects the two speakers from the perimeter of the chassis.

Conclusion

To reassemble your device, follow these instructions in reverse order.
Tanner Baine

Member since: 03/09/21

423 Reputation

0 comments