Introduction
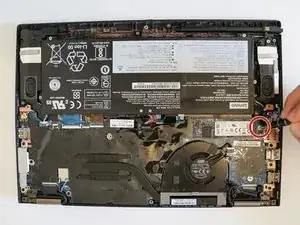
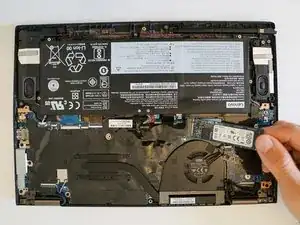
This guide will demonstrate how to remove and replace the SSD in a Lenovo ThinkPad X390 Yoga. The solid-state drive (SSD for short) acts as the main storage for the device. If the SSD is faulty, the device may not boot up, and must be replaced. Also, replacement is needed in order to upgrade an existing SSD to an SSD with more storage capacity. SSD’s may run slower with age, so a replacement can be done to achieve a faster boot time.
Before you begin the guide, be sure to power off your device and unplug it from an external charger.
Tools
Parts
-
-
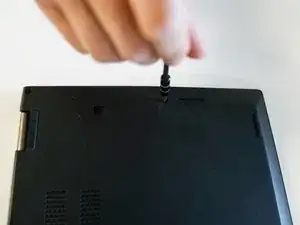
Use a Phillips #1 screwdriver to unscrew the eight captive screws from the back of the device.
-
-
-
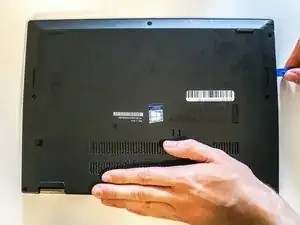
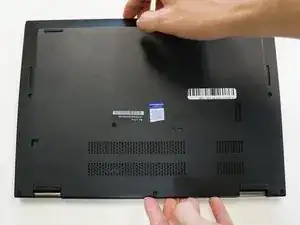
Use the iFixit opening tool to remove the back case by entering the tip of the tool into the seam and prying up.
-
To reassemble your device, follow these instructions in reverse order.
