Introduction
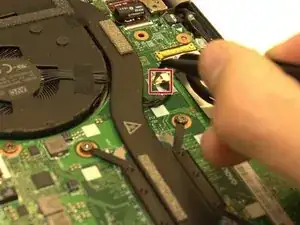
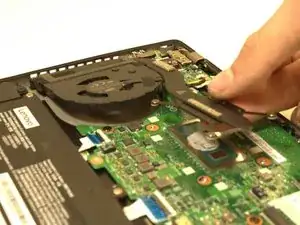
If you need to replace your laptop’s fan please refer to this guide. Exercise caution before beginning this guide by ensuring that the laptop is unplugged and turned off. To complete the replacement of your fan, you will need a plastic opening tool, a #0 Philips head screw driver, and a pair of tweezers.
Tools
Parts
-
-
Flip your laptop over and place on a flat surface so you can access the screws on the base cover.
-
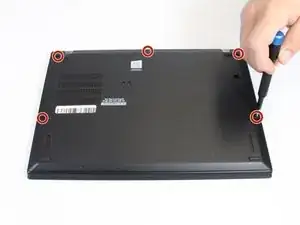
Using a Phillips #0 screwdriver, unscrew the five screws on the base cover.
-
-
-
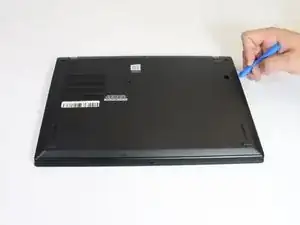
Remove the base cover by inserting a plastic opening tool in between the cover and the rest of the laptop.
-
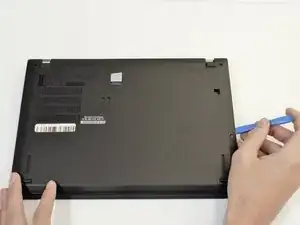
Once the tool is inserted, slide the tool along the edges of the case and push down on the opening tool to detach the case.
-
-
-
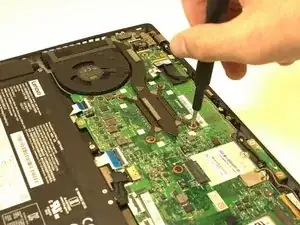
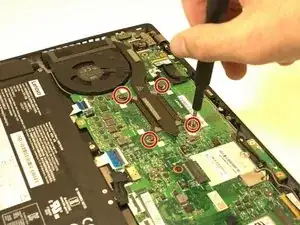
Using the Phillips #0 screwdriver, unscrew the four screws holding the heat sink to the motherboard.
-
To reassemble your device, follow these instructions in reverse order.
