Introduction
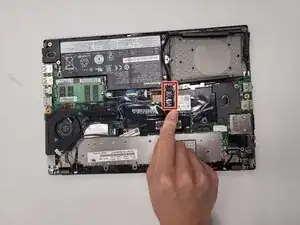
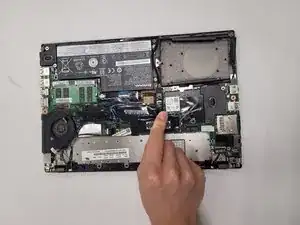
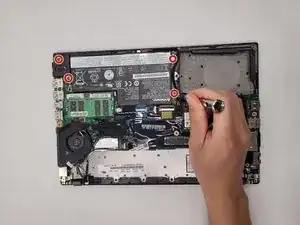
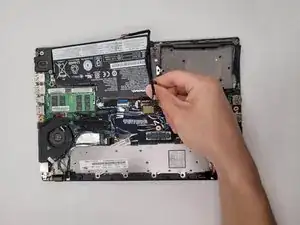
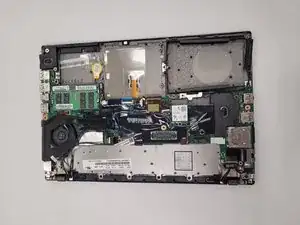
This is a simple guide designed to help extend the life of a Lenovo ThinkPad X260 by replacing the internal battery. The life expectancy for the internal battery is about the same as the external battery which is 2-3 years. However, this does not mean that it must be replaced after 3 years. The expectancy shows how quickly the battery deteriorates and is unable to hold the charge as much as before. After replacing the internal battery, this laptop will run smoother and be able to hold a maximum charge for another 2-3 years. If the internal battery is swollen or leaking fluid, stop immediately and put on protective gear such as thick gloves and goggles before doing anything else to the component. This repair is always easier to perform with a clean organized work area with proper tools. Refer to the link below for proper procedure to dispose of a faulty battery.
Tools
Parts
-
-
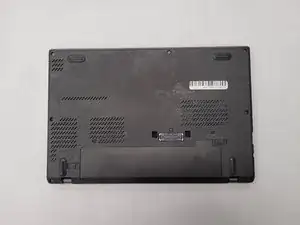
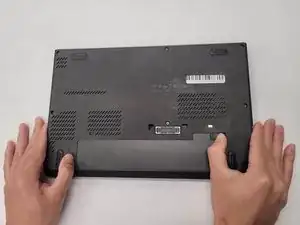
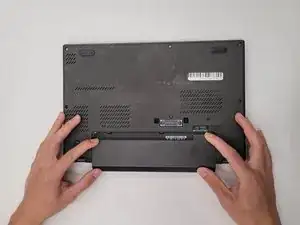
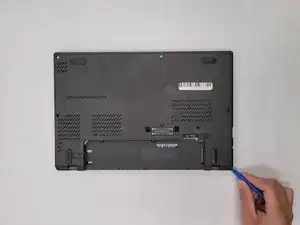
Start by pinching the switches on either side of the battery outwards.
-
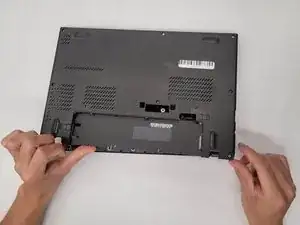
At the same time push the external battery, located in the back, upwards.
-
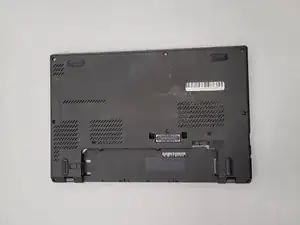
Remove the external battery from the laptop.
-
-
-
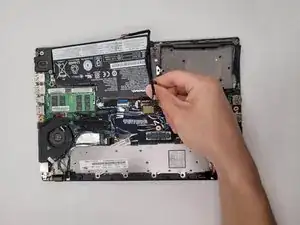
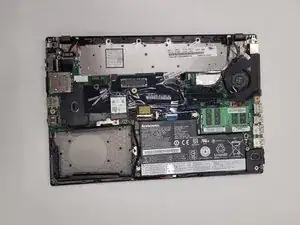
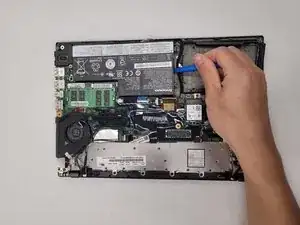
Carefully remove the internal battery unit from the laptop using an iFixit opening tool.
-
Pick up the battery and take it off the laptop frame.
-
To reassemble your device, follow these instructions in reverse order.
