Introduction

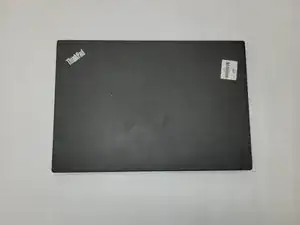
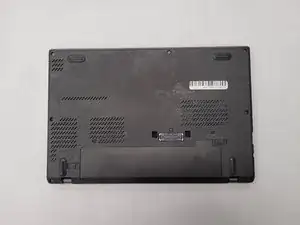
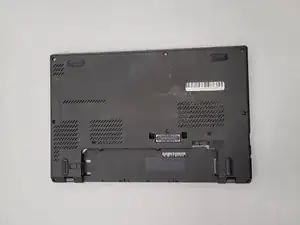
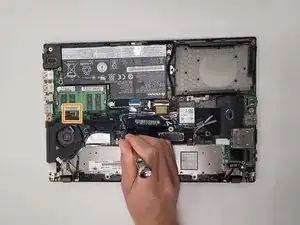
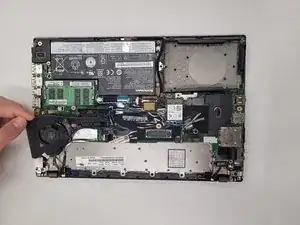
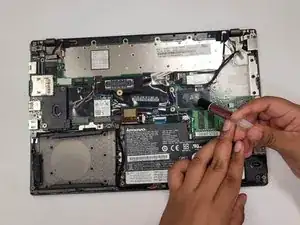
This is a simple guide designed to help extend the life of a Lenovo ThinkPad X260 by replacing the cooling fan. The cooling fan is used to draw heat away from the CPU and push the heat out of the laptop.

A cooling fan would be considered to have failed if the laptop has an issue with overheating or a straining noise coming from the fan. Other symptoms of the cooling fan beginning to fail include reduced air flow or the fan not working at all.

This repair is always easier to perform with a clean well organized work area and the proper tools.

Make sure that the computer is turned off before starting this guide.

  1. PQYXYPBOCNGuPiGT
    PQYXYPBOCNGuPiGT
    lFOkdHAIUmSNImJQ
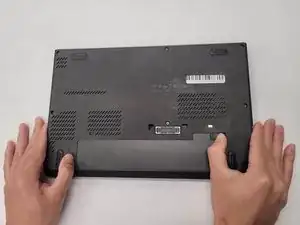
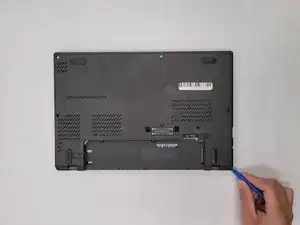
    • Make sure that the device is unplugged and turned off.

    • Flip the laptop from the front to the back.

  2. OLblG5rgunXUCdDD
    OLblG5rgunXUCdDD
    bl6dItgUWdEZWttg
    dlI3spgJILyt1jaa
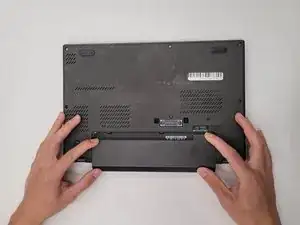
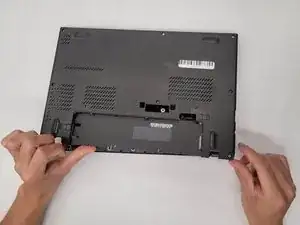
    • Start by pinching the switches on either side of the battery outwards.

    • At the same time push the external battery, located in the back, upwards.

    • Remove the external battery from the laptop.

  3. uF5DCItN6etYQXi6
    uF5DCItN6etYQXi6
    b5N3x1EljKvQFOiL
    1afSoQ22aISKnxIJ
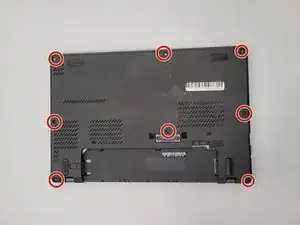
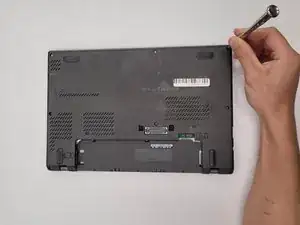
    • Loosen the eight 4.2 mm screws holding the back cover on using a Phillips #1 screwdriver.

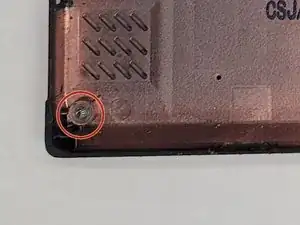
    • These screws should be held in place by a small plastic washer which secures them to the cover and should not be loosened. This is illustrated in the third image.

  4. mVMTPbaZctIRjbjW
    mVMTPbaZctIRjbjW
    CXa6HRvQAIqcMqxA
    FRYTEsMnxyBeTUG2
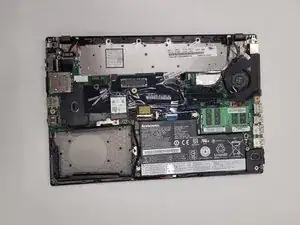
    • Gently pull the cover off and set aside.

    • An iFixit opening tool may make it easier to gently remove the cover.

  5. sUPaAYGOIiDxxdxu
    sUPaAYGOIiDxxdxu
    KsUQRGZqQ2uigFeu
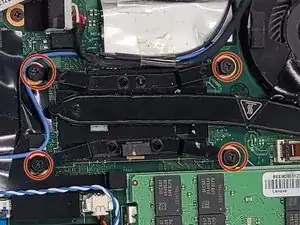
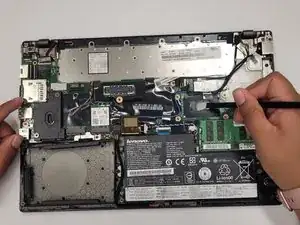
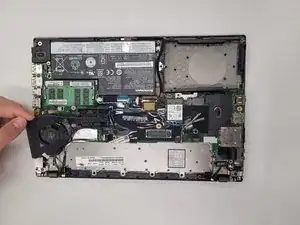
    • Remove the four 2.9 mm screws that hold the cooling fan in order of 4, 3, 2, 1 using a Phillips #1 screwdriver.

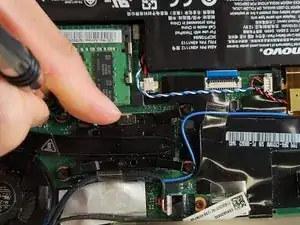
    • Gently lift the plastic retaining flap to disconnect the ribbon cable.

    • The plastic that holds the ribbon wire in place is a black lever on a tan block.

  6. rGKRkf3MwrmqdXeF
    rGKRkf3MwrmqdXeF
    eaqBhEfiDn3rWIYT
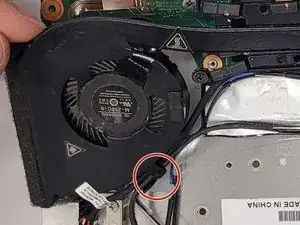
    • Gently remove the wires which run along the fan.

    • Remove the old cooling fan.

  7. rMOYRHUy64QbZiIy
    rMOYRHUy64QbZiIy
    am6BDPmElIdD2GGA
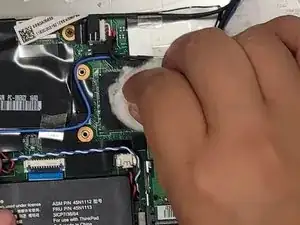
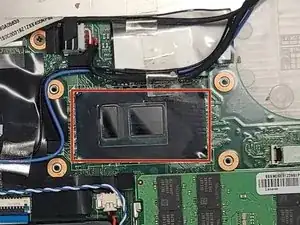
    • Clean the old thermal paste off of the CPU.

    • The CPU, when clean, should have a glossy black finish.

  8. 11kJuICfrywgDUc6
    11kJuICfrywgDUc6
    R36LF1gAOT2UiRgK
    u6esTZMhijI6DCFF
    • Apply new thermal paste to the CPU.

    • Place the new fan in position and secure by reatching the screws in the order of 1, 2, 3, 4.

Conclusion

To reassemble your device, follow these instructions in reverse order.
Alexander Webb

Member since: 07/12/21

193 Reputation

0 comments