Introduction
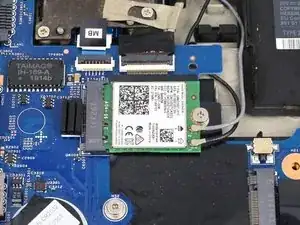
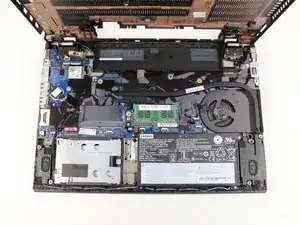
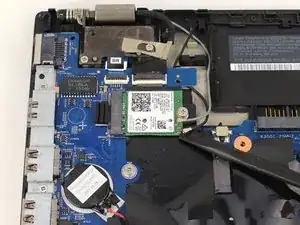
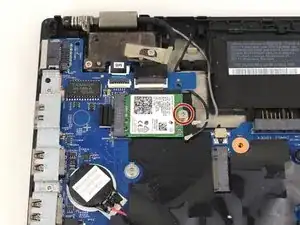
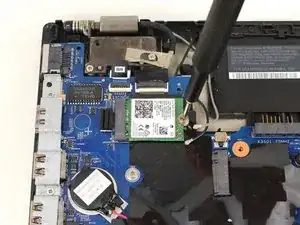
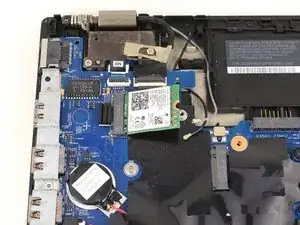
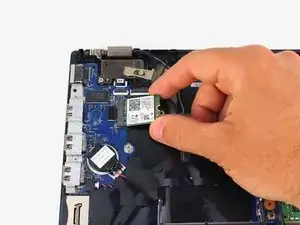
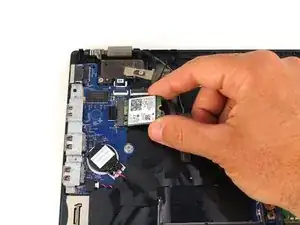
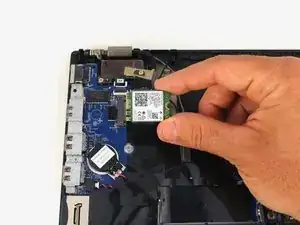
This is a repair guide demonstrating how to replace the wireless or Wi-Fi card in the Lenovo ThinkPad T580 laptop computer. The Wi-Fi card (also known as the WLAN, or wireless local access network, card) controls wireless connections between the computer and the network, allowing data (primarily the internet) to be accessed by the user. The wireless card is connected to both the motherboard and the antenna wires within the laptop, serving as an interface between the Wi-Fi signals in the air and the motherboard. If you are having chronic problems accessing the internet and have ruled out network issues like a problematic router or modem, replacing the Wi-Fi card may help alleviate your wireless woes.
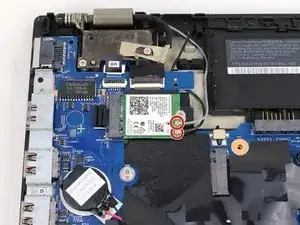
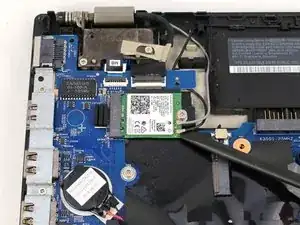
Be sure to note the positions of the black and grey coaxial cables while removing them from your own Wi-Fi card. While the arrows on the card seem to indicate that the darker of the two cables should go above the lighter grey one, we’ve found that this marking is incorrect. Most likely, you should be connecting the black cable to the ‘aux’ port and the lighter grey cable to the ‘main’ port, but in the case that your laptop appears differently while you are disassembling, you’ll likely want to retain the existing color orientation.
Tools
-
-
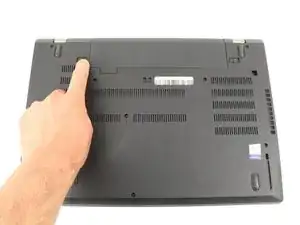
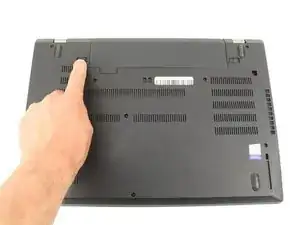
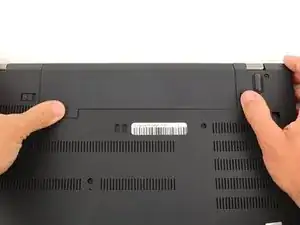
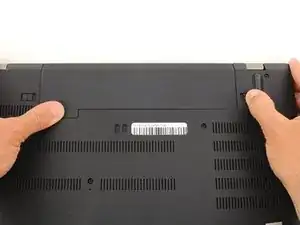
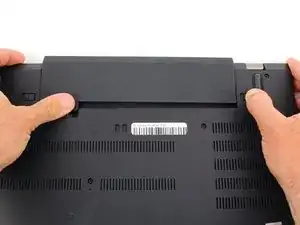
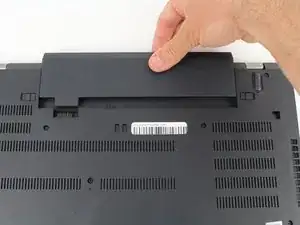
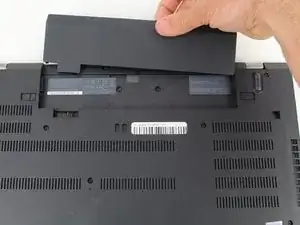
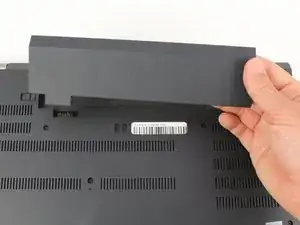
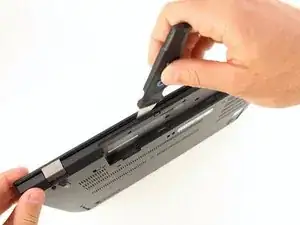
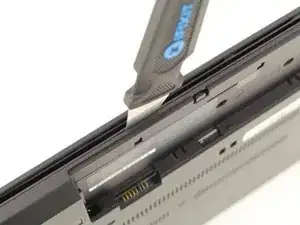
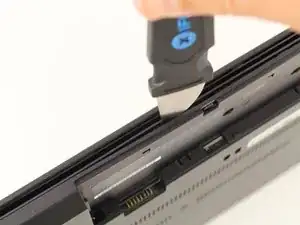
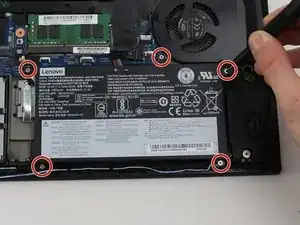
Slide the switch on the right side of the battery to the right while applying upward pressure on the battery.
-
-
-
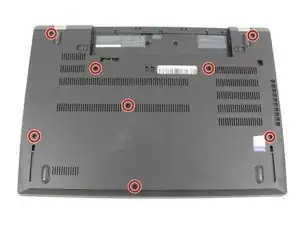
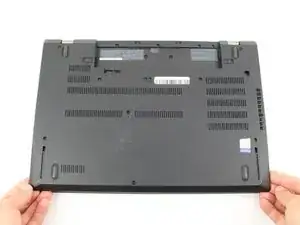
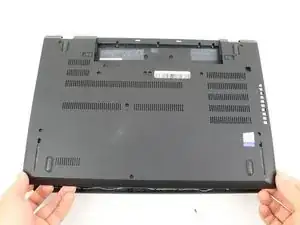
Using a Phillips #00 screwdriver, unscrew the eight 3.3 mm captive screws on the bottom of the laptop.
-
-
-
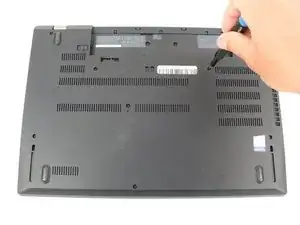
Run a Jimmy along the crease of the computer all the way around, twisting it periodically to disengage the clips.
-
To reassemble your device, follow these instructions in reverse order.
