Introduction

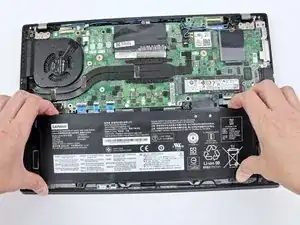
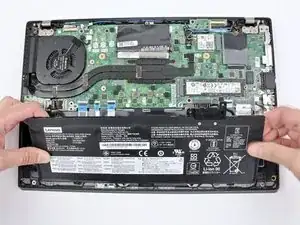
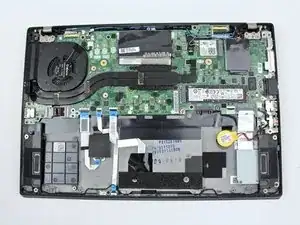
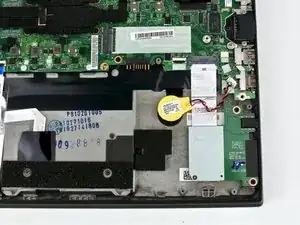
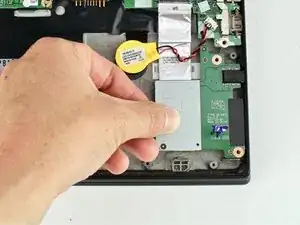
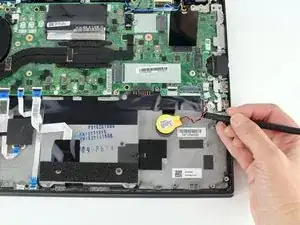
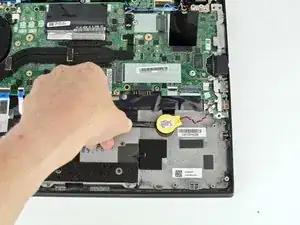
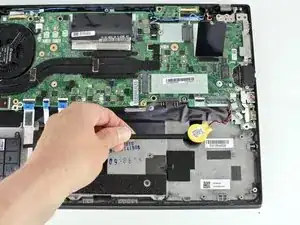
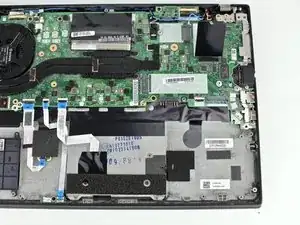
Use this guide to replace the coin cell battery in your Lenovo ThinkPad T480s laptop.

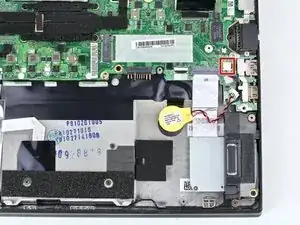
A coin cell battery, also called a CMOS battery, is responsible for remembering specific information such as the computer’s date, time, and BIOS settings when the laptop is turned off.

When the coin cell battery fails, an error message will appear when you power on your laptop.

Make sure to disable the internal battery, power down your device, and disconnect from any external power sources before you begin.

  1. RNt3cWxTIjeD1Mhe
    RNt3cWxTIjeD1Mhe
    haCRyLGBRClsXGrF
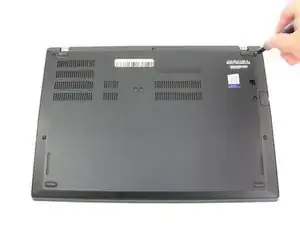
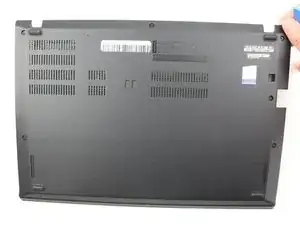
    • Disable the battery, power down the device, and unplug the power adapter from your device before proceeding/beginning the guide.

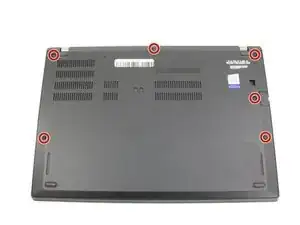
    • Loosen the six captive screws with a Phillips #1 screwdriver.

  2. Vboy5of3qMKgumu1
    Vboy5of3qMKgumu1
    Xg36ebBqZsGYEUXf
    lIwLqVaU1qnjeJil
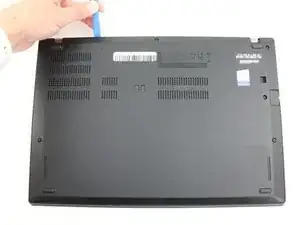
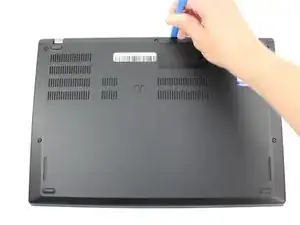
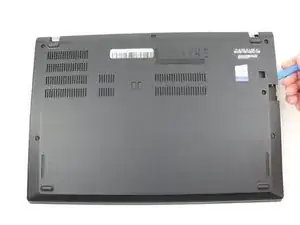
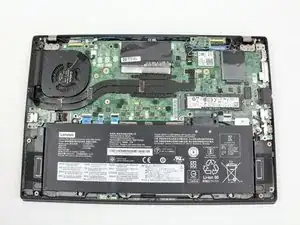
    • Remove the bottom cover with an opening tool.

    • Start from the top edge near the hinge and work your way along the edge until all of the clips are unsnapped.

  3. l4tenwgnMuEBiPRu
    l4tenwgnMuEBiPRu
    OndiEfoacVynMaGD
    • Lift the bottom cover off.

  4. rMuXJjsAEqTwJ6yk
    rMuXJjsAEqTwJ6yk
    keHTFFHcBqAGFHH5
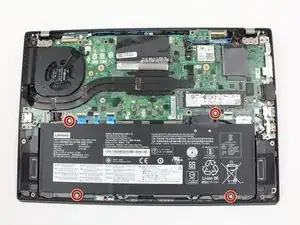
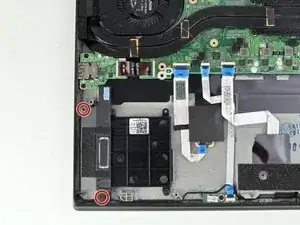
    • Use the Phillips #1 screwdriver to remove four 4.5mm screws that hold the battery down to the mid frame.

  5. qxlZs34IiTCm3AB1
    qxlZs34IiTCm3AB1
    RhPWGMiEmmS2NAxQ
    WdXBnRMenO53EqKo
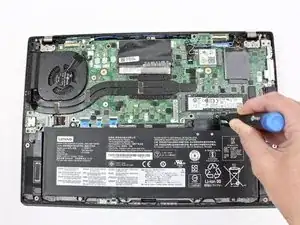
    • Lift the battery near the connector and remove it from the system.

  6. dcVsGKgOMj2qxiQf
    dcVsGKgOMj2qxiQf
    NLSiq2N62dBC3BVQ
    ekrFqFfPYkW52PdO
    • Disconnect the speaker cable from the motherboard using a connector puller or spudger.

  7. cvKjcYhSWD1YUobR
    cvKjcYhSWD1YUobR
    iGhbl6yPXGdHkwJA
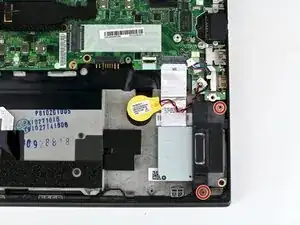
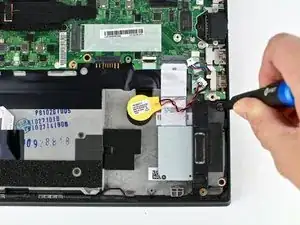
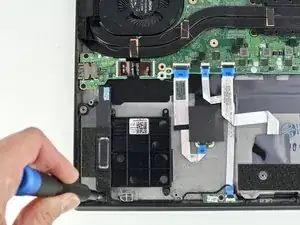
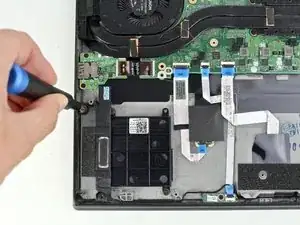
    • Using a Phillips #1 screwdriver, remove two 4.8 mm screws from the speaker on the right side.

  8. quesvbml2waCWTZB
    quesvbml2waCWTZB
    EiYF1yQ5efeEigro
    OrOGAyJI6uORgZho
    • Using a Phillips #1 screwdriver, remove two 4.8 mm screws from the speaker on the left side.

  9. GHy3SxFhmCJ1UtOJ
    GHy3SxFhmCJ1UtOJ
    A2LUtN2xc5DkHTS1
    lULi1BMJGMTaHlEG
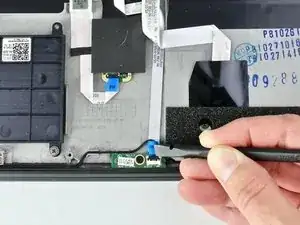
    • Use the spudger to disconnect the hall sensor connector.

  10. GOARNPBUiMlgeaJK
    GOARNPBUiMlgeaJK
    QGw2MIZICJlnAbVd
    dTmHIBYyqDodGNJR
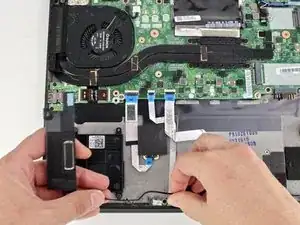
    • Lift the speakers up.

    • Disconnect the cable speakers from the routing.

    • Remove the speakers from the system.

  11. XGsHYYFThMnwZ142
    XGsHYYFThMnwZ142
    sUGcEa6J5GCioCM1
    ewhMZffE6nfDHeHB
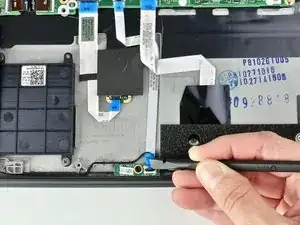
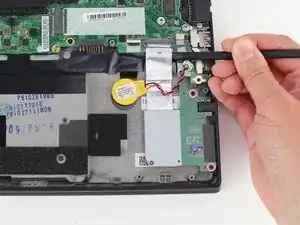
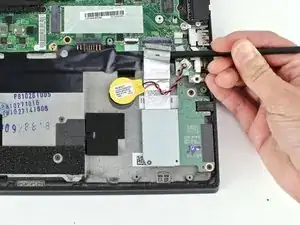
    • Use a spudger to lift up the retaining flap on the SD card reader/audio card connector.

  12. YOMUFpsRGuD4jOS5
    YOMUFpsRGuD4jOS5
    jPZvhJb3Zp6mVaEE
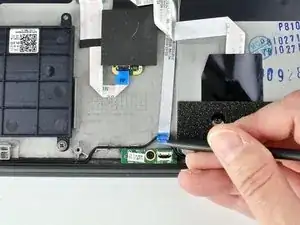
    • Use the spudger to remove the cable from the connector.

    • The cable is attached to the board with adhesive so you will need to peel the cable up.

  13. KnTfvLmOcMELmdYi
    KnTfvLmOcMELmdYi
    EdFNMcpAv4GehMNU
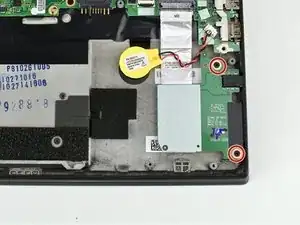
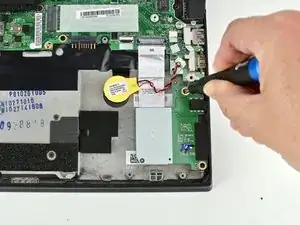
    • Use the Phillips #1 screwdriver to remove two 3.1 mm screws from the card.

  14. QmkHG3VDUVTTUkYm
    QmkHG3VDUVTTUkYm
    DUA4BY5FnQb4JITg
    G263sJ3m4ScgeZTt
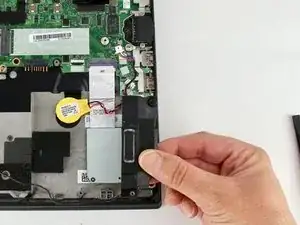
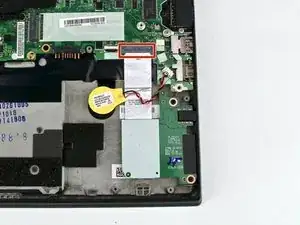
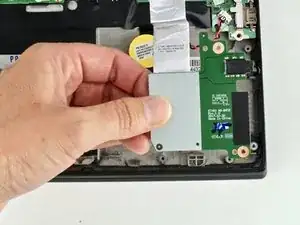
    • Lift the SD card reader/audio card from the system by sliding it out from the socket.

    • You will need to slide the audio card ribbon cable under the coin cell battery cable to remove the SD card reader from the system.

  15. FTPJLGZFmtjNFWaD
    FTPJLGZFmtjNFWaD
    gxYK4r1QWSBH2Cwl
    I5teqvsxIyeUNBHA
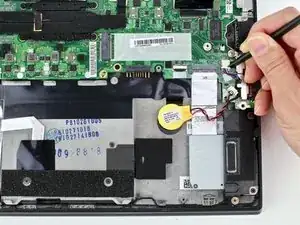
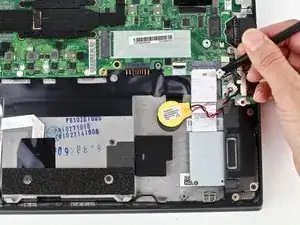
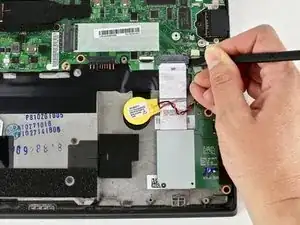
    • Use a connector puller or spudger to disconnect the coin cell cable from the system board.

  16. ZiBTGDt5NB2kUY3C
    ZiBTGDt5NB2kUY3C
    XACK2MoluEhqGwaX
    LLEfdrRqBL42e6wA
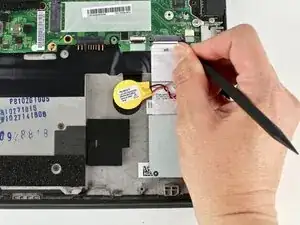
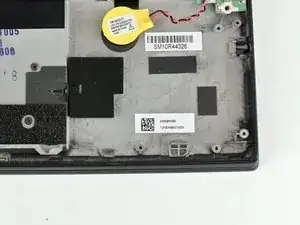
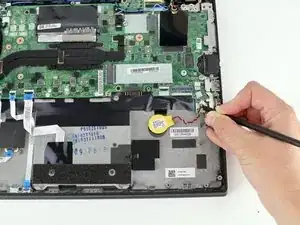
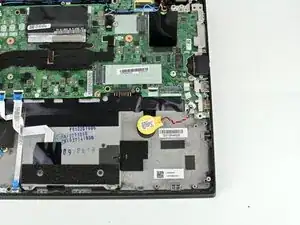
    • Use the spudger to pry the coin cell battery up from the frame.

    • When reassembling, you may need to apply adhesive to the battery so it sticks to the motherboard.

Conclusion

To reassemble your device, follow these instructions in reverse order.

Take your e-waste to an R2 or e-Stewards certified recycler.

Repair didn’t go as planned? Try some basic troubleshooting, or ask our Answers community for help.
Sarah Westberg

Member since: 11/03/19

22761 Reputation

0 comments