Introduction
Use this guide to replace what Lenovo calls the camera card but is really just the internal webcam or camera in your Lenovo ThinkPad T480s laptop.
The camera card (also called a laptop camera or built-in webcam) transmits real-time videos and images to your computer. Some signs of a faulty camera include error messages that the camera is not enabled or cannot be found, or the camera light is on but the camera itself is unresponsive. There are known camera issues with Windows 10 which may be resolved with this troubleshooting guide.
If your camera is physically cracked or damaged, it may require a replacement.
Before attempting to replace the camera, make sure to disable the internal battery, power down your device, and disconnect from any external power sources.
Tools
-
-
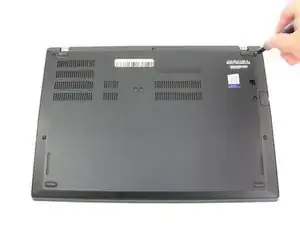
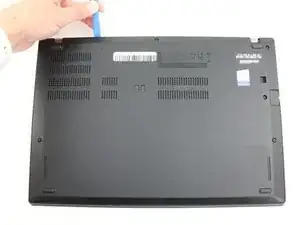
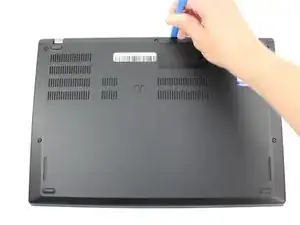
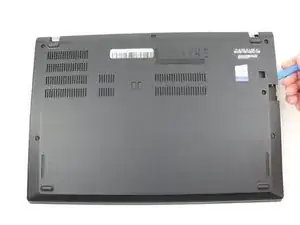
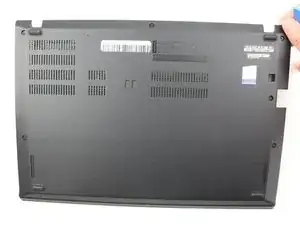
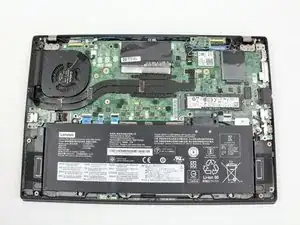
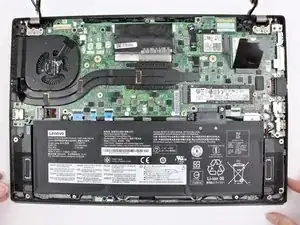
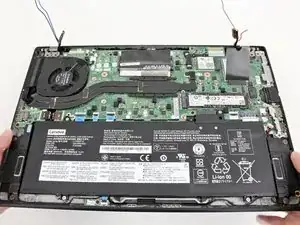
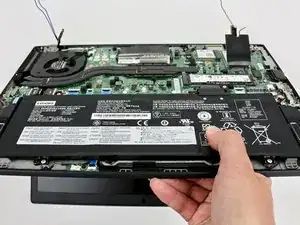
Remove the bottom cover with an opening tool.
-
Start from the top edge near the hinge and work your way along the edge until all of the clips are unsnapped.
-
-
-
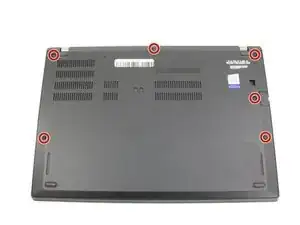
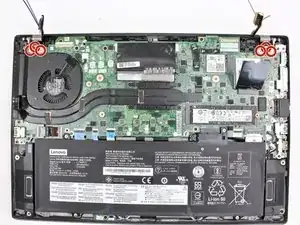
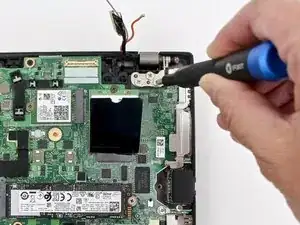
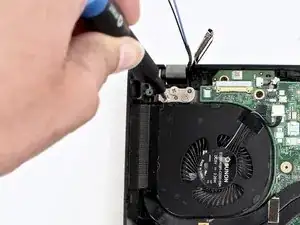
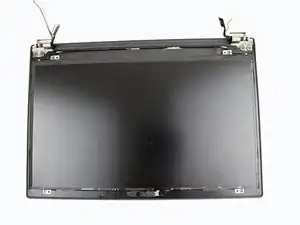
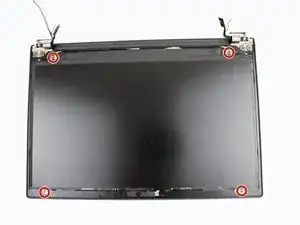
Using the Phillips #1 screwdriver, remove three 5 mm screws from the left hinge and three 5 mm screws from the right hinge.
-
-
-
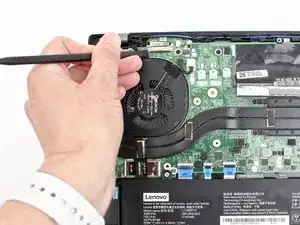
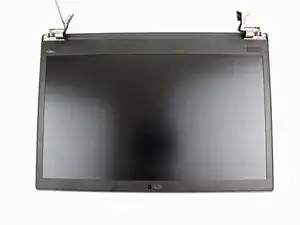
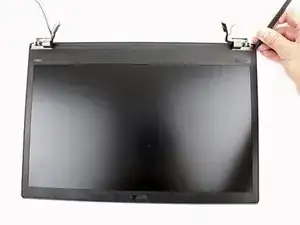
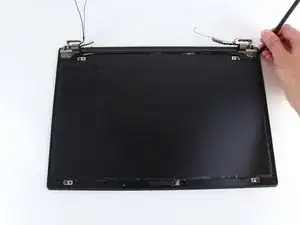
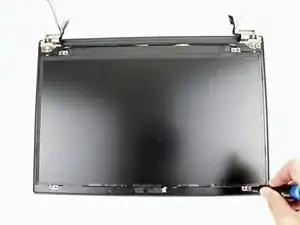
Use the spudger to remove the internal bezel.
-
Start at the corner by the hinge and lift the edge of the internal bezel up with the pointed end of the spudger.
-
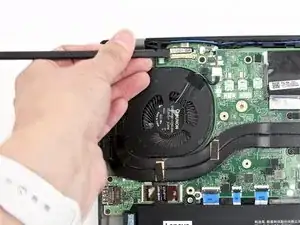
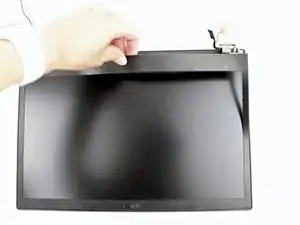
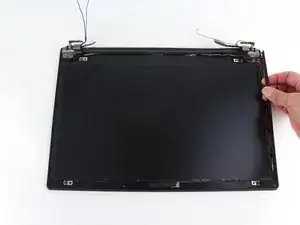
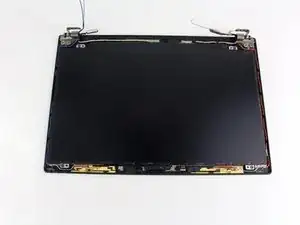
Hold the internal bezel with your fingers and work your way around the perimeter of the screen carefully pulling the bezel up.
-
-
-
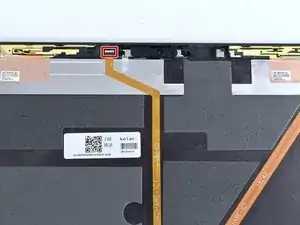
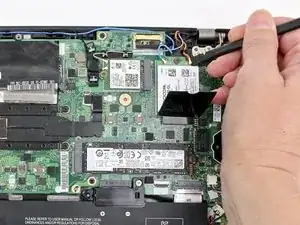
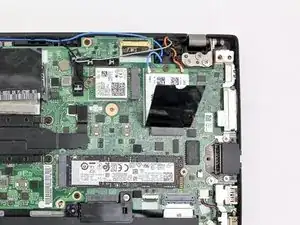
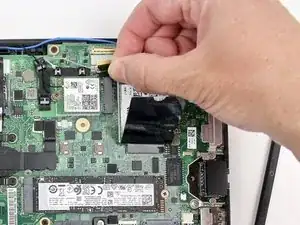
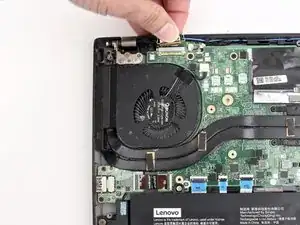
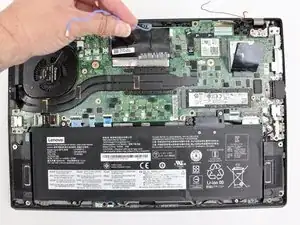
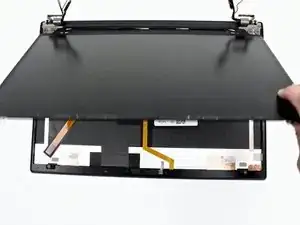
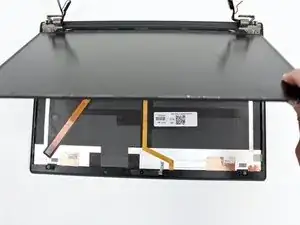
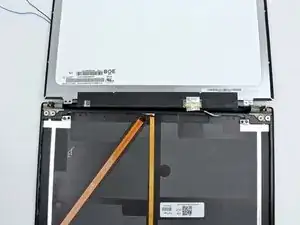
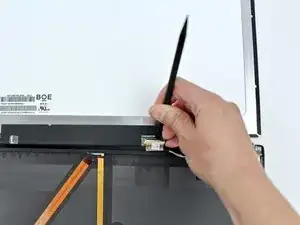
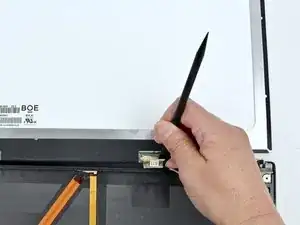
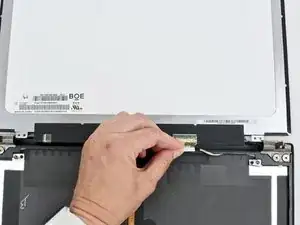
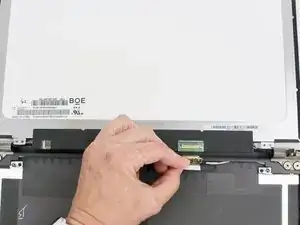
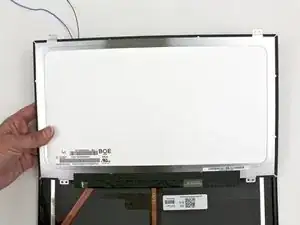
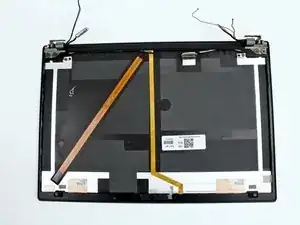
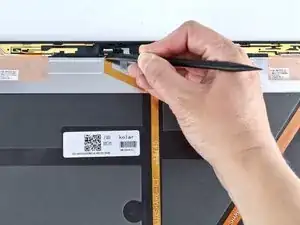
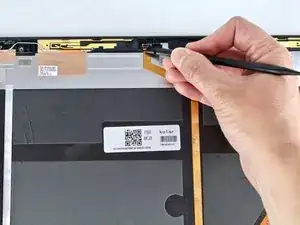
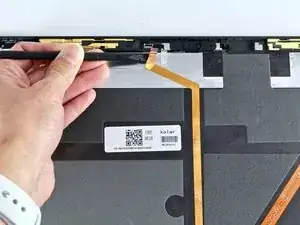
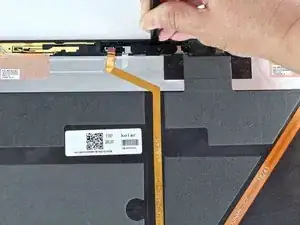
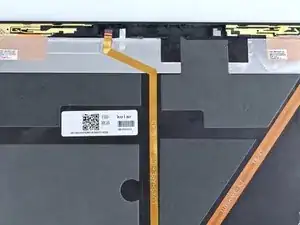
Peel back the tape covering the LCD cable connector.
-
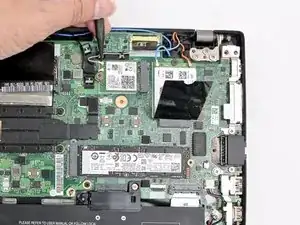
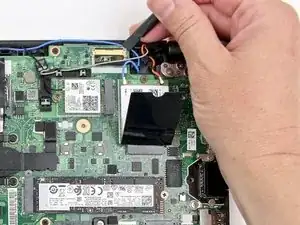
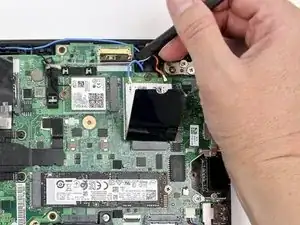
Use the spudger to unlock the LCD cable.
-
To reassemble your device, follow these instructions in reverse order.
Take your e-waste to an R2 or e-Stewards certified recycler.
Repair didn’t go as planned? Try some basic troubleshooting, or ask our Answers community for help.
