Introduction
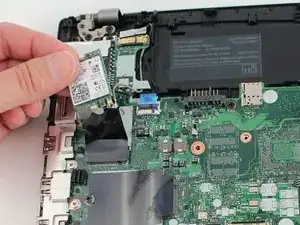
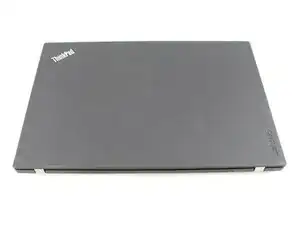
The Wi-Fi card communicates with your wireless network through the router. If it is in range, your laptop will be able to connect to the internet if it's not password protected. If your Wi-Fi card is failing, follow this guide to replace your Lenovo ThinkPad T480 Wi-Fi Card.
The main symptom of a failing Wi-Fi card is problems with connectivity—more specifically failure to locate wireless connections, intermittent wireless connections and loss of connectivity due to hardware damage.
Prior to beginning this guide, be sure to disable the internal battery, power off the device, and unplug the laptop from the charging cable.
Tools
Parts
-
-
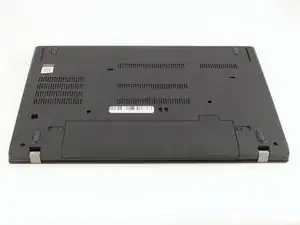
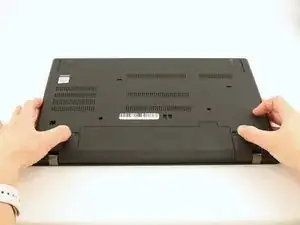
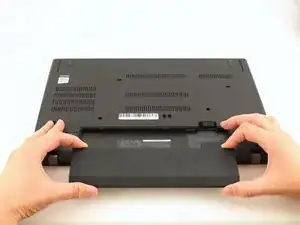
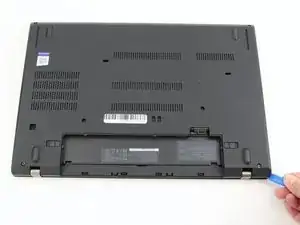
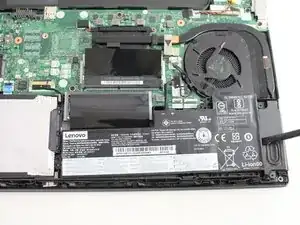
Using your fingers, slide the lock on each side of the battery to the unlocked position.
-
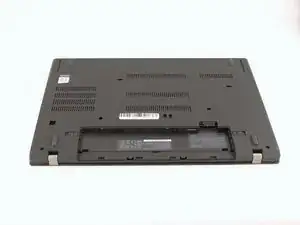
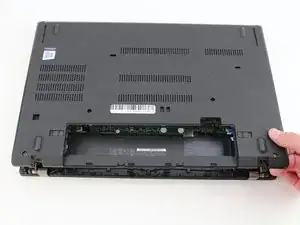
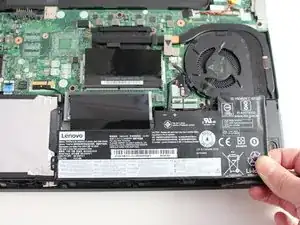
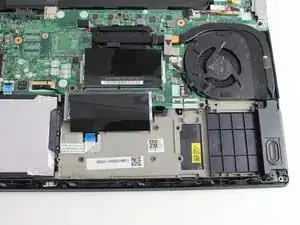
Remove the battery from the slot.
-
-
-
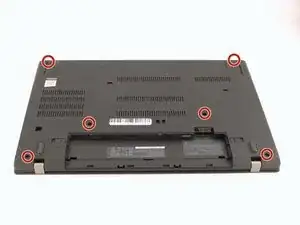
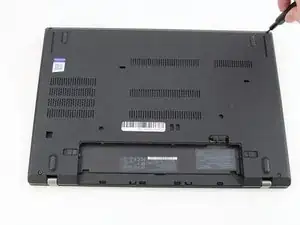
Insert the blue plastic opening tool into the space between the lower case and the chassis.
-
Slide the opening tool around the perimeter of the case to release the clips holding the case and the chassis together.
-
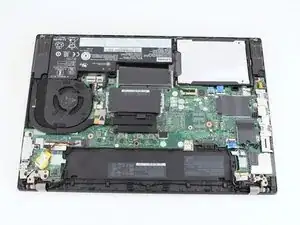
Remove the back case.
-
-
-
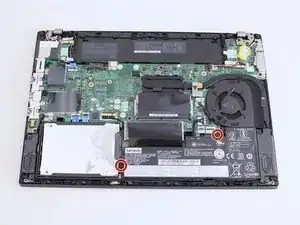
Using the Phillips #1 screwdriver, remove the two 4.6 mm screws securing the internal battery to the frame.
-
-
-
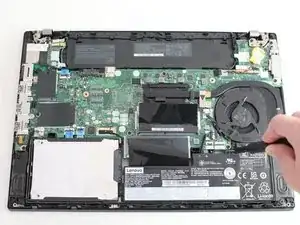
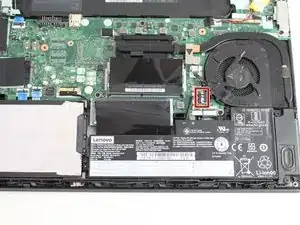
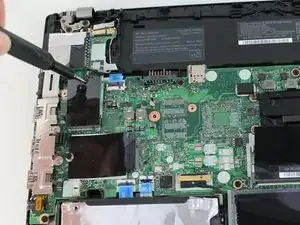
Use the spudger to slide the battery socket connector parallel to the motherboard and out of its socket on the motherboard.
-
-
-
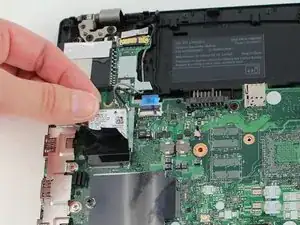
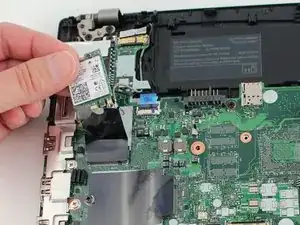
Using the Phillips #1 screwdriver, remove the single 3.6 mm screw at the top of the Wi-Fi card attaching it to the motherboard.
-
-
-
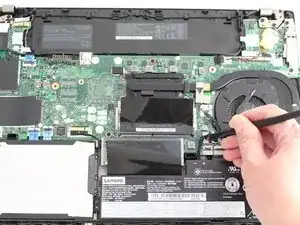
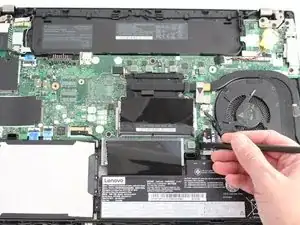
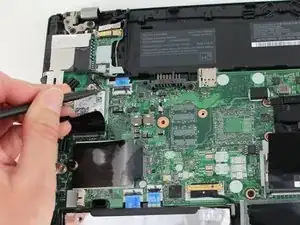
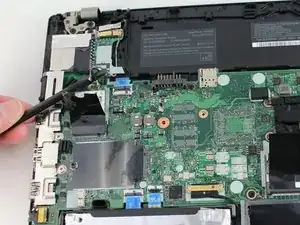
Insert the point of a spudger under one of the antenna cables close to the connector. Pry straight up to disconnect the cable off of the Wi-Fi card.
-
To reassemble your device, follow the above steps in reverse order.
Take your e-waste to an R2 or e-Stewards certified recycler.
Repair didn’t go as planned? Try some basic troubleshooting, or ask our Answers community for help.
