Introduction

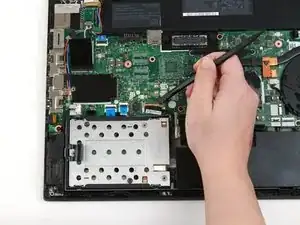
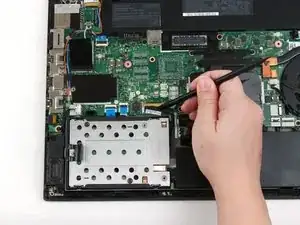
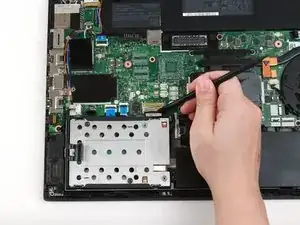
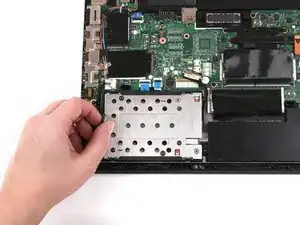
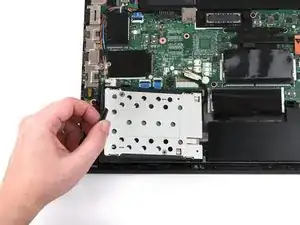
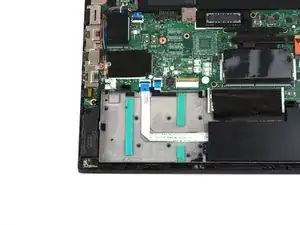
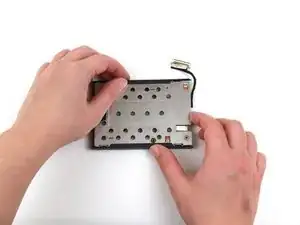
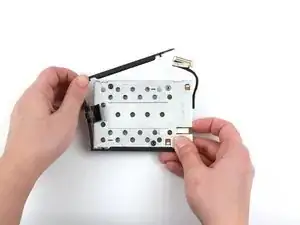
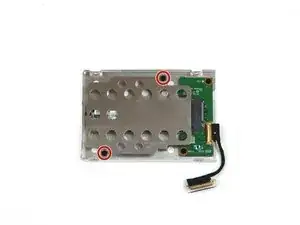
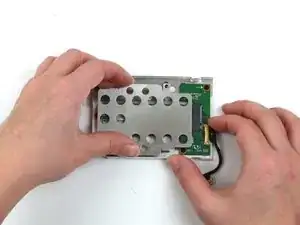
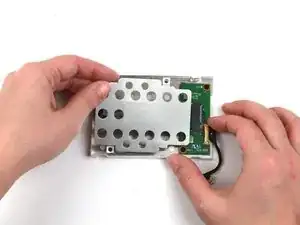
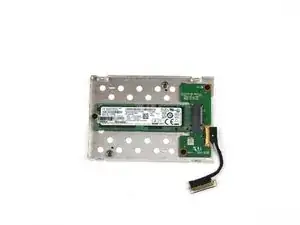
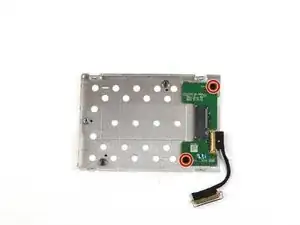
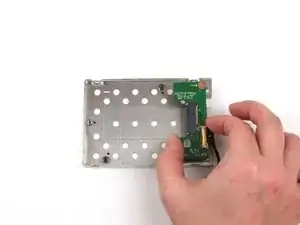
Use this guide to replace the SSD in your Lenovo ThinkPad T470 laptop.

An SSD (short for “solid-state drive”) is a storage component in a computer. SSDs use flash memory, as opposed to the spinning disks and moveable parts used in an HDD (hard disk drive). As a result, SSDs are much quieter and operate more quickly than HDDs. Signs your SSD may be faulty include corrupted data, read-only errors, frequent crashes, or blue screen of death.

If you are able to recover any data saved to your SSD, be sure to back up your files before beginning this guide. Also, make sure to disable the internal battery, power down your device, and disconnect from any external power sources before you begin.

  1. ckD4hlhmUnmKSNxm
    ckD4hlhmUnmKSNxm
    4tDyZWvui5LNVpRd
    PsRGa3leqYQsXNd2
    • Before you begin this guide, make sure to disable the internal battery, power down your device, and disconnect from any external power sources.

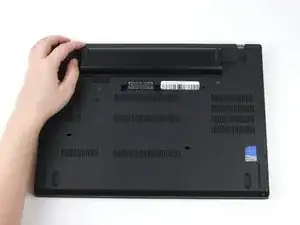
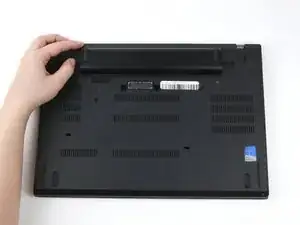
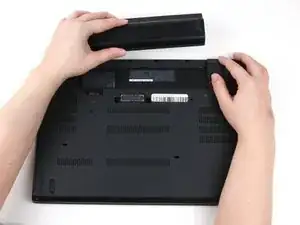
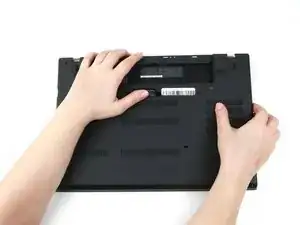
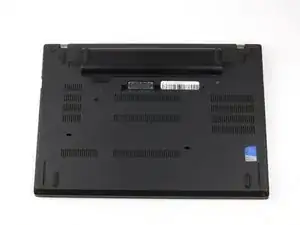
    • Place the laptop so that the bottom is facing upwards.

    • Slide the latch on the left side of the battery to the left until it clicks in place.

  2. ubILtEnaxUXSvQlT
    ubILtEnaxUXSvQlT
    rGEYTyc3CtYNLMWC
    rouQwBIBUSLcuIYw
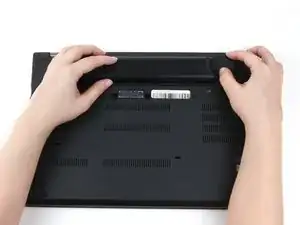
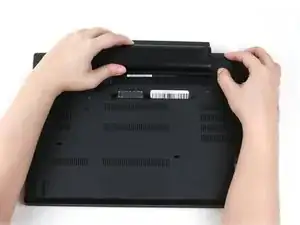
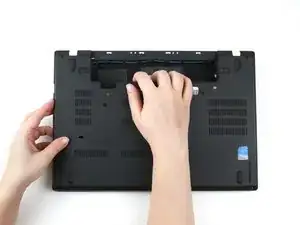
    • Slide the latch on the right side of the battery to the right and hold it in place with your thumb.

    • Use your other hand to slide the battery towards the back of the laptop.

    • Lift the battery up and away from the laptop.

  3. ZmJAqF3SSetfajiO
    ZmJAqF3SSetfajiO
    x2RgPIbHxmZuCNMi
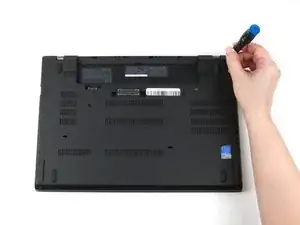
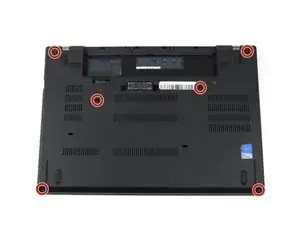
    • Use a Phillips #1 screwdriver to loosen the six captive screws on the bottom cover of the laptop.

  4. IBilM4rFNxyNCIjU
    IBilM4rFNxyNCIjU
    eRSnSMbEylr5lBO5
    MwQBBWaqc5oJHitR
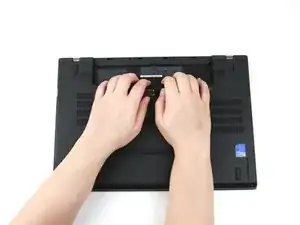
    • Use your hands to pull up on the back cover and release the plastic clips starting on the bottom side of the battery compartment.

    • Potential for device damage: Be sure to detach the plastic clips in this area first. You risk cracking the bottom cover if you attempt to detach it from around the edges of the laptop first.

    • Use your hands to pull up on the right side of the bottom cover to release the plastic clips.

    • Use your hands to pull up on the left side of the bottom cover to release the plastic clips.

    There may be a SIM card holder inserted. If there is, it will prevent the bottom cover from coming off. In the photo, the SIM card holder would be center left edge of laptop. Use a straight pin or paperclip to eject the holder to release the laptop bottom cover.

    Frugal Guy -

  5. 6HAC32Qsg6aKhlkG
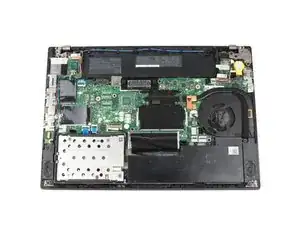
    • Remove the bottom cover from the laptop.

    Don't forget to unplug the battery from the motherboard before removing it.

    Mike Stalenberg -

  6. jpH1qTfKrZv2uKWW
    jpH1qTfKrZv2uKWW
    2SKwhWZUXYACBDBD
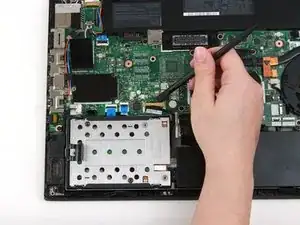
    • Use the flat end of a spudger to flip up the metal clip securing the SSD connector to the motherboard.

  7. 6yemGqv1ZZQR36hn
    6yemGqv1ZZQR36hn
    ofHYeFABNWCutw32
    • Use the flat end of a spudger to separate the connector from its socket.

  8. rWdWMxEc4LtvqoJp
    rWdWMxEc4LtvqoJp
    M2YYZEGcUCfkcbwE
    uAfLa4JfaBY2SKdL
    • Grab the tab on the left side of the SSD assembly, and pull up to remove it from the laptop.

  9. Hubrg2ZKUVLZhjjV
    Hubrg2ZKUVLZhjjV
    rBSeJB3crporV5Sr
    IwpfGGoe2TuG3PXu
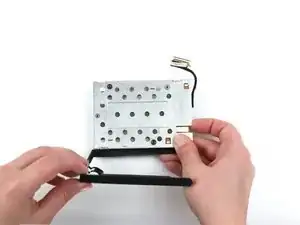
    • Use your fingers to detach the plastic bracket from the SSD assembly.

  10. s2wYLAUISTTFeUxk
    s2wYLAUISTTFeUxk
    myC3hgLC2W1gZHgm
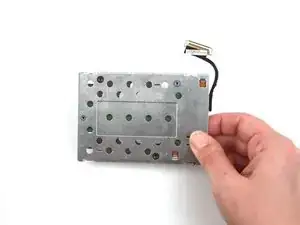
    • Flip the SSD assembly over so that the green connector board is visible.

  11. Hdq6661XMItcojKJ
    Hdq6661XMItcojKJ
    hu2syKPUQKPWS52v
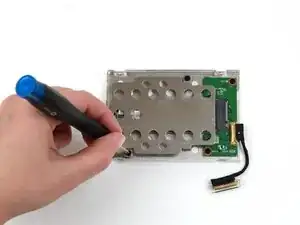
    • Use a Phillips #1 screwdriver to remove the two 4 mm screws from the metal bracket.

  12. Tea1dfNjqrgoOfFL
    Tea1dfNjqrgoOfFL
    xYegPlDOKKvcrAYE
    nEwrswXALFgU6eft
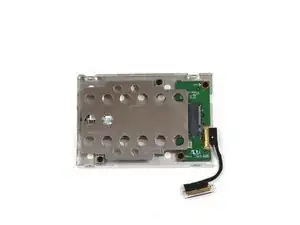
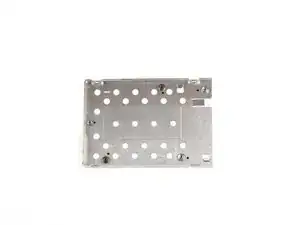
    • Use your hands to lift the metal bracket up and away from the SSD assembly.

    • There may be some adhesive attaching the metal bracket to the SSD.

  13. T4JNdTybBkEEoTEy
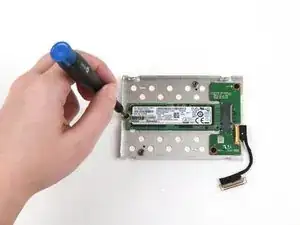
    • Remove the single 4 mm screw using a Phillips #1 screwdriver.

  14. 1e5gVxUkkAHPvvZw
    1e5gVxUkkAHPvvZw
    HX1q4fkH4RUuEkOI
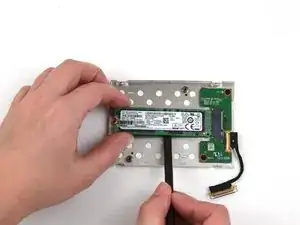
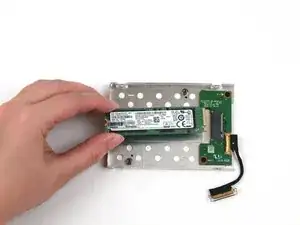
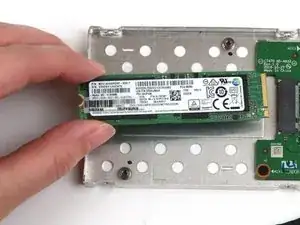
    • Use the flat end of a spudger to pry the SSD up slightly and pull it out of the slot with your other hand.

  15. nfgmHdt4wjZt5Ujs
    nfgmHdt4wjZt5Ujs
    habMei2h4QMrNUjl
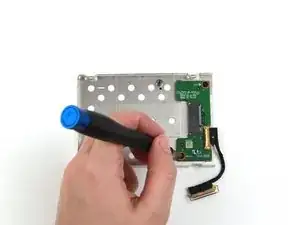
    • Remove the two 4 mm screws from the SSD connector board using a Phillips #1 screwdriver.

  16. CUHrWfA2r5A1puvP
    CUHrWfA2r5A1puvP
    sudpNLCtMQUFJQWo
    • Use your hand to remove the SSD connector board from the metal enclosure.

Conclusion

To reassemble your device, follow these instructions in reverse order.

Take your e-waste to an R2 or e-Stewards certified recycler.

Repair didn’t go as planned? Try some basic troubleshooting, or ask our Answers community for help.
Kristen Gismondi

Member since: 12/11/14

81237 Reputation

0 comments