Introduction

This guide requires some caution when removing the cables connected to the wireless adapter. Use a spudger and avoid using tweezers with metallic points as it could damage the cable. The remainder of the guide is simple and requires unscrewing a screw.

  1. ksusH3IDUnrrJvCF
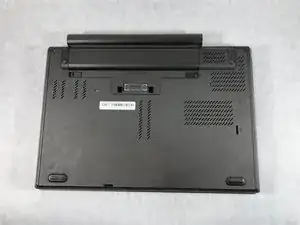
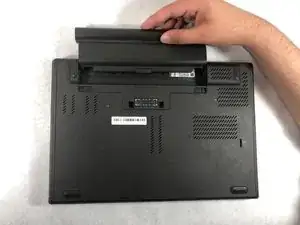
    • Flip the laptop so that the back is facing up.

  2. 1eRdgiumIRcw5Tsq
    1eRdgiumIRcw5Tsq
    dDnKAtcTColIODed
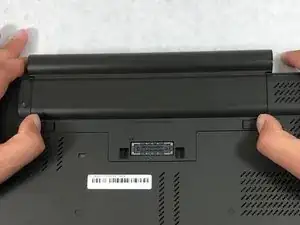
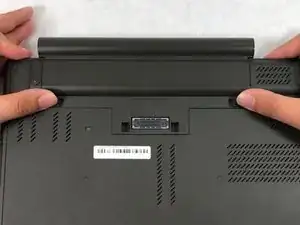
    • Slide the battery latches to the unlocked position.

  3. XZwXNgqoVPPbBGU4
    XZwXNgqoVPPbBGU4
    vyWtOfI6GgUUOFiH
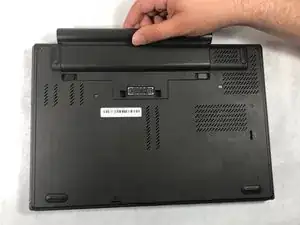
    • Slide the battery pack out of the battery slot.

  4. pQeOjNUJNlygihtI
    pQeOjNUJNlygihtI
    q6WB6awCXUkUrJ6p
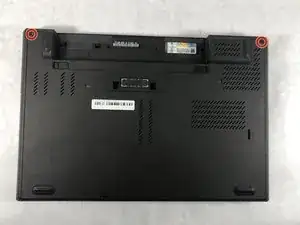
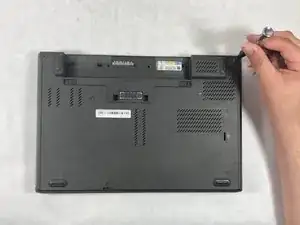
    • Use a Phillips #1 screwdriver to remove the two 9mm screws holding the back cover.

  5. 1eT2CjLvOIVXY4lq
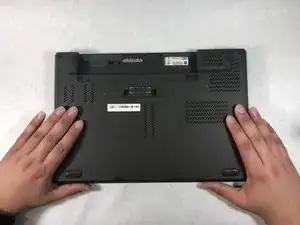
    • Slide down the back cover.

  6. kqPxtExYtrPDdlDy
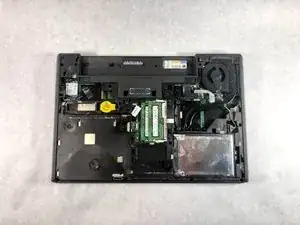
    • Remove the back cover.

  7. JEPycuRVmU5dBsO6
    JEPycuRVmU5dBsO6
    GREoRLmcxFIPFAnP
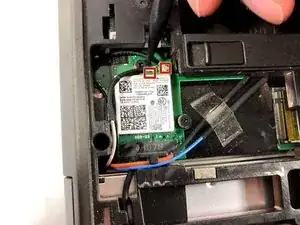
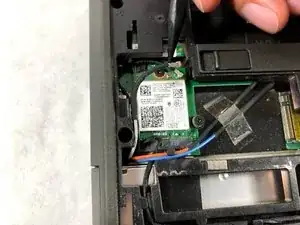
    • Use the spudger to remove the two cables that are connected to the wireless adapter.

  8. HldhPRNTQnyemQi3
    HldhPRNTQnyemQi3
    qxwZVDjWFltbFYTV
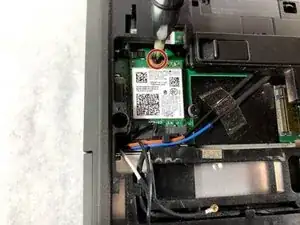
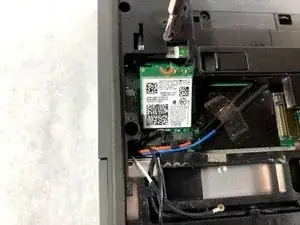
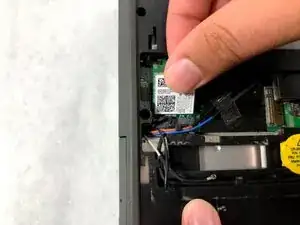
    • Use a Phillips #0 screwdriver to remove one 3 mm screw holding down the wireless adapter. Once it is done, the wireless adapter will move to an upward angle.

  9. QydmCkeBHVkfbmMg
    QydmCkeBHVkfbmMg
    JWBstMKNJZr5MEUL
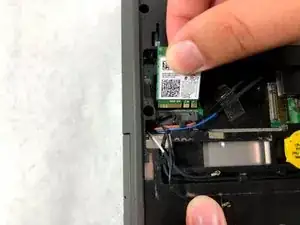
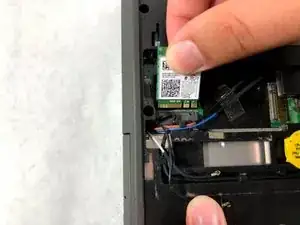
    • Remove the wireless adapter.

    Hello,

    Have any idea what interface is in the right of the wifi adapter?

    grancea2003 -

Conclusion

To reassemble your device, follow these instructions in reverse order.
Christian Abad

Member since: 20/03/19

1378 Reputation

0 comments