Introduction

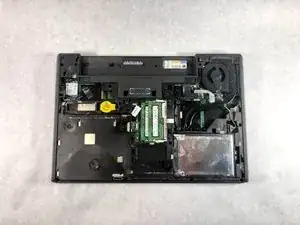
The back cover is the protective layer for your computer that covers many components that will likely be replaced. The process is very simple and you will only need to remove two screws with a Phillips #1 screw driver.

  1. ksusH3IDUnrrJvCF
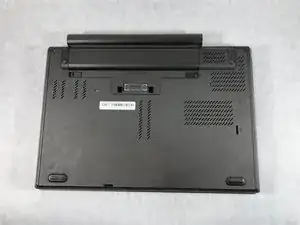
    • Flip the laptop so that the back is facing up.

  2. 1eRdgiumIRcw5Tsq
    1eRdgiumIRcw5Tsq
    dDnKAtcTColIODed
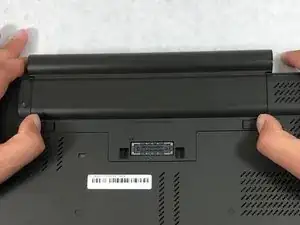
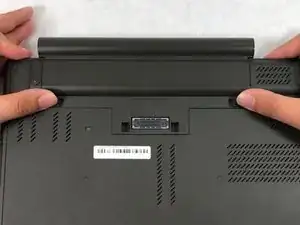
    • Slide the battery latches to the unlocked position.

  3. XZwXNgqoVPPbBGU4
    XZwXNgqoVPPbBGU4
    vyWtOfI6GgUUOFiH
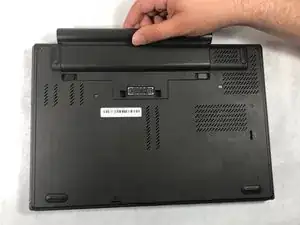
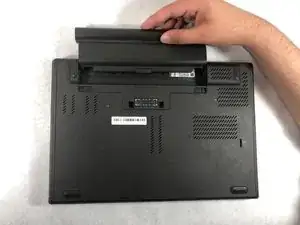
    • Slide the battery pack out of the battery slot.

  4. pQeOjNUJNlygihtI
    pQeOjNUJNlygihtI
    q6WB6awCXUkUrJ6p
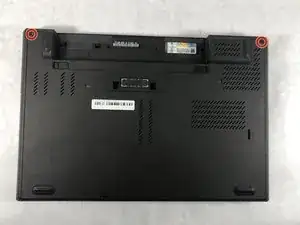
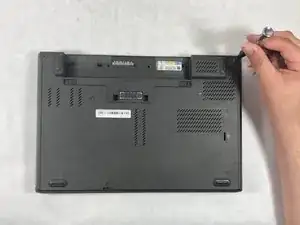
    • Use a Phillips #1 screwdriver to remove the two 9mm screws holding the back cover.

  5. 1eT2CjLvOIVXY4lq
    • Slide down the back cover.

  6. kqPxtExYtrPDdlDy
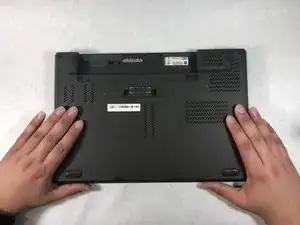
    • Remove the back cover.

Conclusion

To reassemble your device, follow these instructions in reverse order.
Christian Abad

Member since: 20/03/19

1378 Reputation

0 comments