Introduction

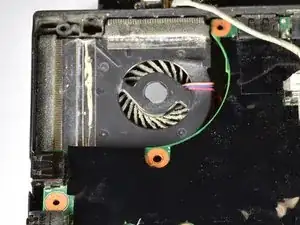
This guide will show you how to replace the heatsink and fan.

  1. 6GALmEUlpYxgFwut
    6GALmEUlpYxgFwut
    2LhtaytVVJKpEdma
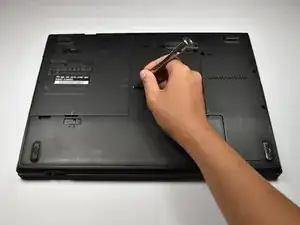
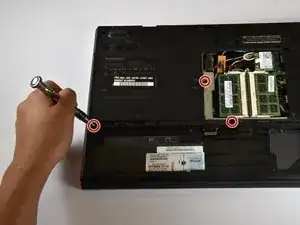
    • Remove the Phillips #0-6mm screw.

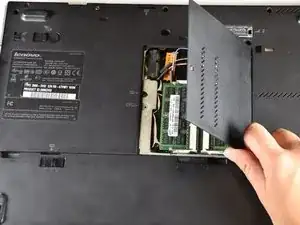
    • Lift up the back cover to the RAM cards.

  2. s4fJe6liiUR6JjuK
    s4fJe6liiUR6JjuK
    oKRaHkGPJl2LhpZ6
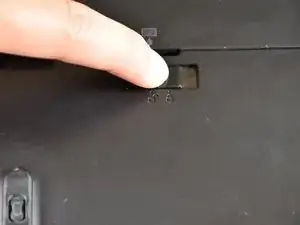
    • Pull the lock for the baterry to the left to unlock.

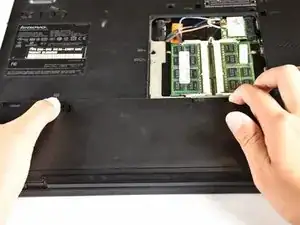
    • While holding the tab in the unlocked position, remove the battery.

  3. PUvbFR5uluWGvcjT
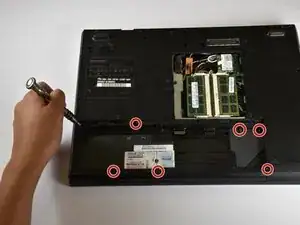
    • Remove the three Phillips #0-6mm screws on the back panel.

    • These screws are marked with a keyboard symbol next to them.

  4. slkfFCsE4akNWBlx
    slkfFCsE4akNWBlx
    yXa2T5niFcytWyDh
    RTElp2PVsyKtaYnY
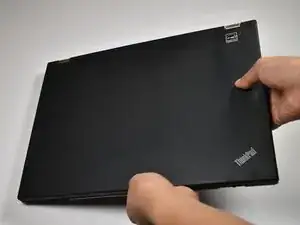
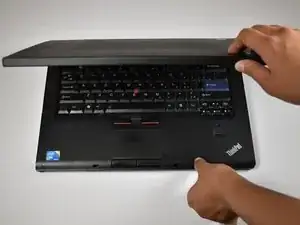
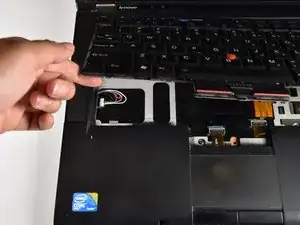
    • Turn the computer over and open the lid.

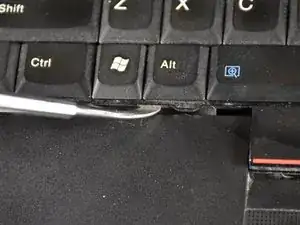
    • Wedge the small metal spudger between the palm rest and the keyboard.

  5. eOkQVDGeSIAWNti1
    eOkQVDGeSIAWNti1
    FvfLoARFVVTVUUKW
    RpkHf2GO2rrndMxc
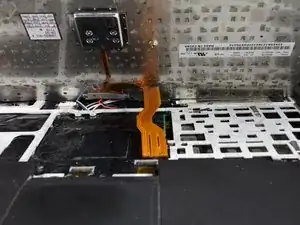
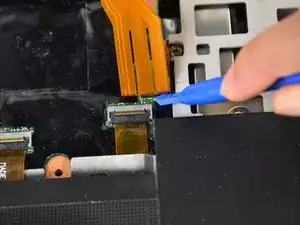
    • Lift up the keyboard, but be careful not to completely remove.

    • Don't lift the keyboard too quickly, there is a connector cable you must disconnect first.

    • Wedge the small plastic opening tool underneath copper band and tilt back.

    • Remove keyboard to replace.

    Keep up the good work

    Cordially,

    Joseph of Denver CO

    Joseph W Arabasz MD -

  6. KTBndFJgEY22InAg
    • Remove the 7 Phillips#0-4mm screws.

  7. VcpCbK4GdAf45VTg
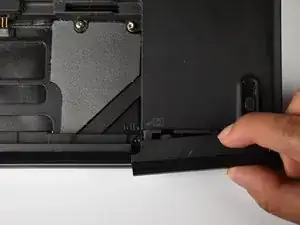
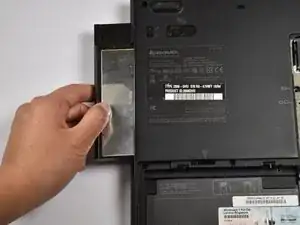
    • Remove the SSD/HDD cover from the lower right corner of the laptop.

  8. 6WFyc1AwBXSA16Yg
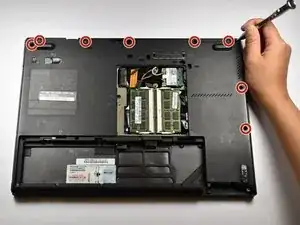
    • Remove the nine Phillips #0-6mm screws on the back panel.

  9. bCPlNLfQm3f2DP12
    bCPlNLfQm3f2DP12
    UDDDs1O6loMbWtsr
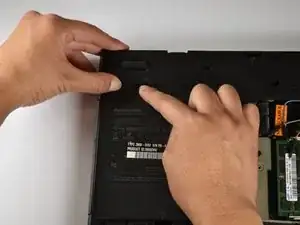
    • Pull up on the unlock button while pushing left on the sliding tab.

    • Do not be discouraged if it takes some force.

  10. OSE3ZvAnndkYIPIU
    OSE3ZvAnndkYIPIU
    HGJDbgWsATv1U5AV
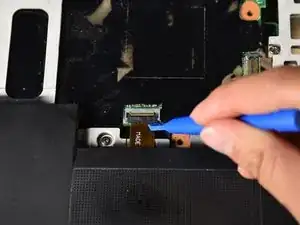
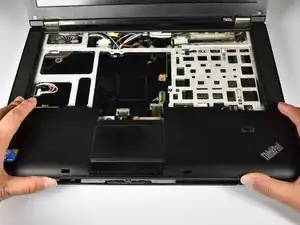
    • Use the plastic opening tool to lift the black tab up and remove the palm rest connection.

    • Remove the palm rest by lifting the side nearest to you.

  11. QR1oMX3lW51HPVC1
    QR1oMX3lW51HPVC1
    cTNuvvdPmqNUCCVo
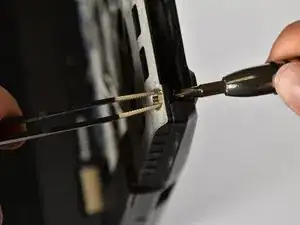
    • Rotate the laptop 90 degrees counter-clockwise.

    • Remove the safety screw on the bottom corner of the laptop by holding the gold cap in place with the tweezers and unscrewing the Phillips screw with the other hand.

  12. xDieyNx1VjbTgG1F
    xDieyNx1VjbTgG1F
    vlAwxn4aFF3kbMdv
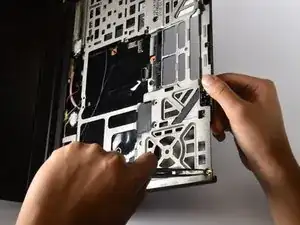
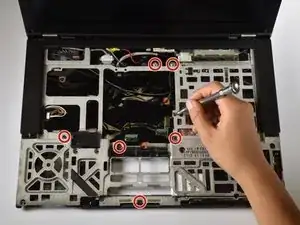
    • Flip the computer over and open the lid. Unscrew the seven Phillips#0-4mm screws.

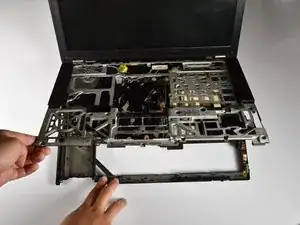
    • Lift the frame up by the front and pull towards you to remove.

  13. rRmcIvdHSb6n5ygP
    rRmcIvdHSb6n5ygP
    BDmZWMyWYjJLa6PN
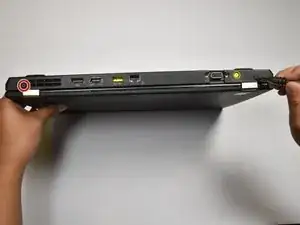
    • Remove the two Phillips #0-6.5mm screws from the back side of the laptop to detach the screen.

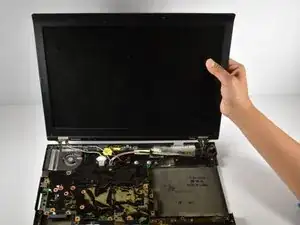
    • Lift the laptop down facing you, and place the screen down flat behind the laptop.

    • The screen will still be connected to the base by wires.

  14. Bb5YmCeHqTuyImN1
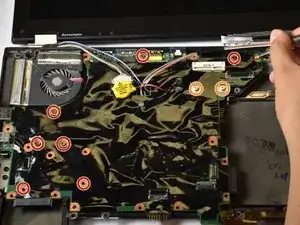
    • Remove the eight Phillips #0-3mm screws.

    • Remove the two Phillips #0-6mm screws.

    • The circuit board will still be attached by the colored wires.

  15. j6uoF6ha2QFstwK5
    j6uoF6ha2QFstwK5
    rwegGRZ6PQiF6tt1
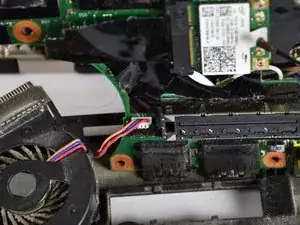
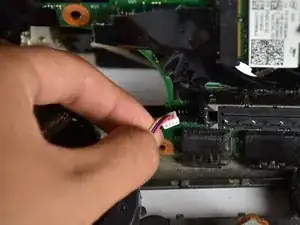
    • Tilt up the circuit board to access the heatsink and fan.

    • Disconnect the white connector to remove.

Conclusion

To reassemble your device, follow these instructions in reverse order.
Matthew Lee

Member since: 14/04/15

247 Reputation

0 comments