Introduction
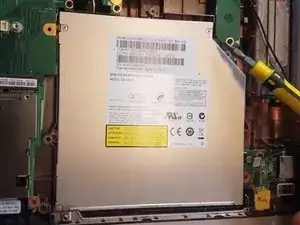
This guide will help to replace the CD disk drive from the Lenovo Thinkpad Edge E520 CD Disk Drive.
Tools
-
-
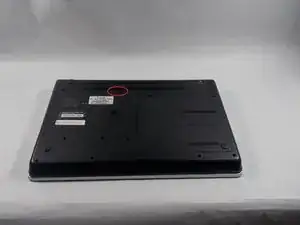
Flip the computer so that the back is facing upwards.
-
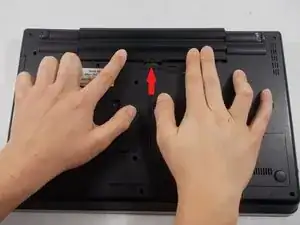
Locate the switch used to release the battery.
-
-
-
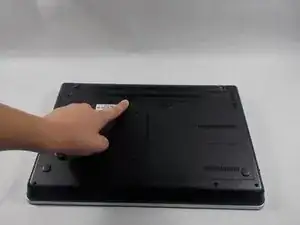
Slide the switch towards the unlocked lock icon.
-
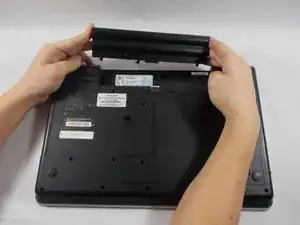
While holding it in the unlocked position, slide the battery towards the hinge.
-
Fully separate the battery pack from the back of the laptop.
-
-
-
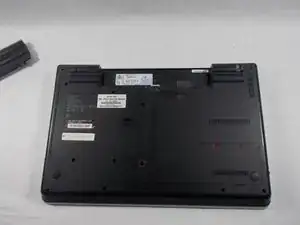
Flip over the laptop and position it with the battery being furthest away from you.
-
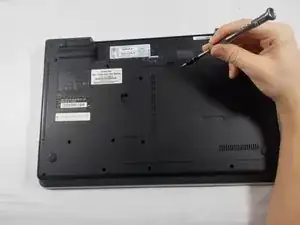
Remove the four screws on the edges of the T-Shaped plate with a Phillips #0 screwdriver.
-
Remove the T-Shaped plate from the back of the computer. It should come off easily if all four aforementioned screws are removed.
-
-
-
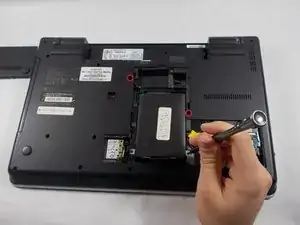
Unscrew the two 3.175 mm diameter and 6.35 mm length screws with keyboard symbols pointing at them using a Phillips head screwdriver.
-
-
-
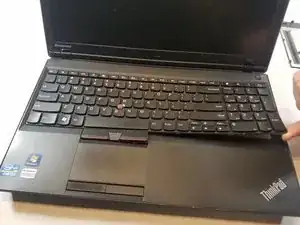
Turn the laptop back over so that the keyboard is facing you.
-
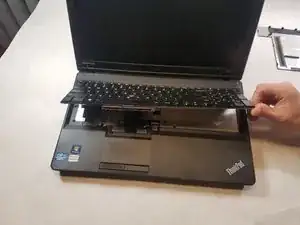
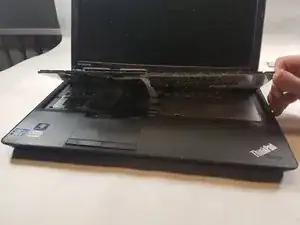
Use your hands to separate the keyboard from the laptop
-
-
-
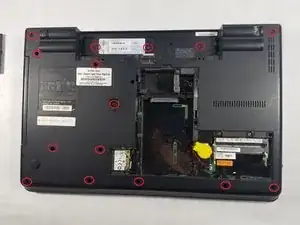
Remove all remaining screws on the back of the device.
-
Screw length 6.35 mm, head 3.175 mm Screws behind battery length 3.175 mm, head 3.175 mm
-
-
-
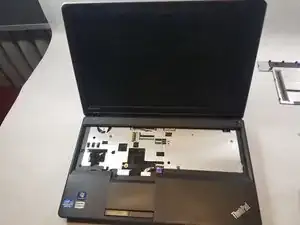
Flip device back over and open the screen.
-
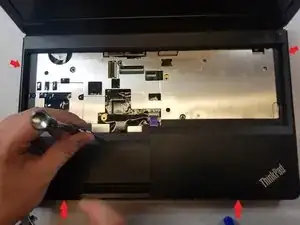
Insert the prying tool on one edge of the case and follow along all four edges until the case frees up.
-
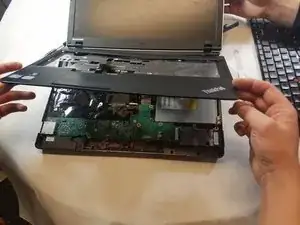
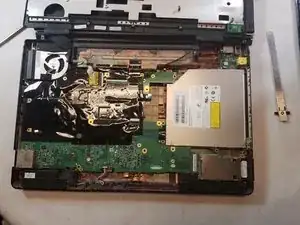
Remove the case.
-
-
-
The silver block contains two screws.
-
Unscrew the two screws to remove the clamp that holds the disk drive in place.
-
Screw length 6.35 mm, head 3.175 mm
-
-
-
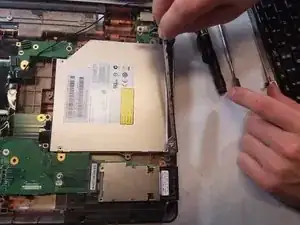
Remove the screws holding the disk drive in place and then slide outwards to remove
-
Screw length 6.35 mm, head 3.175 mm
-
To reassemble your device, follow these instructions in reverse order.
