Introduction

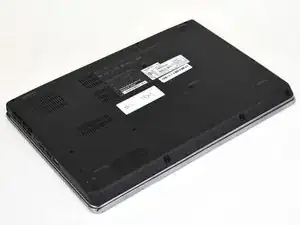
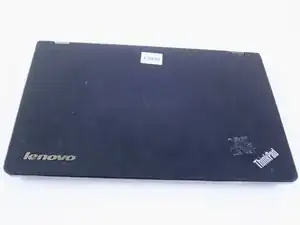
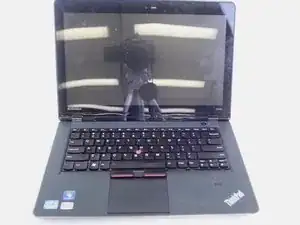
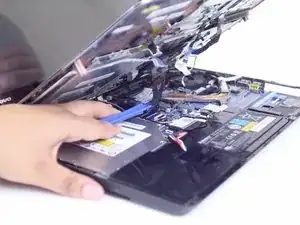
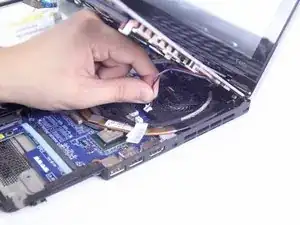
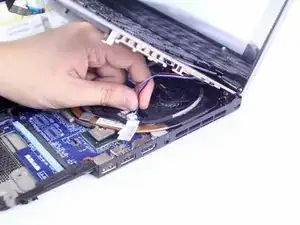
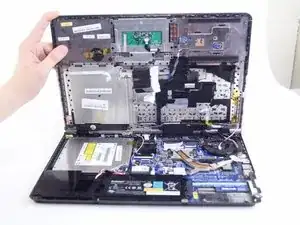
If you need to replace the fan, use this guide to access and remove the fan from this device. For this guide you will need a plastic opening tool, a Phillips #0, #00, and #000 screwdriver. This repair may be needed either as a prerequisite to replacing other parts or in order to fix issues such as frequent, but irregular crashes, error messages, or disappearing or scrambled files.

  1. Gst1UcxrPVWT1qvA
    • There is no external access to the battery. Please make sure the at the battery has been drained or disabled through BIOS before beginning.

    • Flip the device over.

  2. cJ3fOgqQwYKPOlEa
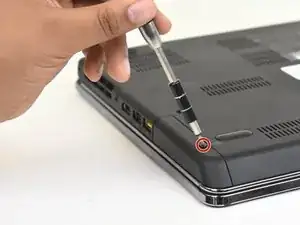
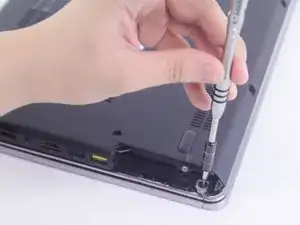
    • Use a Phillips #00 screwdriver to remove one M2 x 3mm screw from the side of the device.

  3. ScPhj2DQlvmmErZe
    ScPhj2DQlvmmErZe
    Da5gYA1YBnIRVfVD
    WDUBldciQApYyDp6
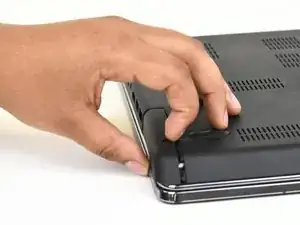
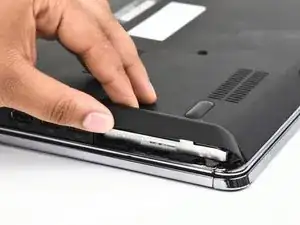
    • Swing the cover out slightly like a hinge.

    • Pull the cover directly away from the case towards the base of the laptop.

    • Lift the cover up and away from the device to remove it.

    • You may hear a slight pop when you pull the cover off.

  4. u6wPZGOiJCBXoQXt
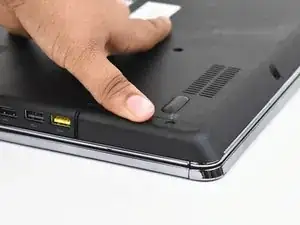
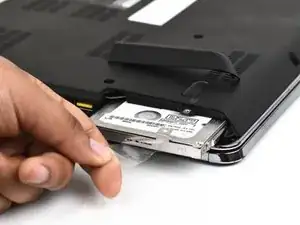
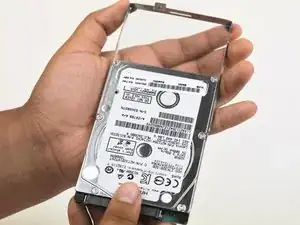
    • Use the clear tab to slide the hard drive out of the device.

  5. onhKiEjGPIDk5hND
    onhKiEjGPIDk5hND
    EZCNMwNPBagSc4Ol
    DTbTwF4kSATUfii2
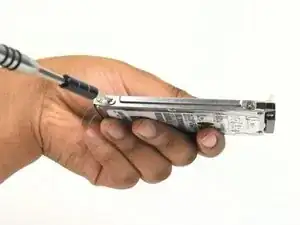
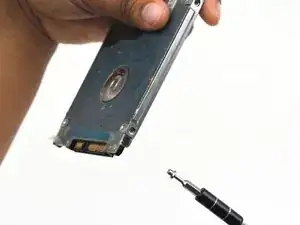
    • To replace the hard drive, remove the four M2 × 4mm wafer-headed screws on the sides of the hard drive case using a Phillips #00 screwdriver.

    • Slide the old hard drive directly out.

    • When reassembling, make sure the hard drive is securely in the case before beginning.

  6. PCTVop1WHXjRA2Mm
    PCTVop1WHXjRA2Mm
    qZAiMY4MacjdjPHX
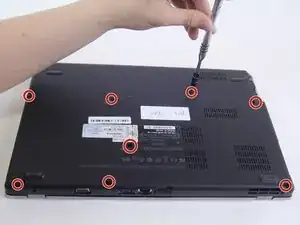
    • Use a Phillips #0 screwdriver to remove eight M2 × 3 mm screws near the front opening and scattered across the bottom of the laptop.

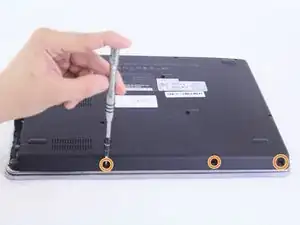
    • Remove three M2x3 mm screws using a Phillips #00 screwdriver from the base of the laptop near the opening.

  7. oetQEAQyFI11Mu61
    • Remove the M3 x 2mm screw from the hole left by the hard drive using a Phillips #00 screwdriver.

  8. JclFbl2eJCXWLfTe
    JclFbl2eJCXWLfTe
    5foWCOAZAHqoecoV
    • Flip over the device.

    • Open the device normally.

  9. KCsFIXoNFCHce3wT
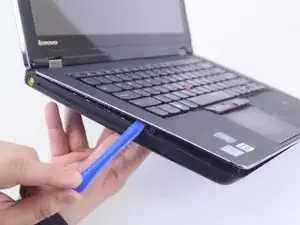
    • Wedge the plastic opening tool between the upper and lower halves of the lower case.

    • Lift the end of the opening tool slowly until the case separates.

    • Hearing a small popping or cracking noise during this step is normal

  10. e2AUS1CILr6voiaT
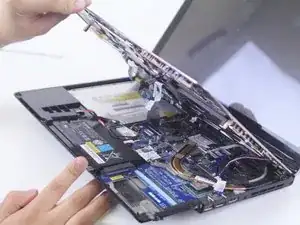
    • Lift the upper half of the case up slowly.

    • Be sure not to yank any of the wires connected to the case as this could damage them.

  11. kBJWYXF2JeQYQ5Hn
    kBJWYXF2JeQYQ5Hn
    3yg3mpepECahQHGm
    RAURykPZdVgc4Ou6
    • Locate and disconnect the 4 ribbon wires from the top case.

    • Locate and disconnect the two additional connecting wires.

    • Some wires may be connected by a clamp. In order to remove the clamp, press upwards on the lever attached to the connector

    • Be careful to not yank on the wires when disconnecting them as they are easily damaged.

  12. LI5pSyM1y4ROhGHS
    • Lift the unattached case away from the device and place it to the side.

    • When reassembling ensure that all parts of the case are properly aligned.

  13. aMHTCewrXKAUGEpE
    aMHTCewrXKAUGEpE
    uuJwd5NHjTLix5FL
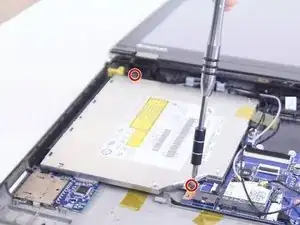
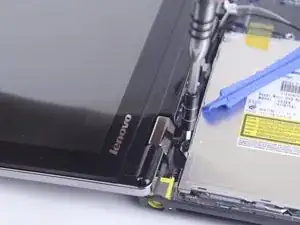
    • Remove the two M2 x 3mm securing the the optical drive to the device using a Phillips #000 screwdriver.

  14. uBGZNu4QWvM2WmEa
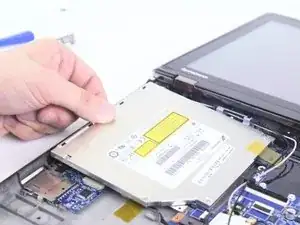
    • Slide the optical drive away from the motherboard in order to remove it.

  15. tDXcJSJYNyWcpU4V
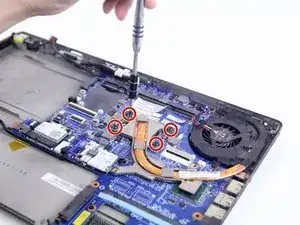
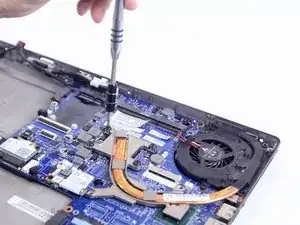
    • Use a Phillips #0 screwdriver to remove the four M2 x 6mm screws connecting the heatsink to the motherboard.

  16. H1kRHdXnLDiimmim
    H1kRHdXnLDiimmim
    gJh6toSKRJnOc6V4
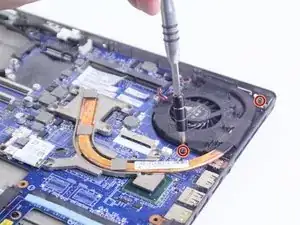
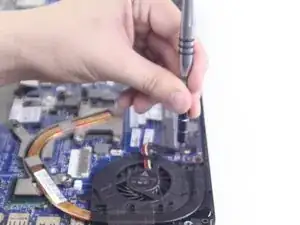
    • Use a Phillips #00 screwdriver to remove the two M2 x 3mm screws from the fan.

  17. xYLBgUwSRrZJLNpQ
    xYLBgUwSRrZJLNpQ
    uQgM3xn6Dlg3eqHB
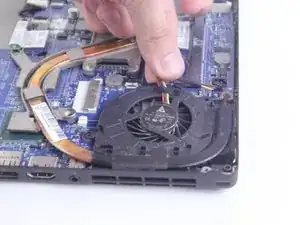
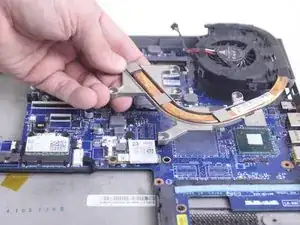
    • Disconnect the cable connecting the fan to the motherboard, then remove the fan and the attached fan component from the case.

Conclusion

To reassemble your device, follow these instructions in reverse order.
Kalen Whited

Member since: 06/10/18

119 Reputation

0 comments